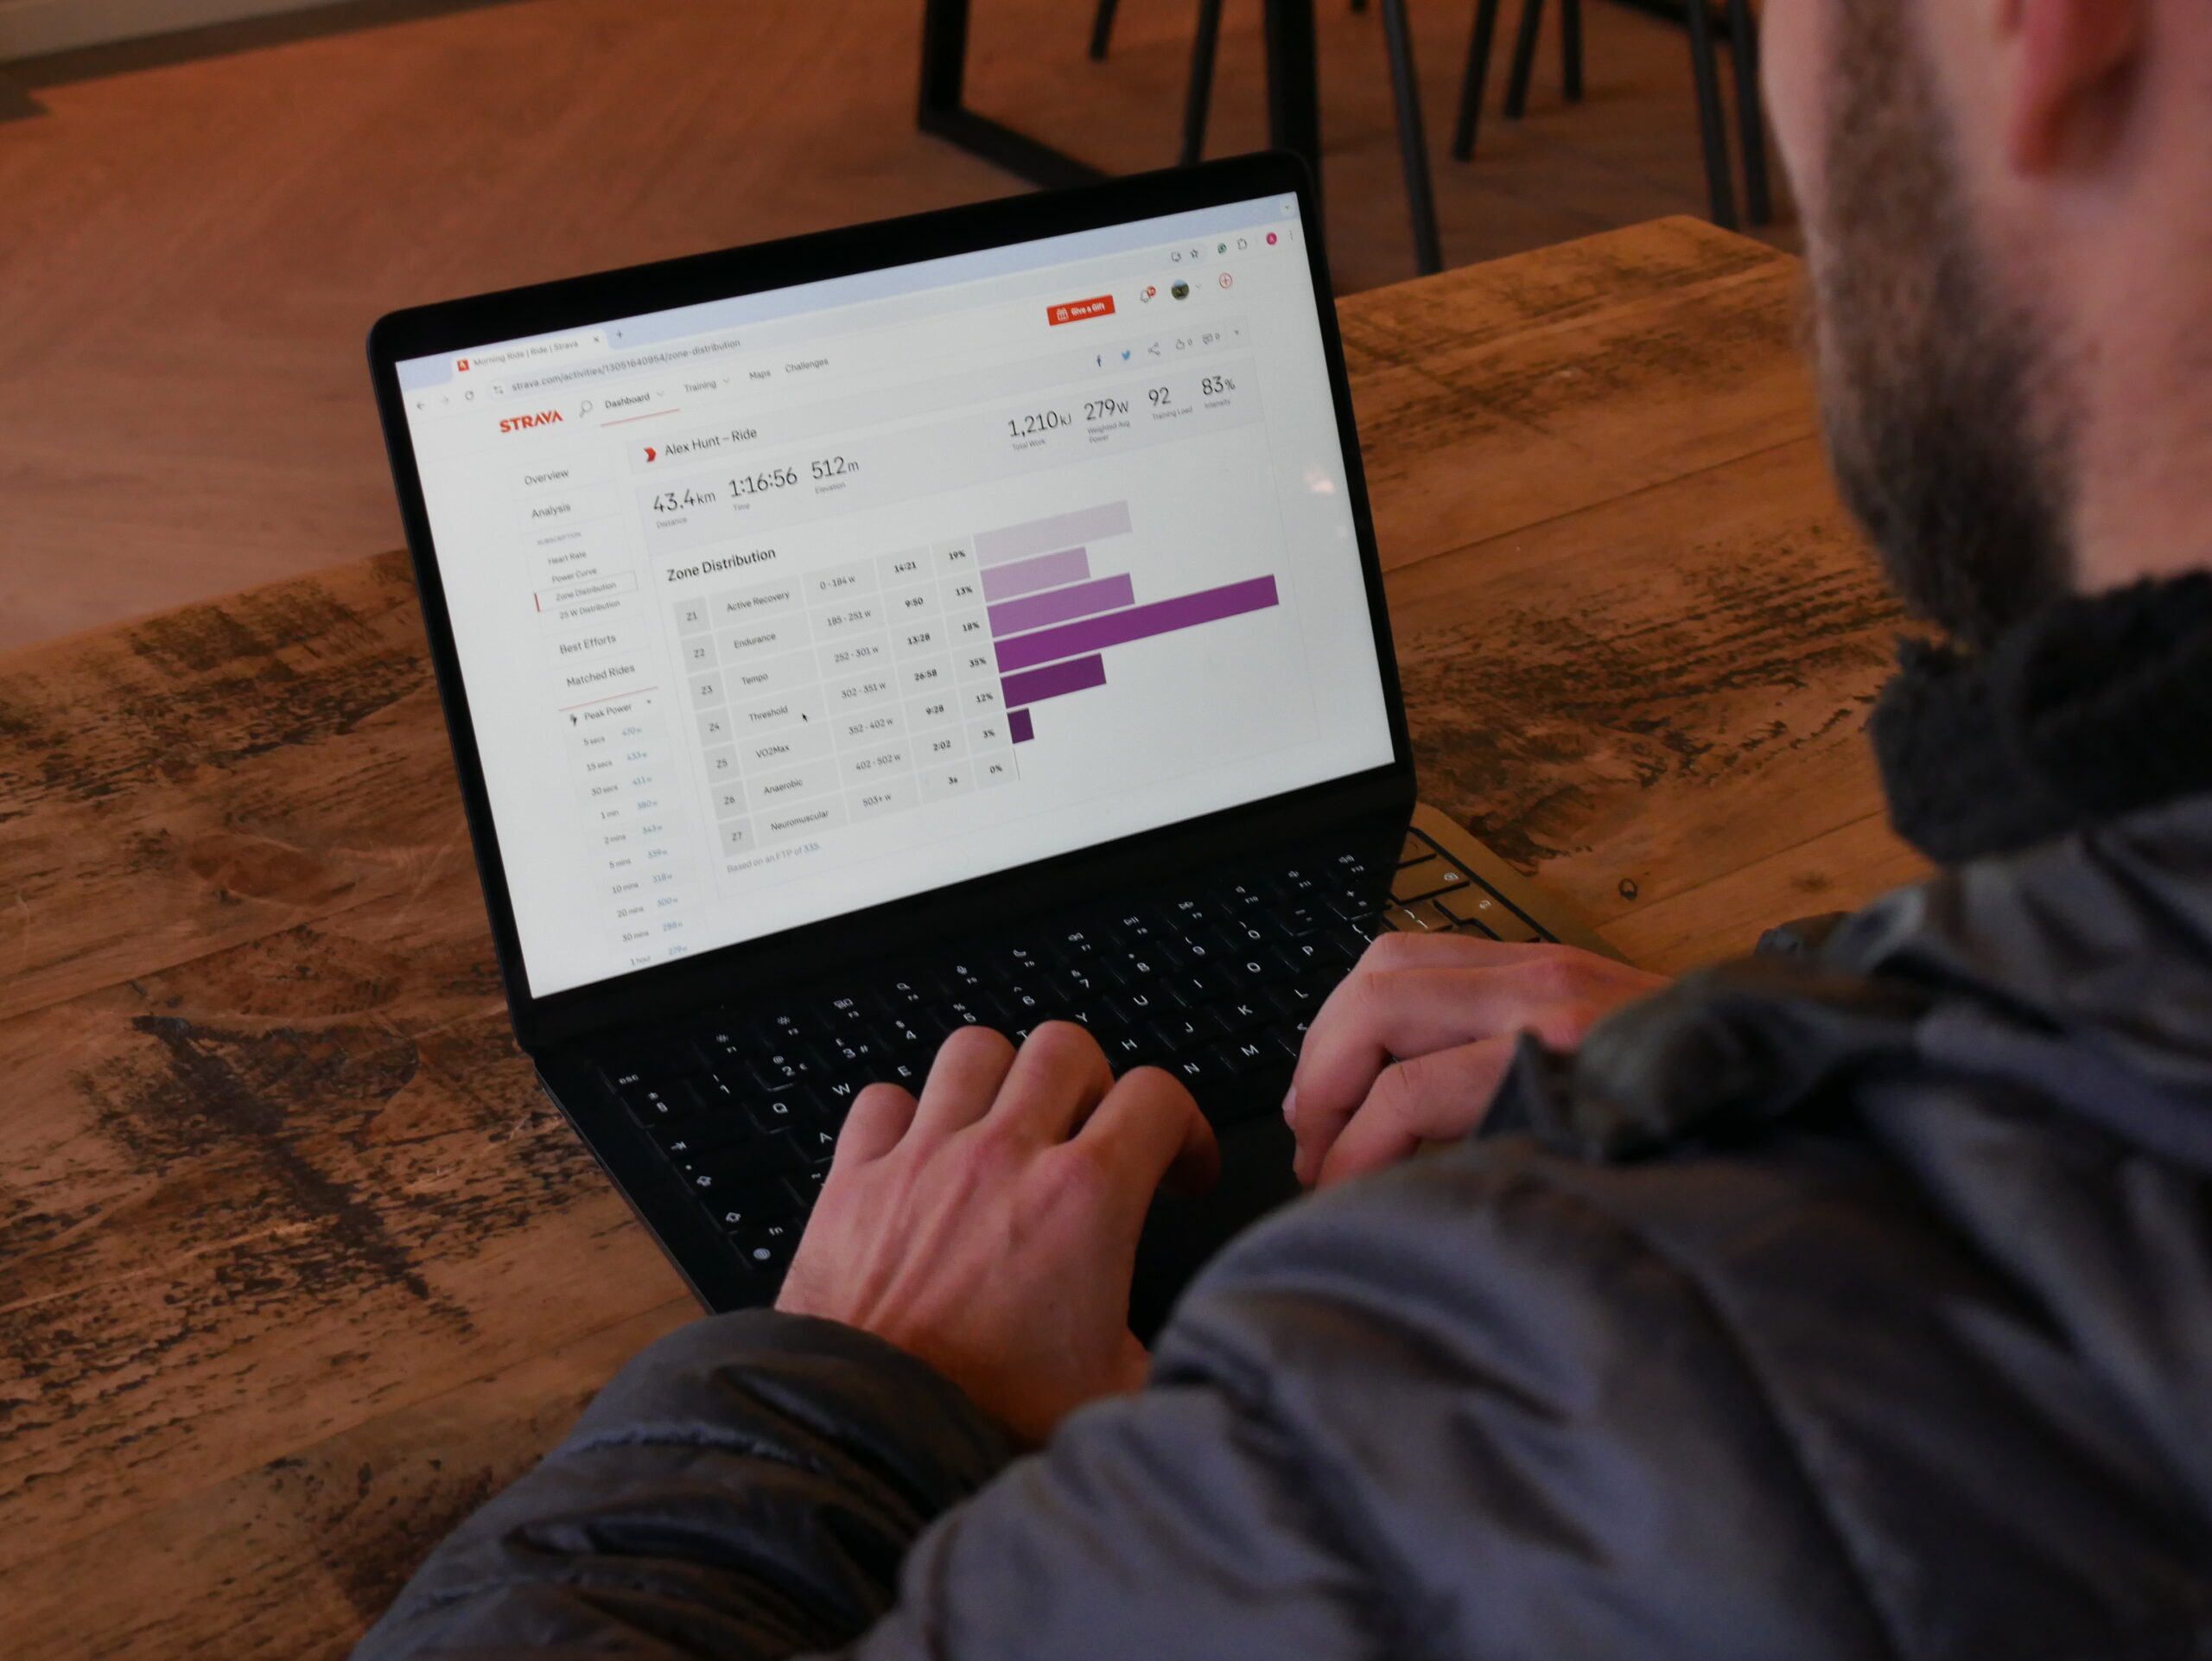
In this fourth part of our introductory guide to power series, we are diving into power zones: what they mean, how they are used and which model is best for you. Power training zones have been around as long as the power meter. If you have spent any time researching the topic you will have almost certainly realised something: there are multiple variations of training zones to pick from. Some models use three zones whereas others can use as many as seven.
With this many options, it is easy to become overwhelmed with information, which makes it difficult to make choices as basic as which model works best for you. Here we are going to look at the specifics of training zones to help you get the most out of your training
Why do we need training zones at all?
Training zones provide boundaries between the different levels of intensity that we ride at. No matter how many divisions you use, training zones allow you to measurably ride at certain intensities that offer different benefits.
Zone training quantify each intensity we want to train in. Zones offer us an objective way to make sure that when we intend to ride hard, we really are riding hard whilst making sure that on an easy ride, we are actually keeping things relaxed.
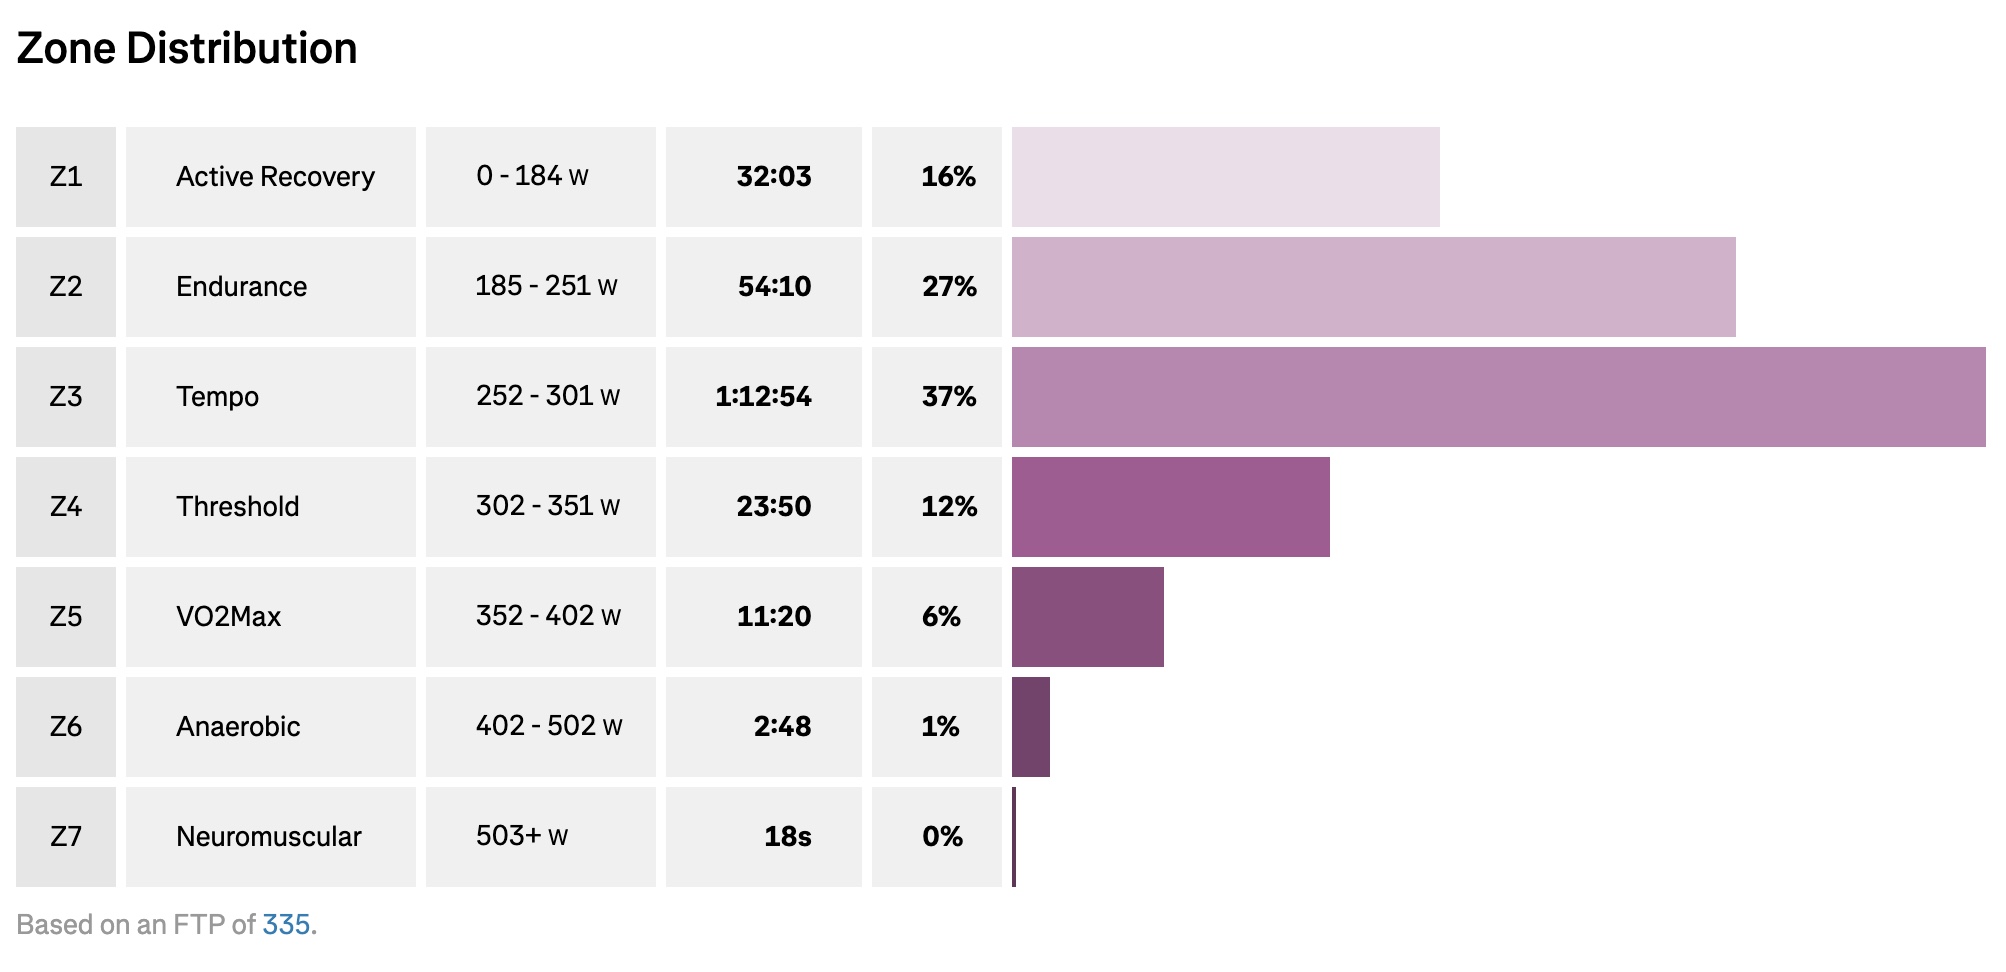
The specificity that zone training allows means that tailored training can be devised to meet the needs of individual riders. The result is more effective training on the bike. With the same time investment, you can get fitter and increase your performance as a well-rounded athlete when compared to non-zone training.
Zone-based training is particularly helpful for amateur athletes with busy schedules. Understanding your training zones and the physiological cost and benefit of riding at each intensity means that you can eliminate wasteful "junk kilometres" that serve no real purpose and make the most effective use of the time you have to ride. By knowing your zones, you can train for specific durations in each one to trigger the desired training effects.
Training with just heart rate
It is possible to conduct zone training with just a heart rate monitor but this does have some limitations. Heart rate is inherently slow at responding to efforts, which is known as "lag." This means that for shorter-duration efforts of around five minutes or less, riding to heart rate becomes increasingly difficult as your heart rate will not stabilise at its maximum for a given effort before the interval ends.
For longer steady-state efforts like a long endurance ride or a time trial effort, riding to heart rate is a useful metric. It is important to remember that heart rate is subject to external variation from things like fatigue, caffeine intake, sleep quality, and hydration, so this needs to be combined with some mindful awareness of your rate of perceived exertion, or RPE.
Training with RPE
No matter if you have a power meter and a heart rate monitor or not, there is one useful metric that everyone has access to: rate of perceived exertion. RPE is how easy or difficult an effort feels and how your body is dealing with the training stress on any given day.
Breath is a better gauge of your RPE than using the feeling of your legs. This is because, in any hard effort, your legs are going to hurt and are going to be telling you to ease off. Breathing is a somewhat less-subjective measure of the actual physical demands you are putting on your body.
And, changes in breathing happen to correlate broadly with a three-zone power model, outlined below. By paying attention to your breathing, you can fairly closely detect the changes in training zones. As workout intensity increases, you will reach certain markers where your breathing goes from calm and easy to rhythmic and deep as you transition from zone one to two, before turning ragged and hard to control as you enter the upper zone.
That makes RPE most valuable as a check of sorts on pure zone-based training. RPE is something that sports psychologist Dr. Ian Taylor thinks is important for all riders to listen to. "You might have a workout where you're supposed to hit this data, but if you're not feeling it, should you still hit that data? Probably not,” he says. “What data can do is mask the messages our mind and our body are sending us about the volume and intensity of our workout."
Listening to your body and how it is responding is crucial regardless of how many training metrics you have access to and how perfect your training plan is.
What are training zones?
On the surface, training zones offer an easy way to separate the different intensities at which you ride. If you dig a little deeper, the points at which different zones begin and end are based on general predicted changes in the metabolic response required to ride at a given intensity. Simply put, this means that in different zones your body calls on different energy systems to supply your muscles.
The most widely adopted model was created by Andy Coggan, PhD, co-author of the highly influential book Training and Racing with a Power Meter. This model splits the spectrum of power into seven zones: four sub-threshold zones and three zones above functional threshold power (FTP, or the power you can sustain for around an hour). The benefit of this model over others is that, unlike some other models, it splits the band above threshold into individual zones. This allows for an increase in training specificity across a rider's power profile.
What are the different zones?
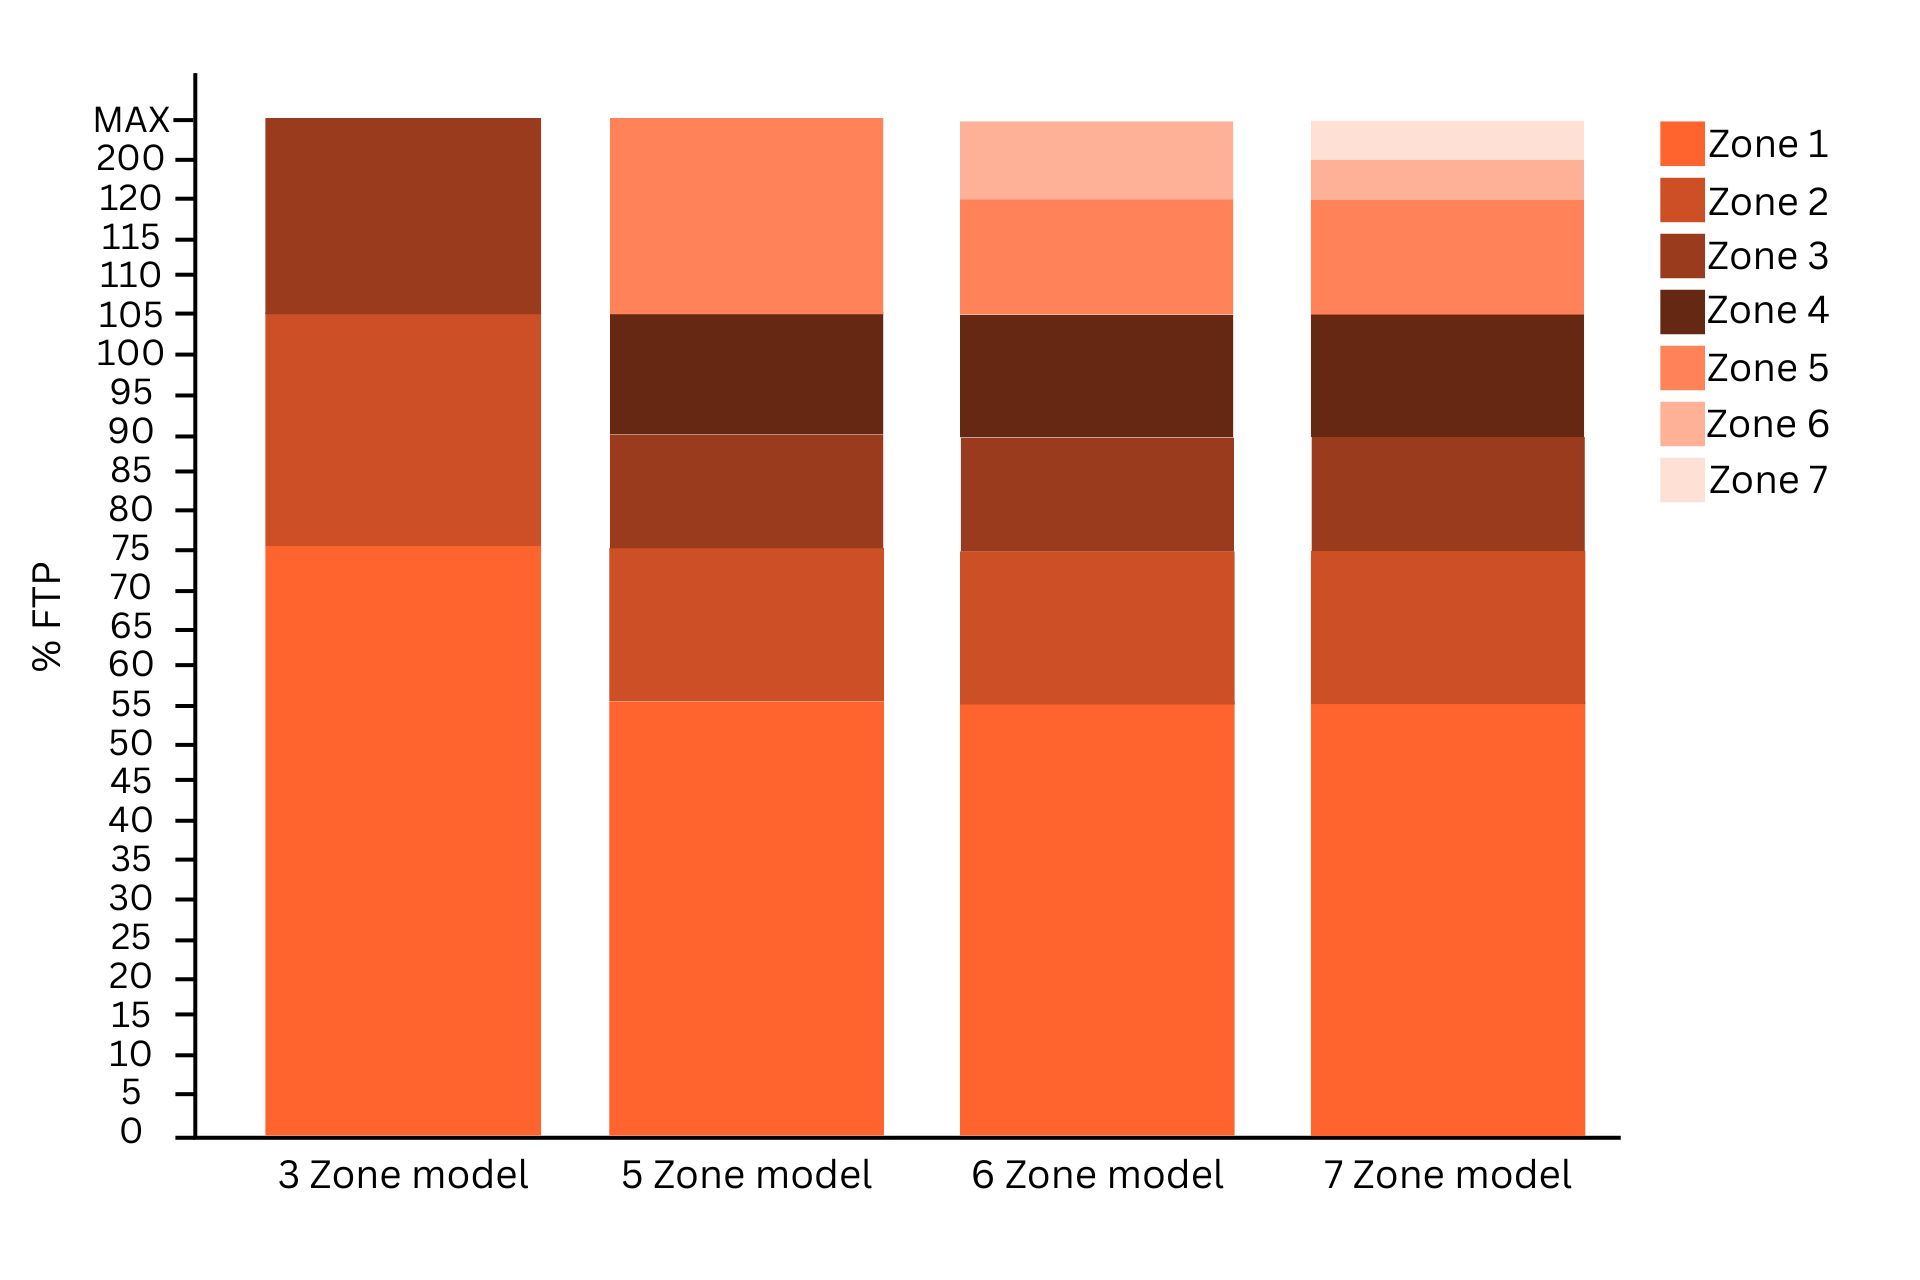
Once you have completed an FTP test you can then either use an online calculator or work out your zones as a percentage of your FTP result. Here's how that looks in a seven-zone training model:
- Zone 1: Recovery - <55% FTP
- Zone 2: Endurance - 56-75% FTP
- Zone 3: Tempo - 76-90% FTP
- Zone 4: Threshold - 91-105% FTP
- Zone 5: VO2 Max - 106-120% FTP
- Zone 6: Anaerobic capacity - >121% FTP
- Zone 7: Neuromuscular power - Maximal effort

Each zone explained
Here is a run-through of each of the zones, how they should feel, and how they can be used.
Zone 1 - Recovery
The more accurate name for this zone is “active recovery." Riding at under 55% of your FTP should feel incredibly easy. The use of this zone is to increase blood flow to your muscles and aid recovery.
Rides in zone 1 should be short and not exceed an hour – a leisurely spin on a short, flat course in Watopia would be ideal. In a zone 1 ride you are looking to keep your cadence high so as not to add any stress to the muscles.
Zone 2 - Endurance
As the name suggests this is the zone where endurance cyclists should spend most of their time. Riding in zone 2 allows for large volumes of riding that will increase blood volume and riding economy. Stephen Seiler, professor in Sports Science at the University of Agder in Norway, found that the majority of an endurance athlete’s training should be at a low-intensity equivalent to Zone 2 in Coggan’s model.

Training in zone 2 will not cause muscular damage and can therefore be completed on back-to-back days without too much worry about cumulative fatigue. A trained rider could be looking at riding from two hours up to six or seven hours in zone 2 with the main limiting factors being fueling and mental capacity.
There is a lot of talk around zone 2 training and it is often seen as foundational training that everything is built upon. As beneficial as zone 2 training is, riding exclusively at this intensity will leave you flat and only able to ride at a fixed steady state.
Zone 3 - Tempo
This zone is when efforts can start to feel more intense; although zone 3 remains below your FTP it takes more concentration to ride in this zone for extended periods.
Tempo training can be a good addition to a long zone 2 ride to give it a bit more intensity. Typically between 30 minutes to around an hour is a solid volume of this zone. Back-to-back training days at this intensity are possible if fuelling and recovery are adequate.
The upper end of tempo falls into what is affectionately known as "sweet spot." This is because it hits a balance of training close to your FTP without creating high levels of cumulative fatigue. Sweet spot training is often referred to as the best bang for your buck in regards to raising your functional threshold power.
Zone 4 - Threshold
Threshold, as you might have pieced together, is the name given to riding at your FTP. Training at this intensity is difficult and it can be hard to complete long intervals out on the roads as you need consistent and uninterrupted terrain. The best way of accurately training this zone is by using a long ascent or, if you do not live near 10-30 minute climbs, by using an indoor trainer.
For all but the most seasoned of cyclists, riding for between 10-30 minutes at this intensity in one go will be enough. Riding in this zone will require high levels of concentration and towards the end of an interval the ‘burn’ in your legs is going to build.

Training in this zone is a good way to train your body to cope with riding at your sustained limit and will increase your aerobic capacity. It will also allow your body to develop its efficiency at clearing lactate as it is produced.
Zone 5 - VO2max
Heading into the short, sharp intervals above threshold, zone 5 is home to intensities around your VO2max (where you're at the limit of how much oxygen your cardiovascular system can supply to your muscles). Work in this zone will develop how effectively your body can use the oxygen you consume.
Intervals in this zone range from three to eight minutes and start off feeling manageable but quickly turn painful. These types of sessions are difficult on the body in terms of both muscular and cardiovascular recovery required, making back-to-back rides in this zone a bad idea.
Zone 6 - Anaerobic capacity
This is a zone for the puncheurs and is close to a full-gas effort. Riding in this zone is hard work with intervals of between one and three minutes, and managing those efforts is difficult. This is an unsustainable zone to ride in as you are consuming more oxygen than your body can provide.
Training in this zone can develop your anaerobic ceiling as well as how quickly you can recover from efforts above threshold. Finding a good place to put in a good zone 6 workout can be difficult. Short punchy climbs are ideal to give you the resistance to maintain a high power output.
Zone 7 - Neuromuscular power
This zone is essentially an unpaced, full-gas, flat-out effort. Efforts in this zone tend to be under 15 seconds in duration. Training in this zone puts most of the stress on the muscular-skeletal system rather than the metabolic system associated with endurance cycling.
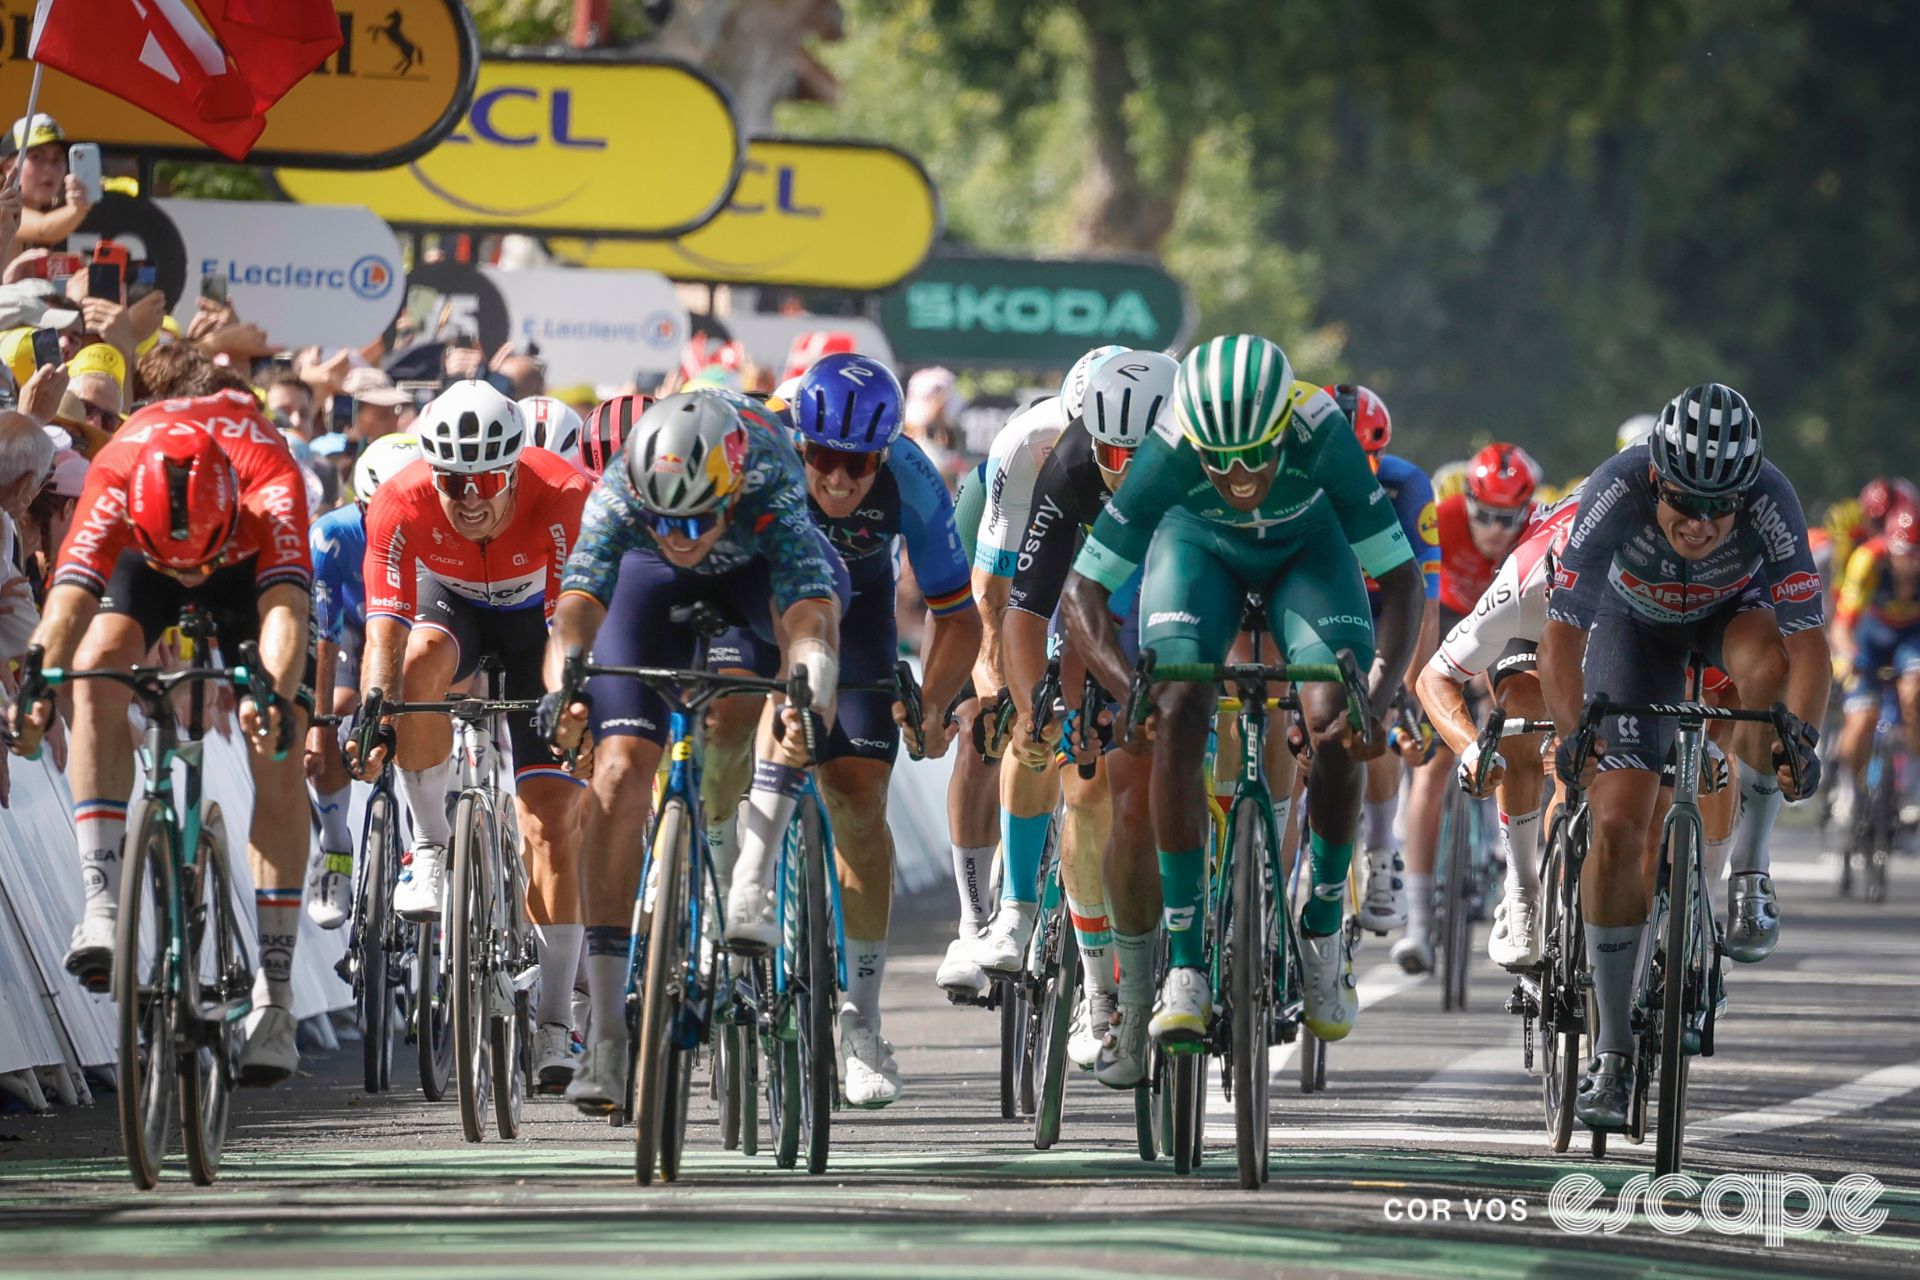
Training in this zone will require a lot of recovery as it will break down muscle fibre in a similar way to that of a maximal power workout in a gym. Power can only be used as a comparison between efforts rather than as a pacing guide. This is in part due to the duration of the interval but also the effort is maximal and does not require pacing.
What other models are there?
Although the seven-zone model is a popular choice among athletes and coaches it is not the only power training zone model that exists. Along with Coggan’s model, there are also the three-, five- and six-zone models with numerous coaches putting their own slight twist on the parameters of each zone.
Three-zone training
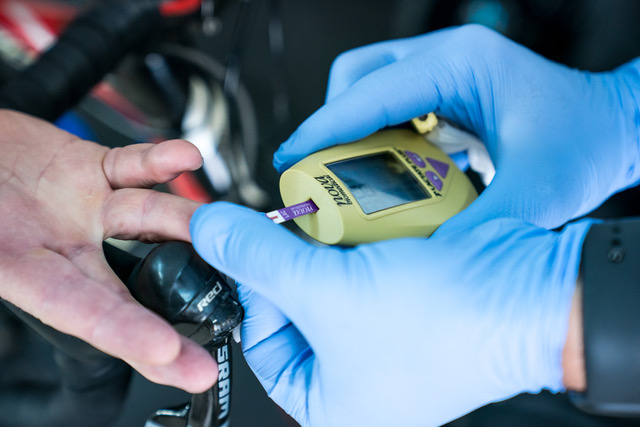
This is arguably the original training model and uses three zones to divide up the intensities that you ride at. This method relies on a visit to a sports science lab and a blood lactate test being completed. The results of this test would produce two transitional points known as LT1 and LT2 (lactate thresholds 1 and 2). Below, in between, and above these points lay the three zones.
The zones are endurance, threshold, and above threshold and correspond to the lactate levels in your blood. This is an insightful way to determine how your body is responding at a given intensity.
LT1 signifies the intensity at which lactate begins to build up in the body above the level found at rest. The second inflexion point, LT2 indicates where the increase in lactate goes from a steadily rising linear trajectory to a far more aggressive and unsustainable rate of accumulation.

Zone 1
This is most commonly referred to as the "endurance" zone. Here, blood lactate levels are elevated from at rest, but are stable and not increasing; any lactate that is produced can quickly and easily be processed in the body.
Zone 2
This zone is marked by the first inflexion point on the graph and marks the move from the endurance zone into the "threshold" zone. In this zone, your blood lactate levels begin to rise in a linear relationship with your power output and there is a build-up in blood lactate concentration. In this zone, that buildup is still sustainable as the blood lactate levels will stabilise at a given intensity, albeit at an elevated level.
Zone 3
This zone begins at the second inflexion point (LT2) on the graph and marks the point at which you are now producing more lactate than your body can process. As lactate accumulates, you're increasingly in an unsustainable state (whether due to the length or intensity of the effort, or both). Efforts in this zone will be anaerobic in their nature, meaning that they will be short in duration as your muscles are using more oxygen than your body can supply.
The three-zone model is fundamentally a good model to use and has stood the test of time. This simple model uses clearly defined changes in the body's energy demands to separate between zones.
The main issue with this model is that accurately setting the zones is easier said than done. This is because blood lactate testing is not readily available and is costly if you decide to get tested in a sports science facility. What is interesting, as well as considerably cheaper to access than a blood lactate test, is that your breathing pattern changes naturally as you enter each zone, which is where RPE re-enters the discussion.
The three-zone model, although scientifically robust, can seem overly simplistic for our specific needs as riders and leaves grey areas that are not defined in the model. The broad ranges of effort mean that two rides in the same zone can vary wildly in actual intensity and their training effect and fatigue. That ambiguity limits this particular model and makes other options more enticing.
Five-zone training
This model increases the specificity of each zone to allow you to be a bit more precise with your training. The five-zone model also moves away from blood lactate testing and, like the seven-zone model, relies on physiological testing in the form of an FTP test.

Zones 1 and 2
These zones replace the whole of zone one from the three-zone model. This will give you an active recovery zone at the lowest end of the spectrum (0-55% FTP) along with a more constructive endurance zone (56-75% FTP) that will keep you closer to the intended intensity of an endurance session.
Zones 3 and 4
Similarly to zones one and two, these two zones separate the "threshold" zone into a more moderate "tempo" zone (76-90% FTP) along with the traditional threshold zone (91-105% FTP) that more closely aligns with your actual lactate threshold.
Zone 5
This zone remains the same as the three-zone model and symbolises any intensity above your lactate threshold (>105% FTP).
This model is more specific than the three-zone offering and allows for more specific training, especially around sub-threshold intensities. Where it does lack is in any sort of division in intensities above threshold. Any effort from around 20 minutes down to 10 seconds is effectively defined as the same zone.
Six-zone training
In cycling, we typically do not only ride under our threshold. Especially in competitive cycling, being able to accurately train above threshold is an important element to the performance. This is where the six-zone model comes in. It is broadly similar to the five-zone model but adds an additional zone above threshold. The six-zone model splits anaerobic efforts into two zones: VO2max (106-120% FTP) and Anaerobic Capacity (121-200% FTP).

Which model is best?
This can be down to preference as well as the training tools that you have available, however it is hard to look past the seven-zone model as being the most useful for cyclists. The depth and detail it provides allows you to be incredibly specific with the training you complete. With three individual zones above your threshold you can train for the different metabolic states they draw on more accurately than models with fewer zones.
As good as the three-zone model might be for some applications, it does necessitate a blood lactate lab test to be most effective. These can be expensive and time-consuming especially if you intend to retest at regular intervals. The five, six and seven-zone models, by contrast, rely on FTP testing, which requires a specific protocol but is essentially free.
What are the issues with zone training?
The main issue with zone training is that it will only ever be as accurate as you can make the zones. All models use your threshold power as a starting point to delineate zones. This will give you a very accurate upper zone 4 (in the five-, six-, and seven-zone models), however from there every other zone is calculated by extrapolation and some necessarily arbitrary percentages.
Unfortunately, as humans we are all built differently so the blanket percentage ranges are not always going to be precisely true for you. This is where using the RPE method to help find your zone two as well as some anaerobic efforts will more closely map out your training zone profile. Unless you get a specific lab test done that accurately maps out your lactate threshold there is a margin of error around each zone’s range. They are a good starting point and for many riders they will be accurate enough, but if you feel like your zones don’t quite align with your effort then using your breathing as a calibration tool can be beneficial.
Zone training is only as accurate as you make it. It is important to recognise that over time your fitness and abilities will change. If you do not regularly test and update your FTP then it is very easy to find yourself outside of your intended zone as your fitness changes. An increase in FTP of 5% can see your sweet spot band shift completely out of range. A 300-watt FTP would yield a sweet spot zone of between 263-278 watts whereas a 315-watt FTP would move that zone to 276-292 watts. Testing your FTP at the end of each training phase every 8-10 weeks will keep your zones relevant to your current ability.
Our recommendation
If you have the tools available to you, using the seven-zone training model is going to provide you with the most accurate and detailed information to base your training around. If you are riding just on feel, the three-zone model will be accurate enough to ensure you are roughly in the right area. Most importantly, getting the most out of your training zones requires accurate testing to keep track of your progress.
In the last part of our introductory guide to power series, we will take a look at when you shouldn’t trust your power meter. For all of their benefits, it is important to understand when you might be getting false data, how to spot it and more importantly how to correct it.
Did we do a good job with this story?

