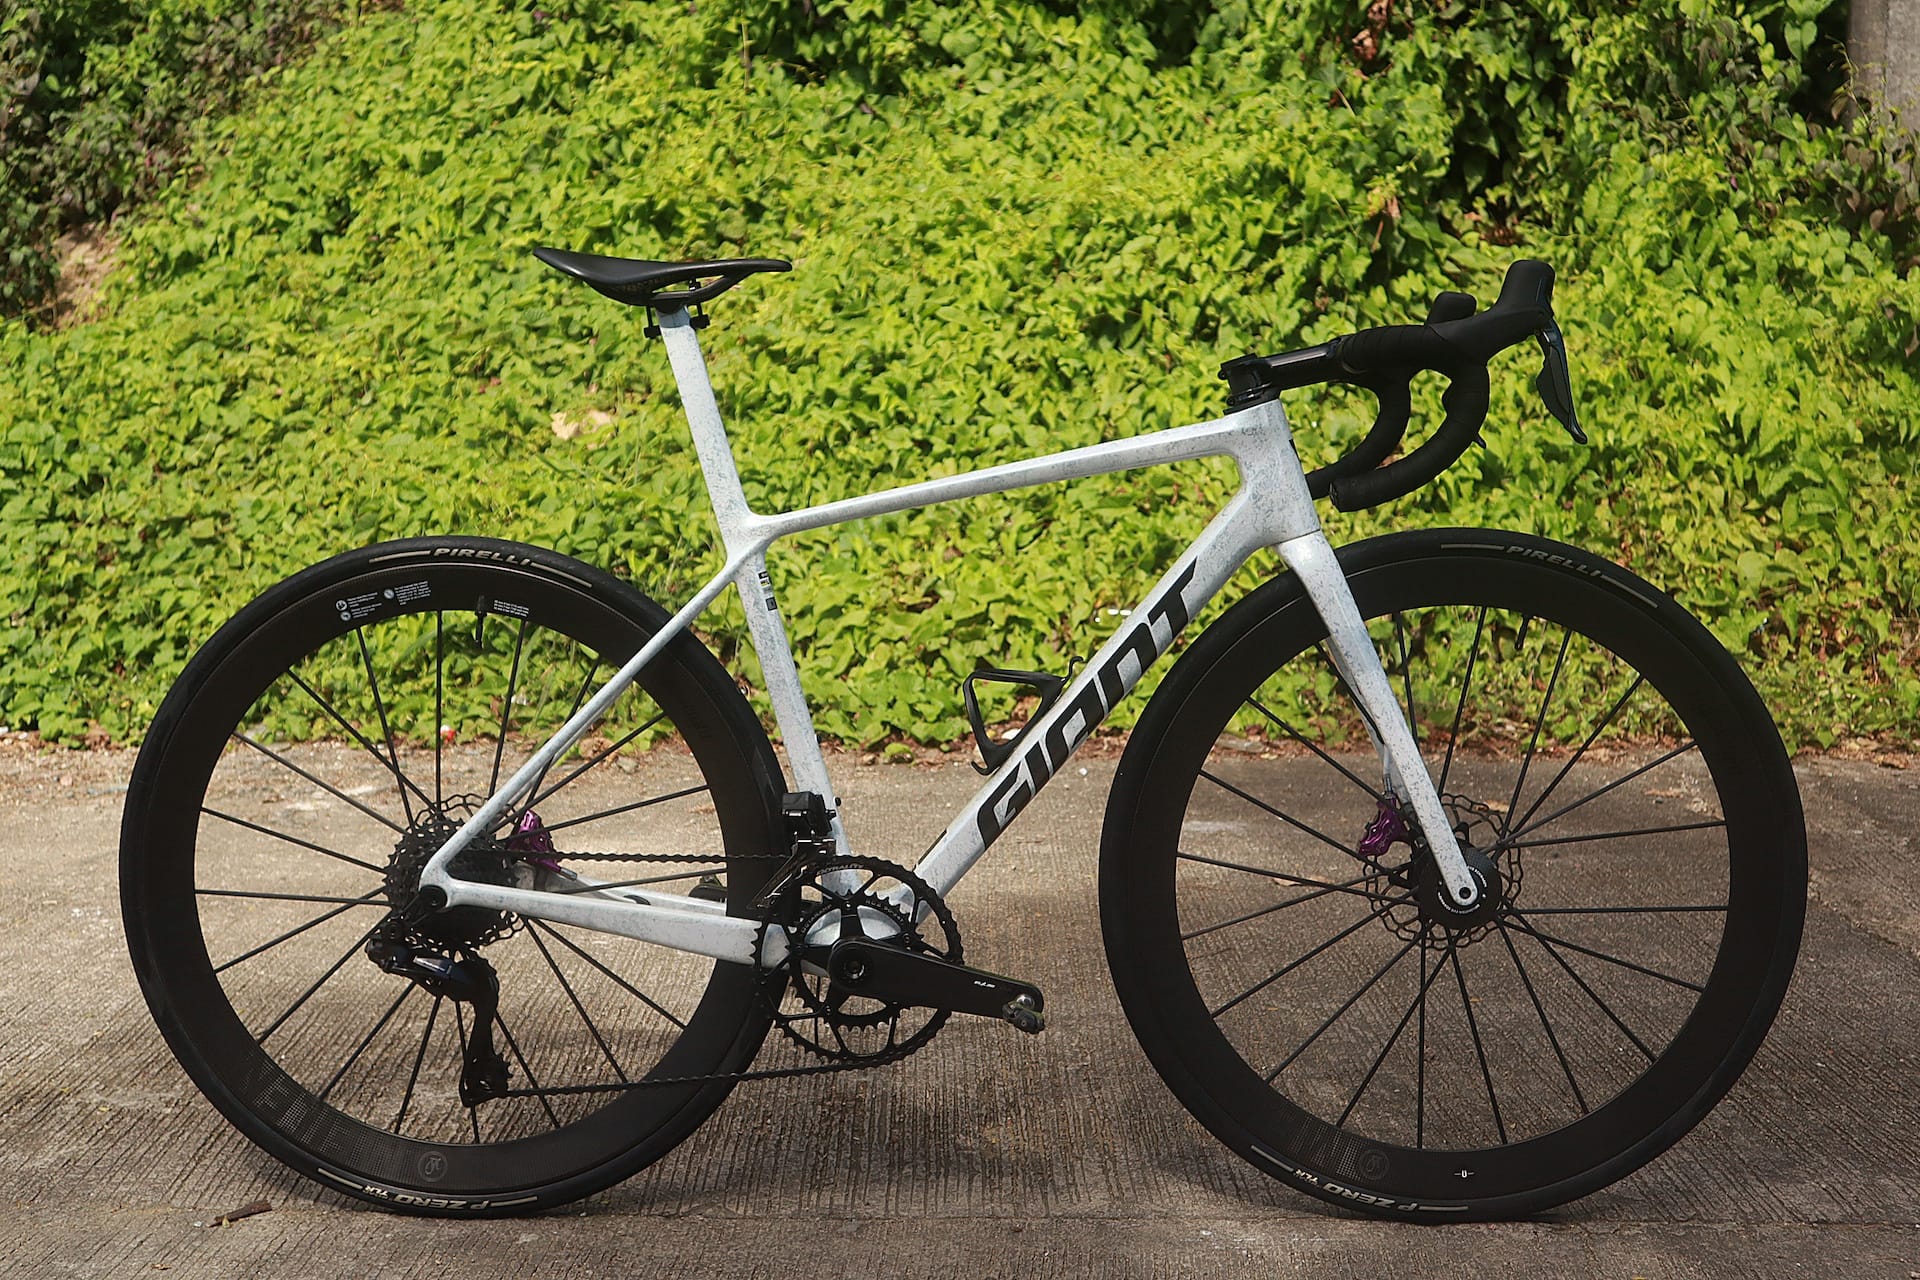
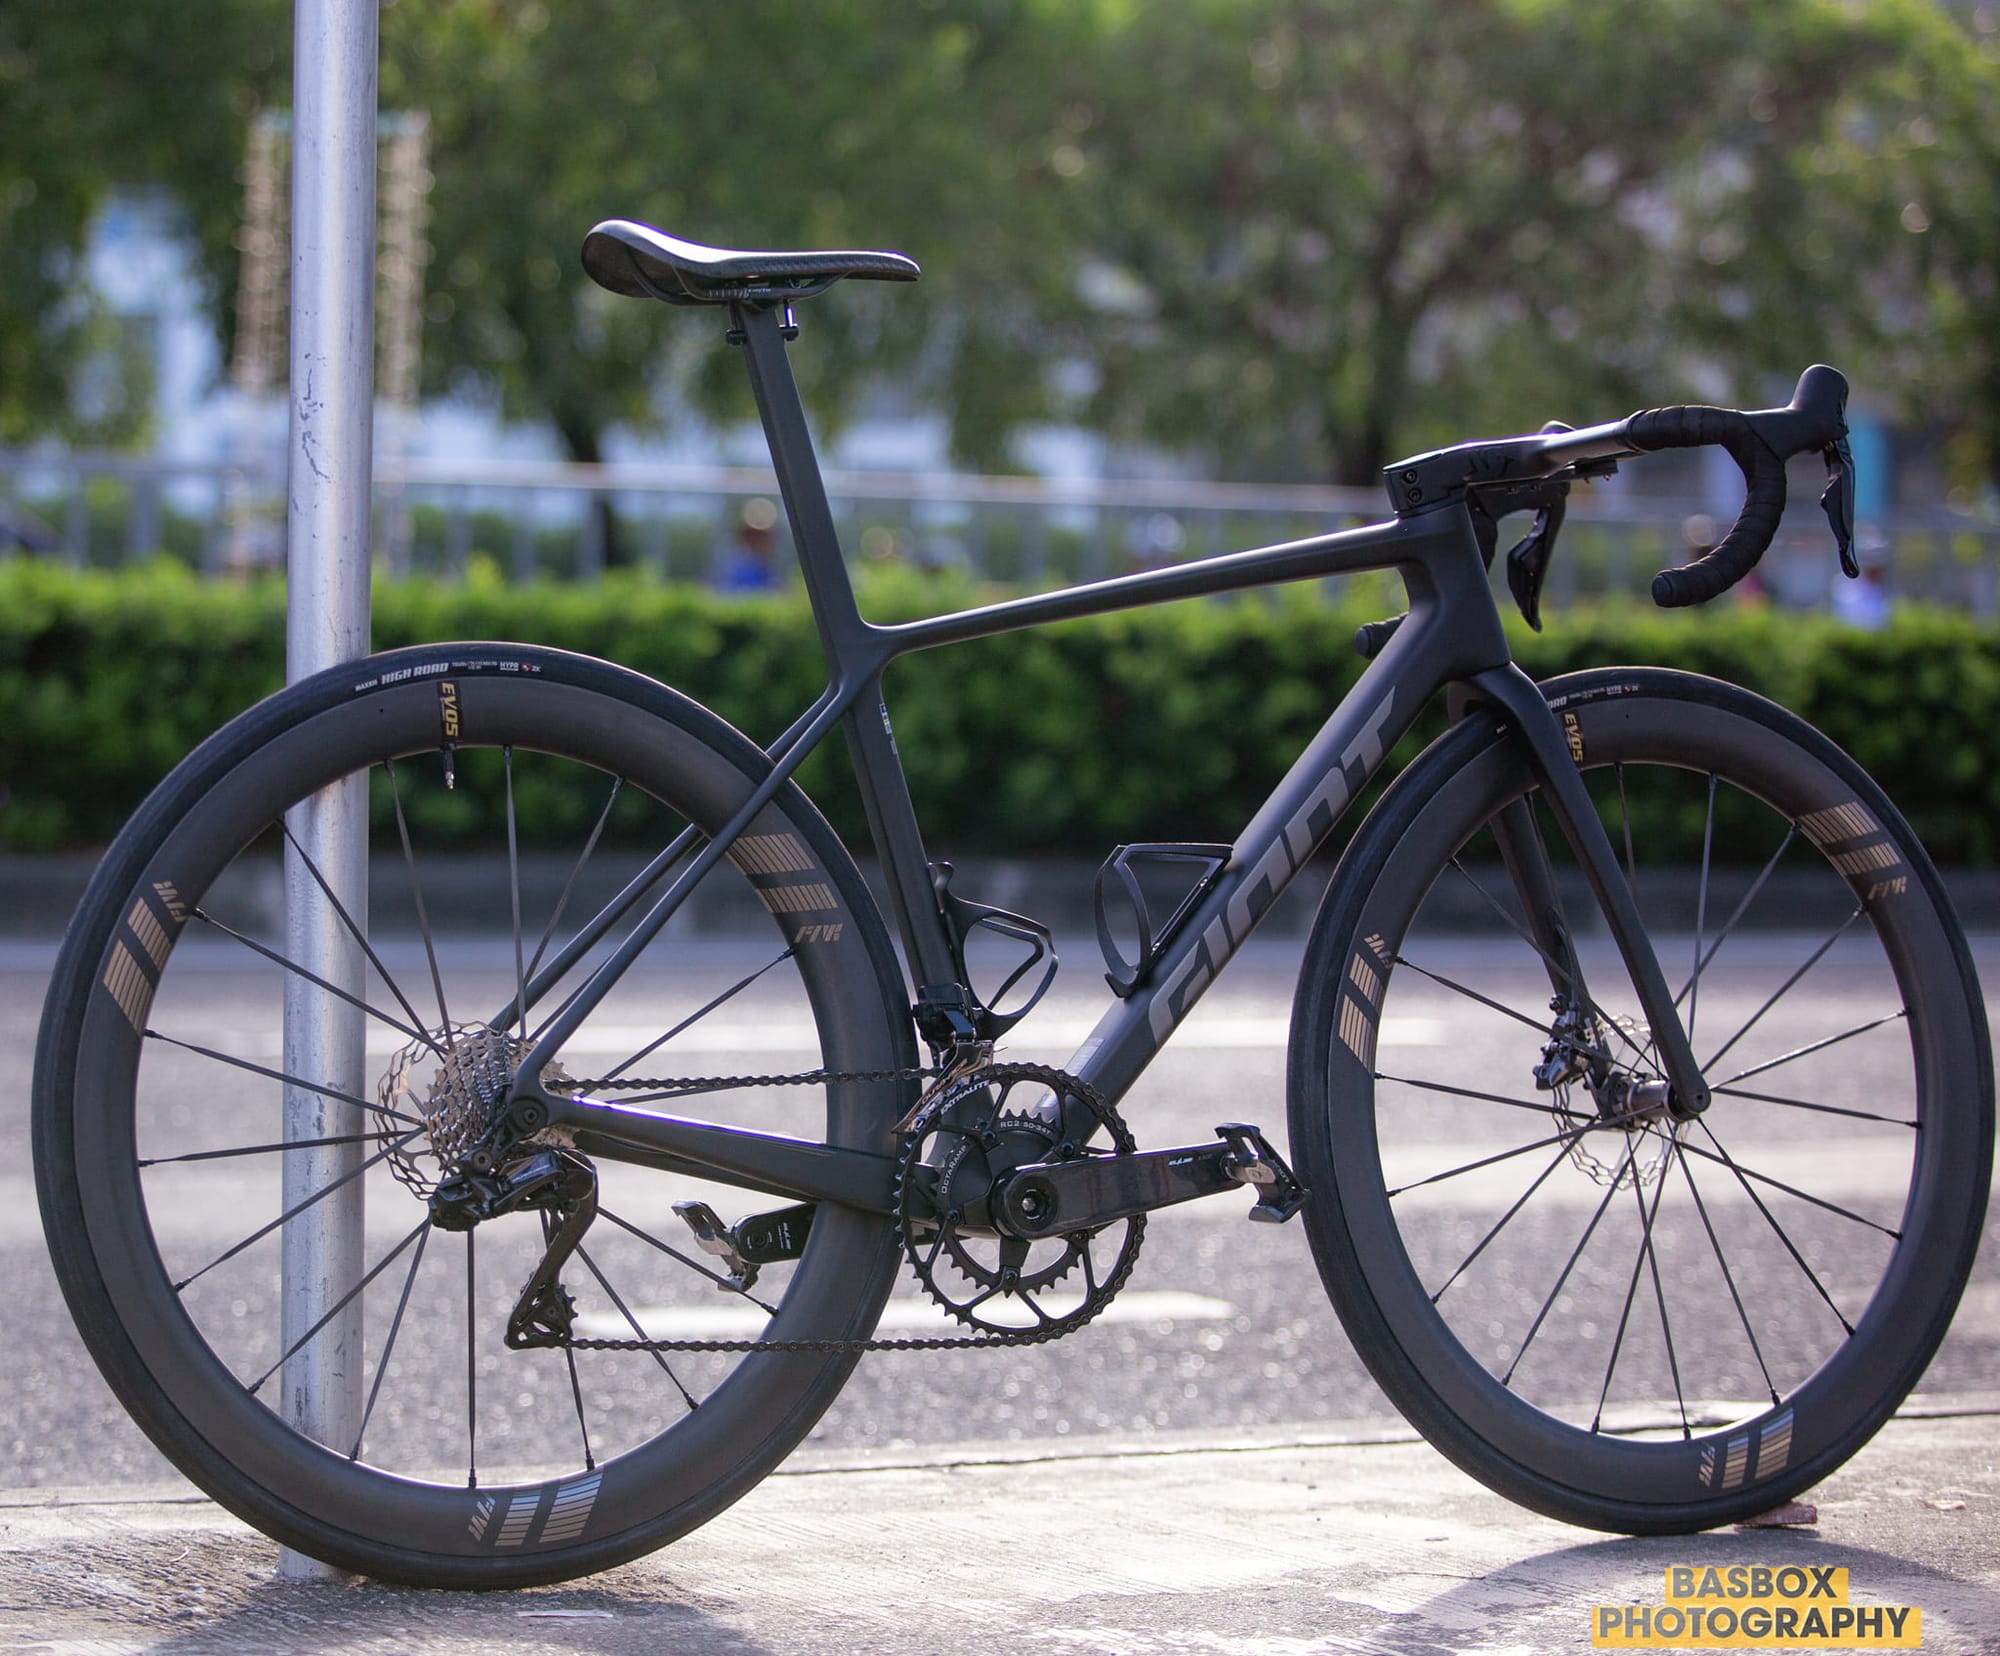
In the latest edition of Joy Rides we venture over to the Philippines to hear the story of Francis Lim's modified Giant TCR SL. You might recognise Francis as the architect behind this award-winning, 5.2 kg Orbea Orca, featured in a previous edition of Joy Rides, plus a bunch of other fascinating homebuilds.
As you'll read, Francis made some rather significant modifications to the stock TCR frame, resulting in a build that's attracted plenty of attention on his home roads.
“It’s not really a hack if it makes things harder, never mind even if it ends up better-looking than the original intent.”
That was always in my mind while working on this project. I couldn’t pin down exactly why we ended up doing it but we did. By ‘we’ I mean me, Francis Lim, who lives here in Cebu and a very good friend, Philip Angtuaco, who lives in Manila.
We had been going back and forth for a while on the upcoming MY2025 Giant TCR SL in August of last year when it came out. It was touted to be the lightest TCR ever, and since we both have ridden different iterations of Giant’s all-around model since the early 2000s, we both decided it would be our next bike.
We won’t bore you with all its attributes but there is just something about the TCR that makes it very popular with the Filipinos – compact geometry that fits us smaller-built people and the relatively affordable US$3,000 frameset price which is a quarter lower than how much it’s being sold for in other places.
Of course, by being popular and affordable, a good number of TCRs would be running around so we identified areas where we could tinker and modify, to make something a little different. We are both weight-conscious bike builders so weight was an area we naturally focused on. The head tube cluster, in particular, was one area we thought we could make improvements to.
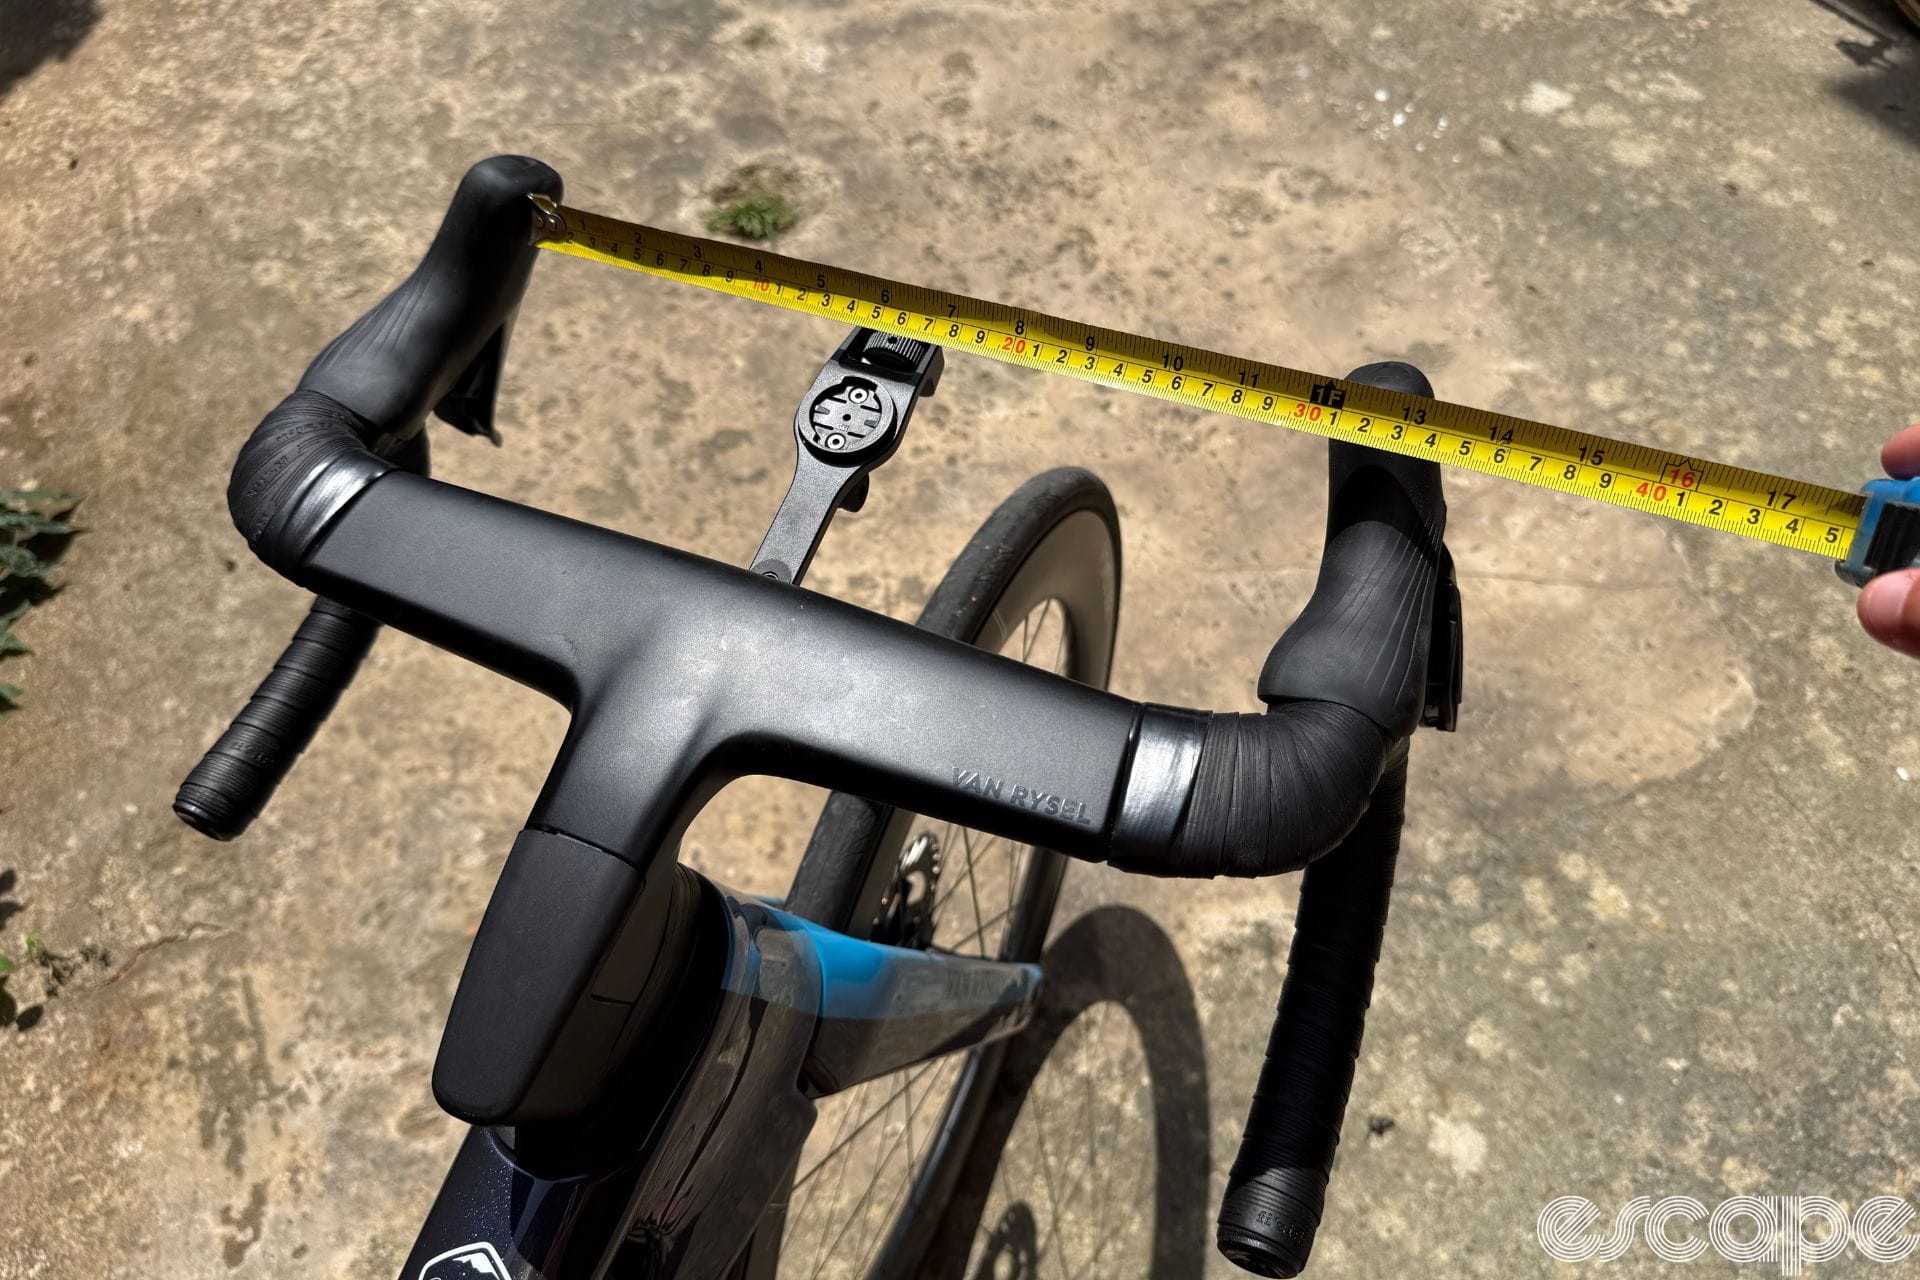
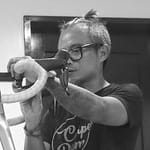
With the TCR having a 1-1/4" steerer, we were limited in our choice of what we could install. The Giant in-house stem and bar isn’t heavy, but we felt we could make it lighter. Since I already had a bar taken from a previous build, I went with a two-piece solution while Philip went with an integrated cockpit. The lessons and success I had designing and 3D printing for my Orbea Orca OMX build gave me the confidence to do something similar again. I worked on the 3D model of the headset cap and interface for both setups while Philip worked on options for the compression plug.

The result was a 3D-printed headset cap with brake hose integration coming out the underside of an aluminum stem, and another cap which transitions to an integrated bar. We ditched the D-shaped compression plug and bonded a threaded aluminum insert directly into the steerer.
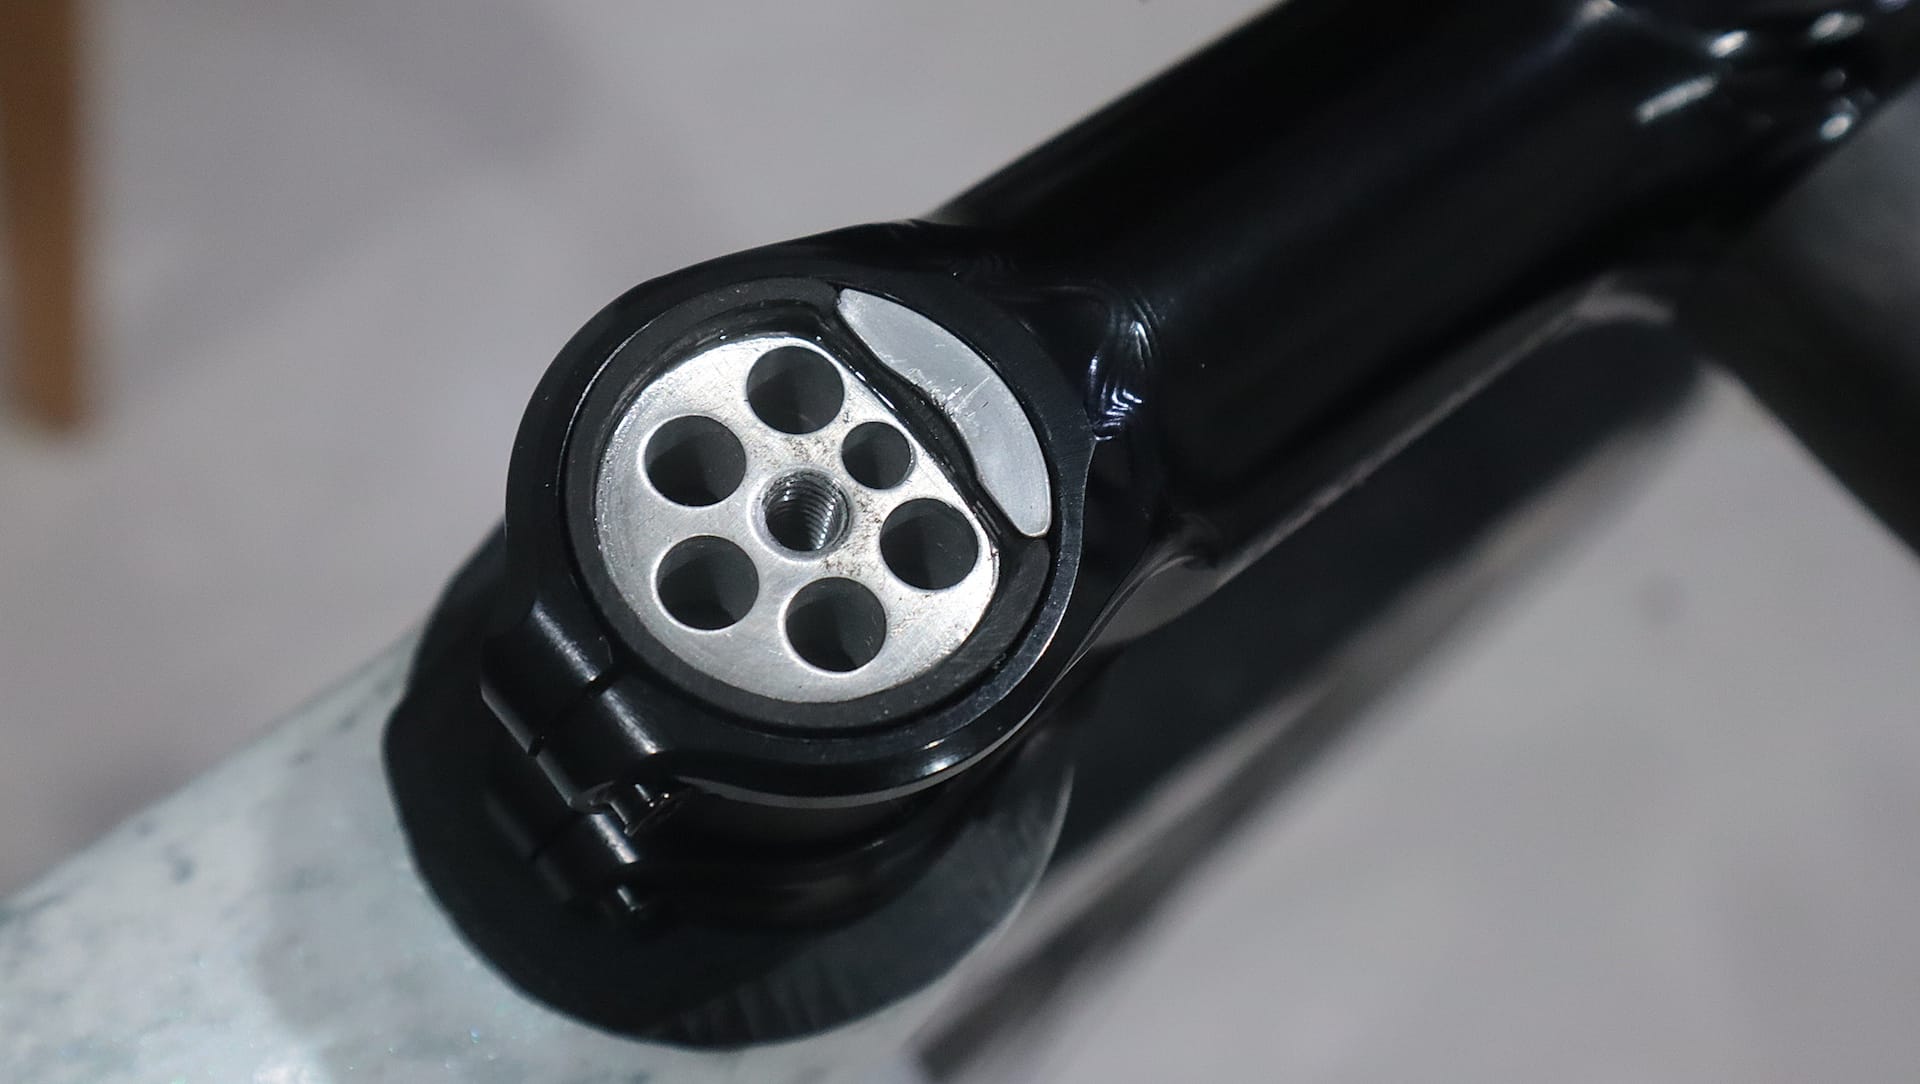
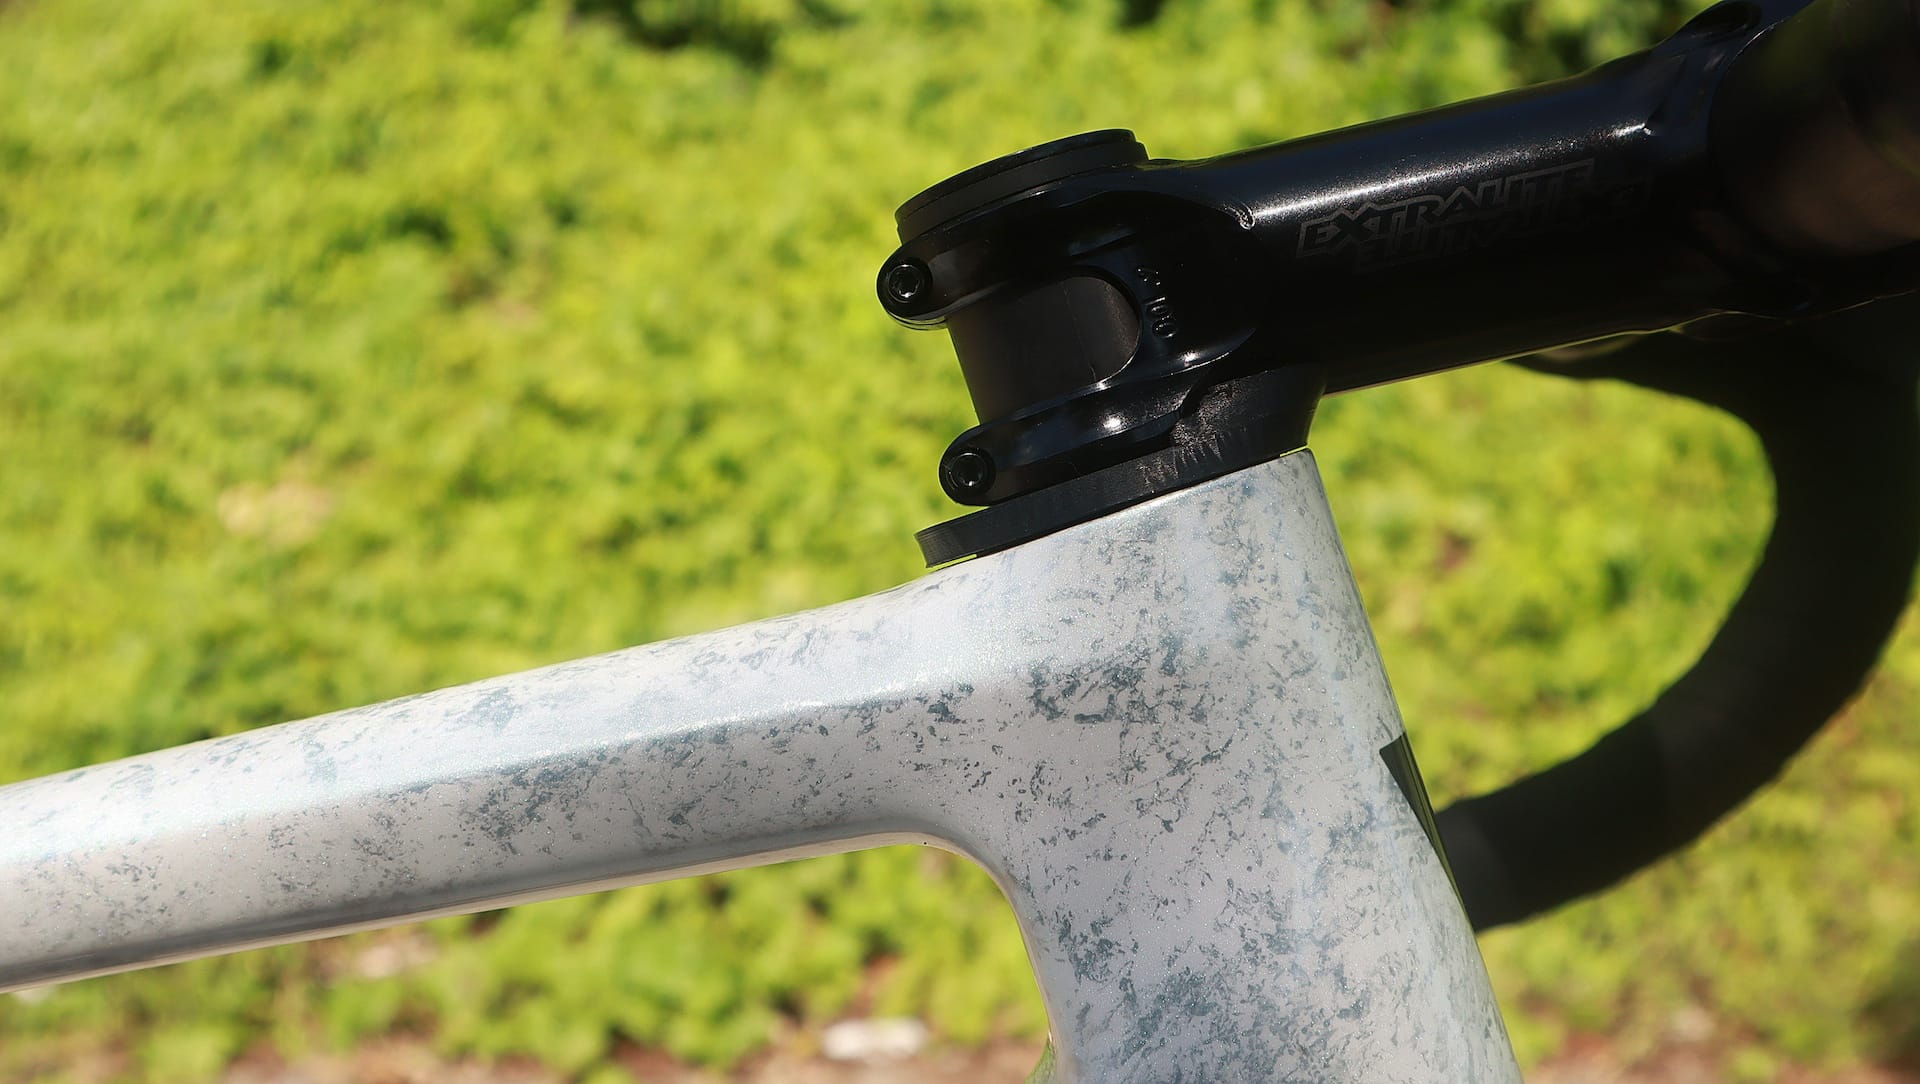
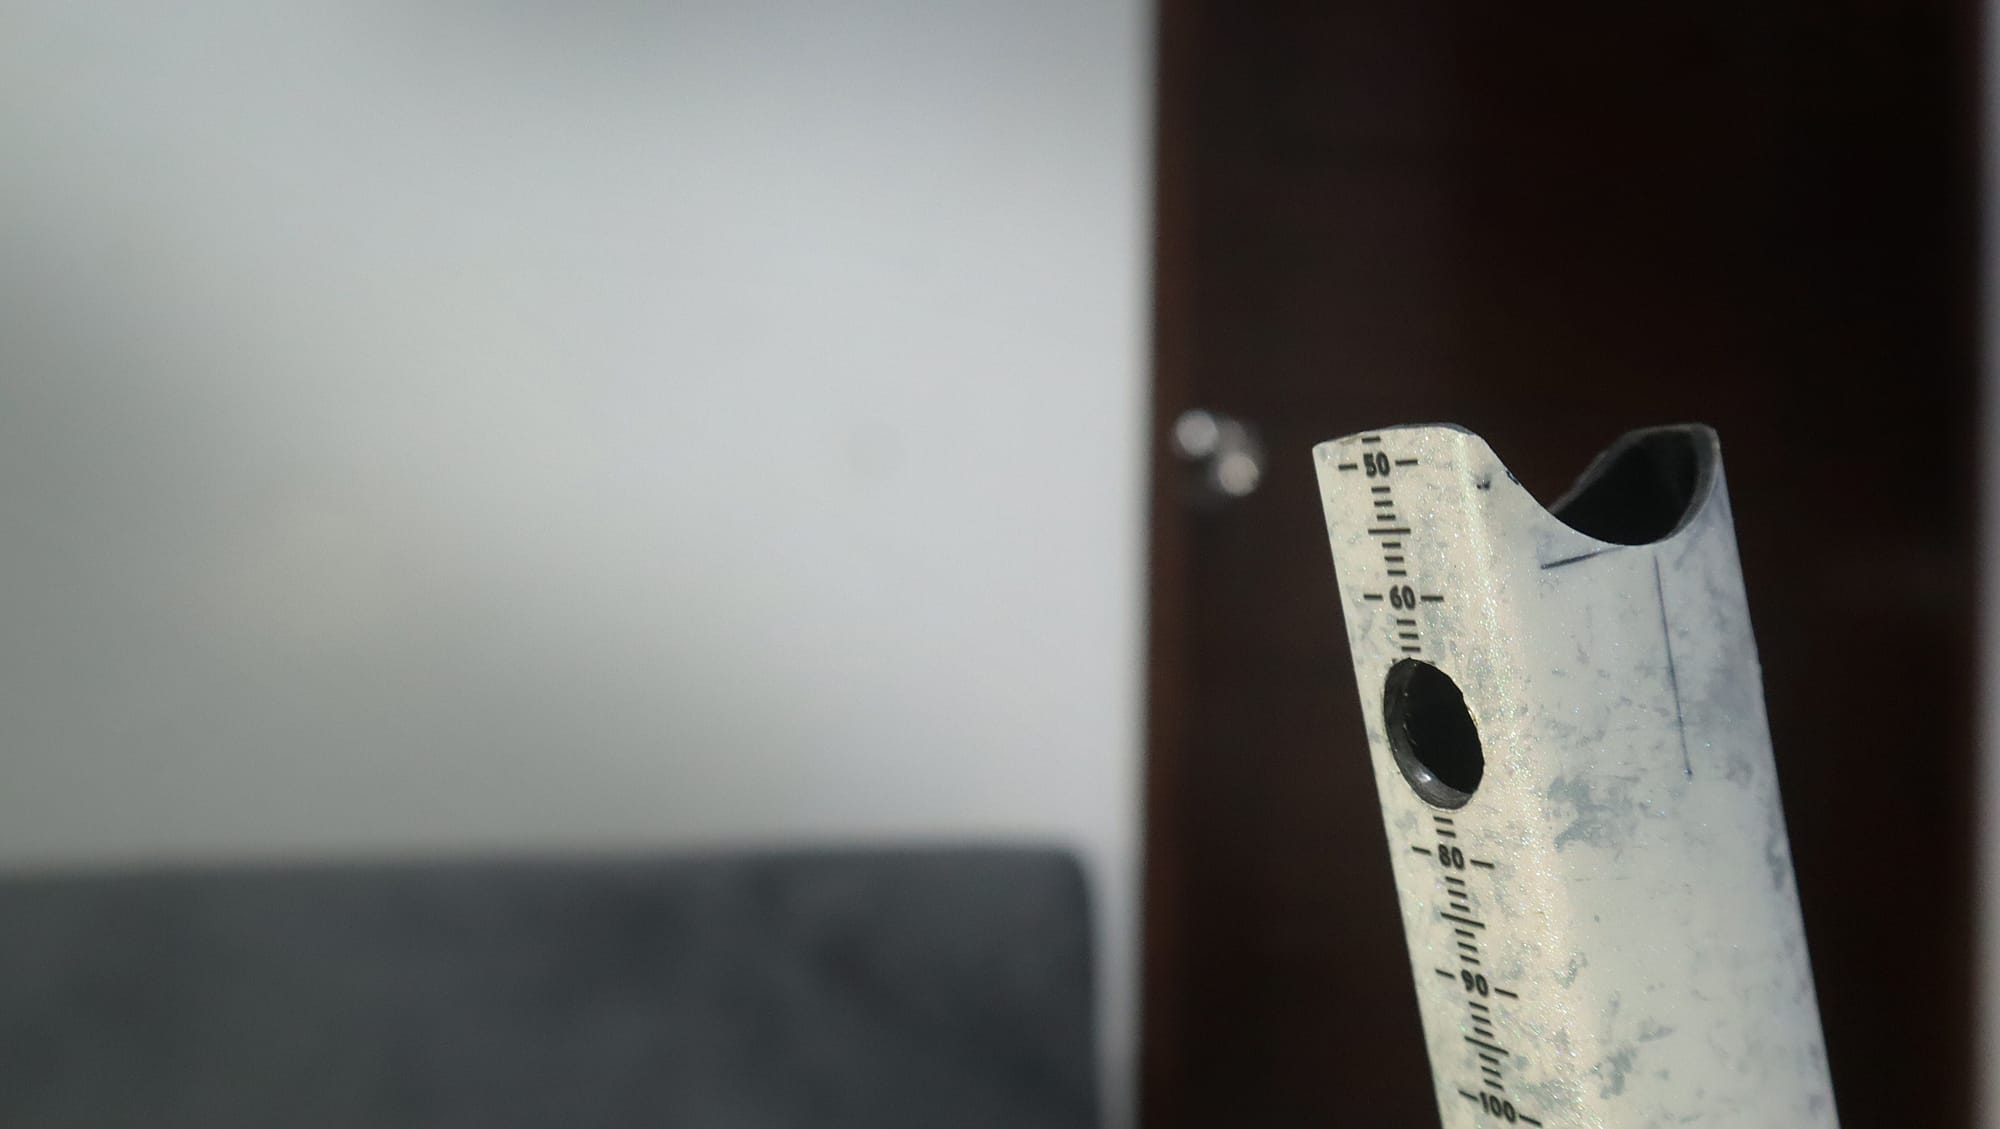
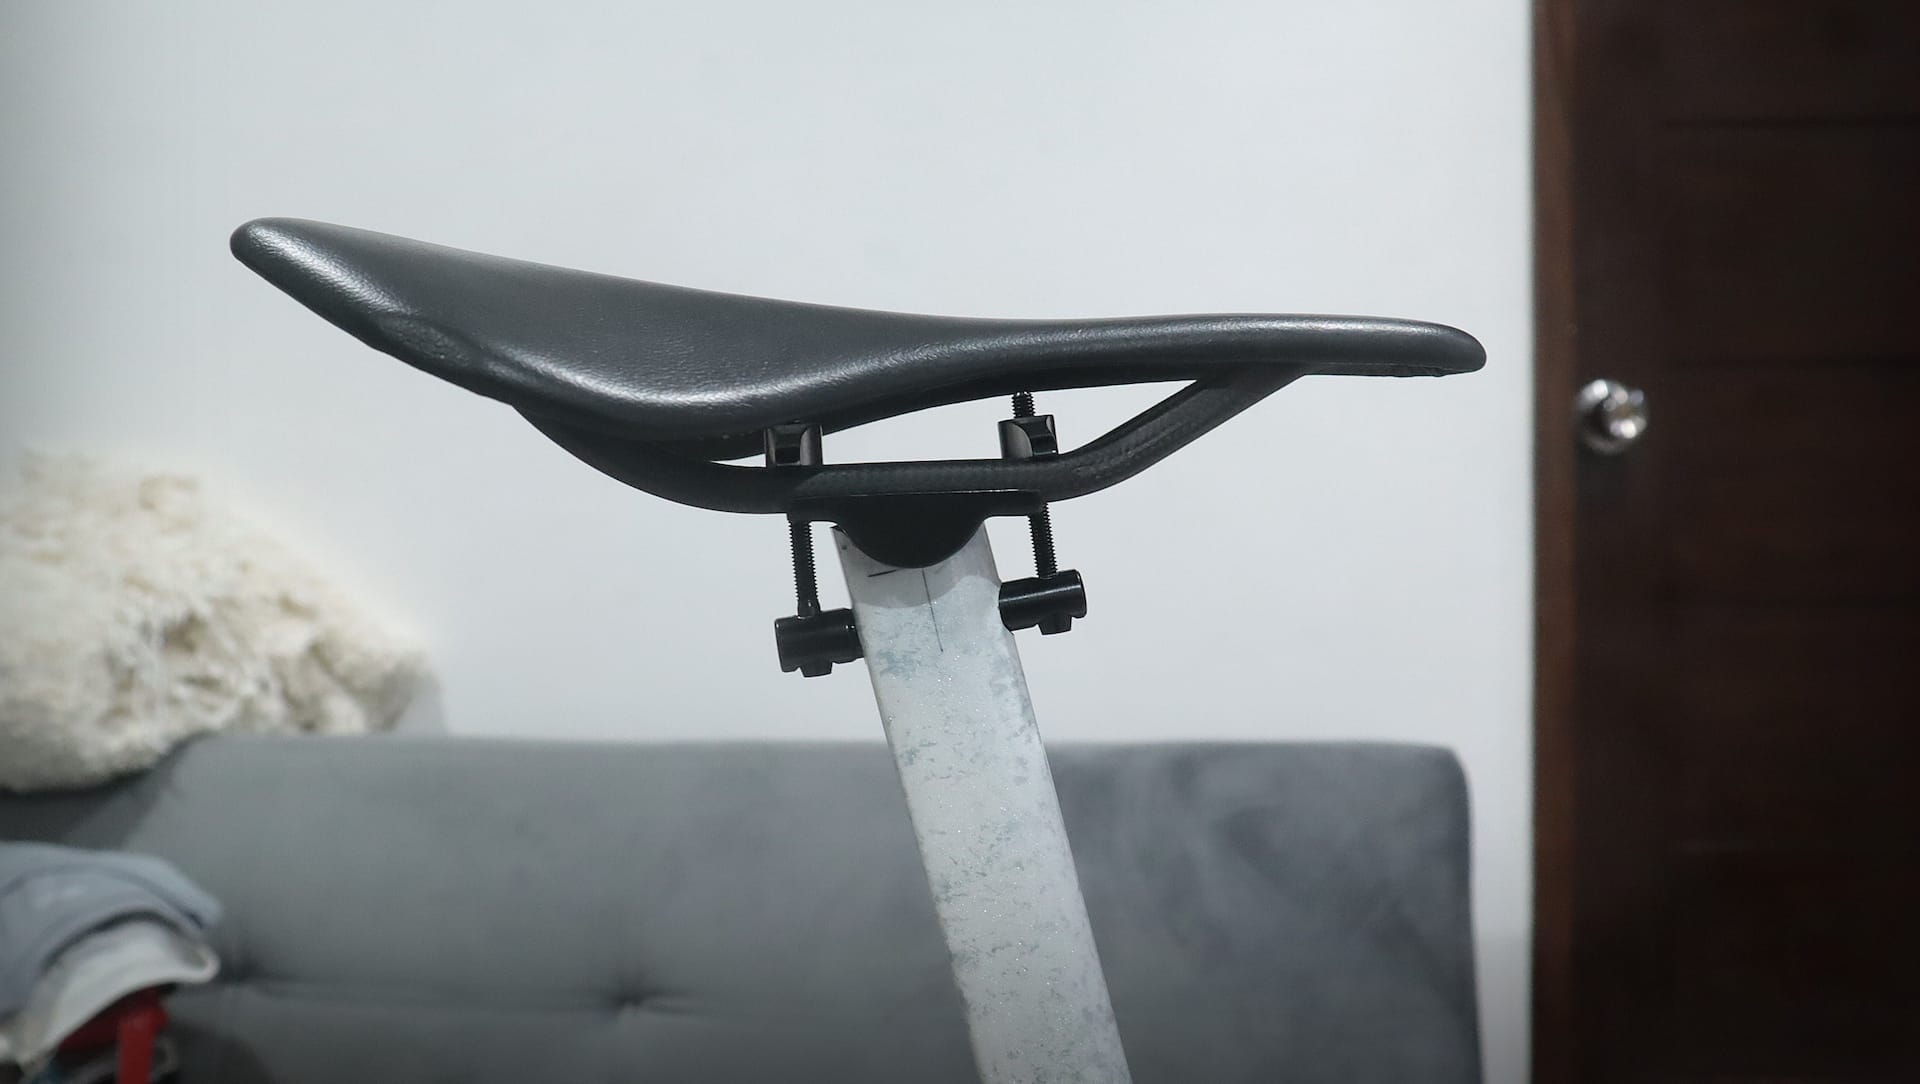
The seat tube cluster was another area where we spent time. The current seatmast, although lighter than previous models, could still be lighter. We ended up deciding to forego the seatmast and mount the seatclamp hardwear directly on the seat tube. Again I worked on the 3D modelling of the inserts before sending it out to Philip’s workshop for testing and to make a custom machine-engineering-grade plastic replacement.
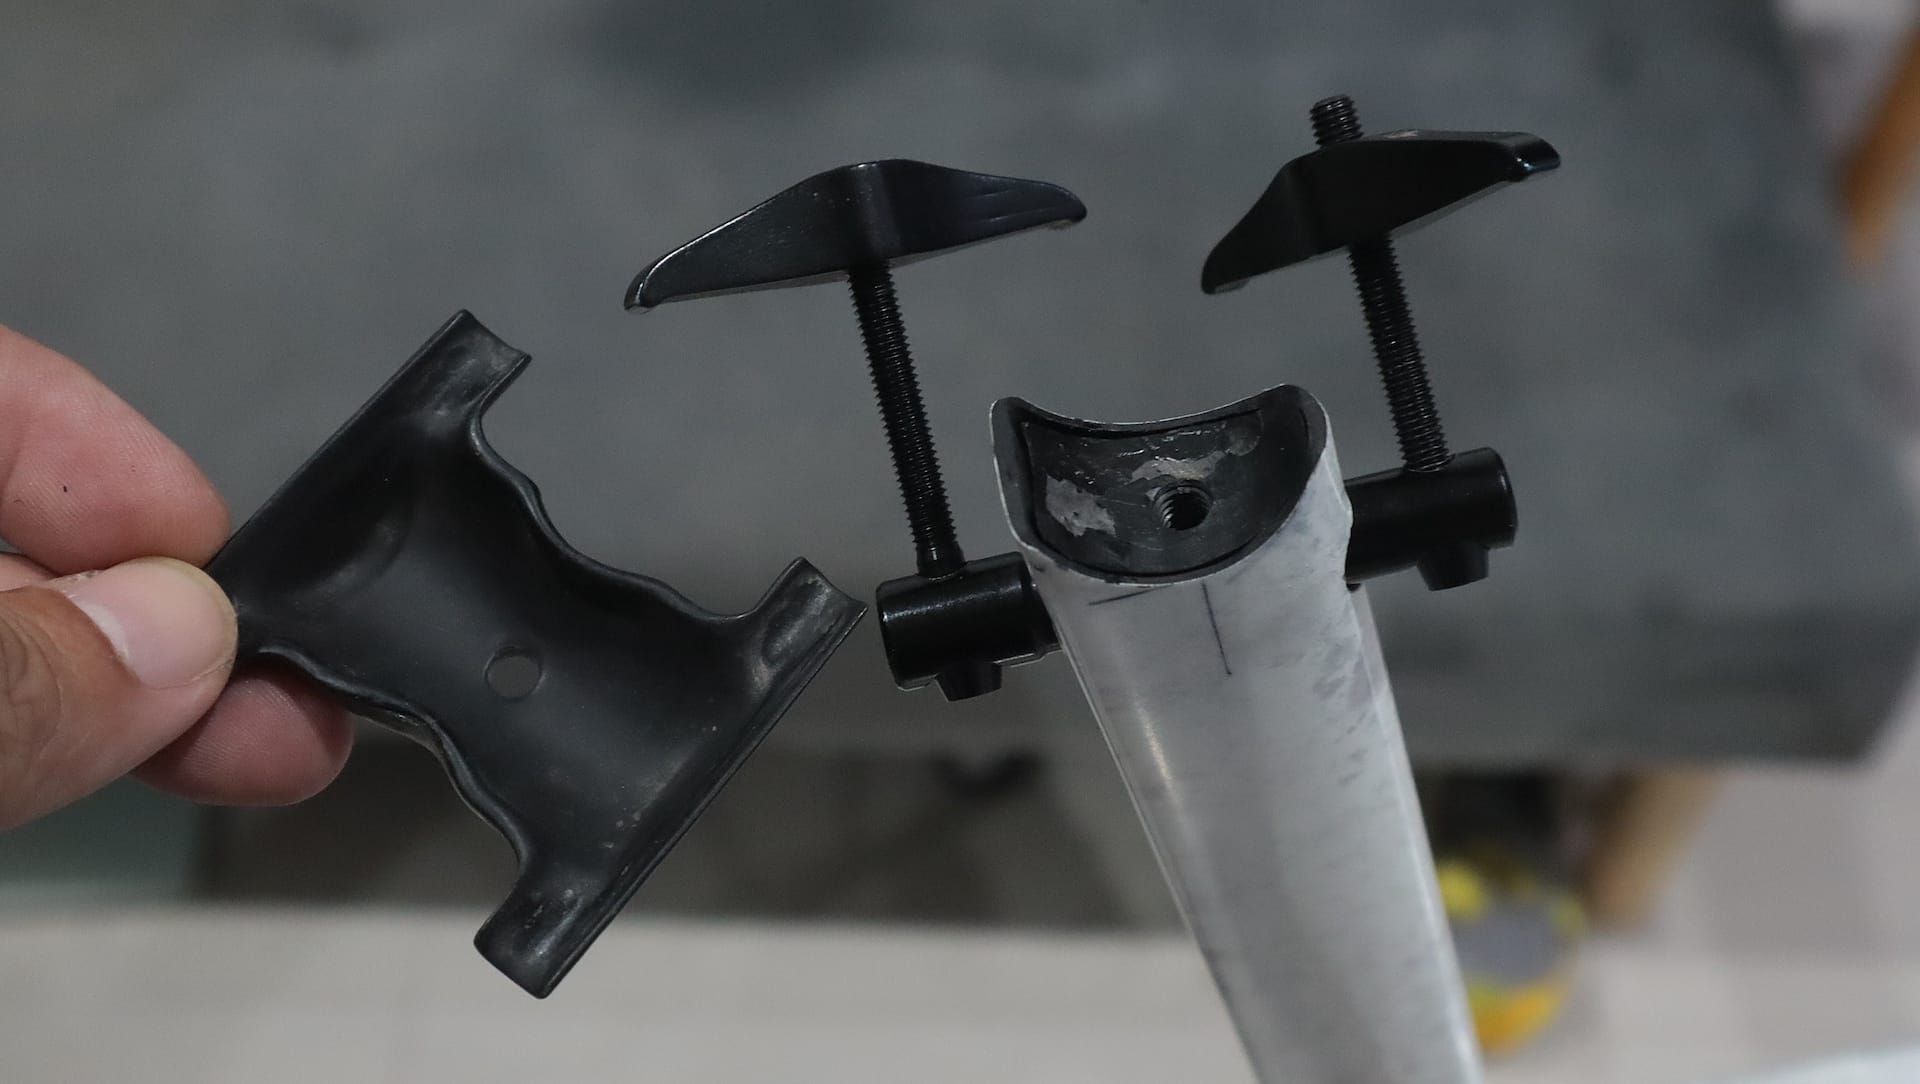
The solution was to bring together a barrel, titanium bolts, carbon cradle, and rail clamps, bore a hole through the tube for the barrel to insert into, and use the insert to help distribute the downward load of the saddle and the upward pull of the clamping force.

You may wonder why there are no adjustment options with this modification.
A key moment was cutting the seat tube and drilling the barrel hole and cradle shape on top as it left no room for error. We both know our saddle heights and have our favorite saddles and cockpit positions, so once we dialled in our measurements, that was it.
The only backup we had was that if the seat cluster setup didn’t work, we could always cut and revert back to the stock seatmast clamp. Philip is currently tinkering with a cradle that can lower the rail position so he can use other saddles.
Thankfully, we nailed the cockpit setup for both bikes in one go because of the previous experience gained on the Orbea build.
After about two months of modelling, 3D printing, testing and revising, both bikes were assembled without issues and have been riding well.
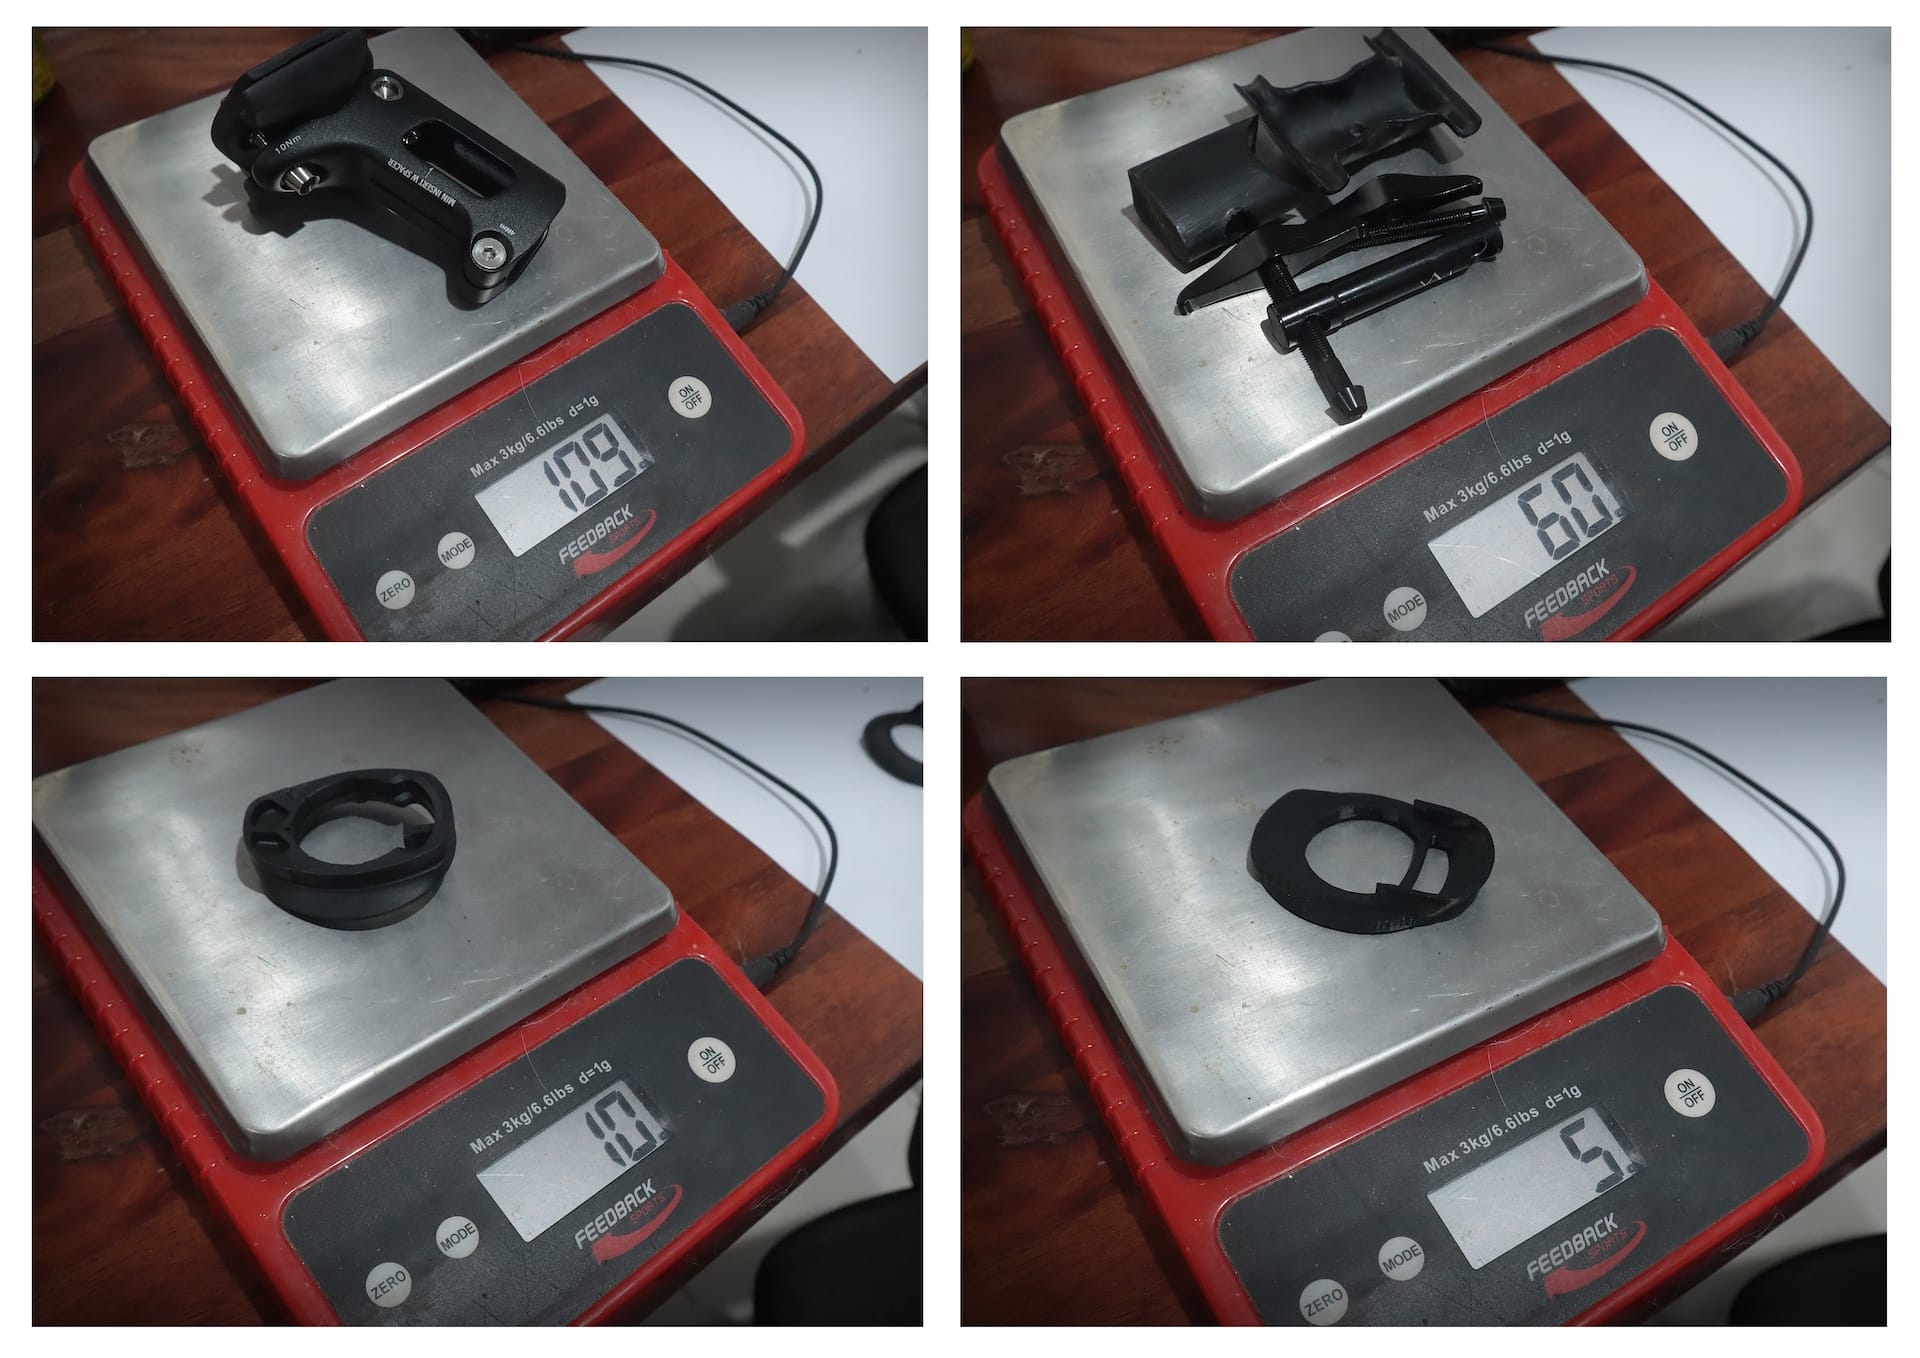
The frame only weighs 835 g with the seatmast so it’s pretty light already and could serve as a platform for an ultralight build. For this exercise here is the list of the weight we saved:
- Cockpit: 87 g
- Direct mount seatclamp: 49 g
- Steerer insert: 18 g
- Headset cap: 5 g
That’s a total of 159 g saved – a substantial amount at these weight ranges. In total, my bike weighs 6.38 kg as pictured.
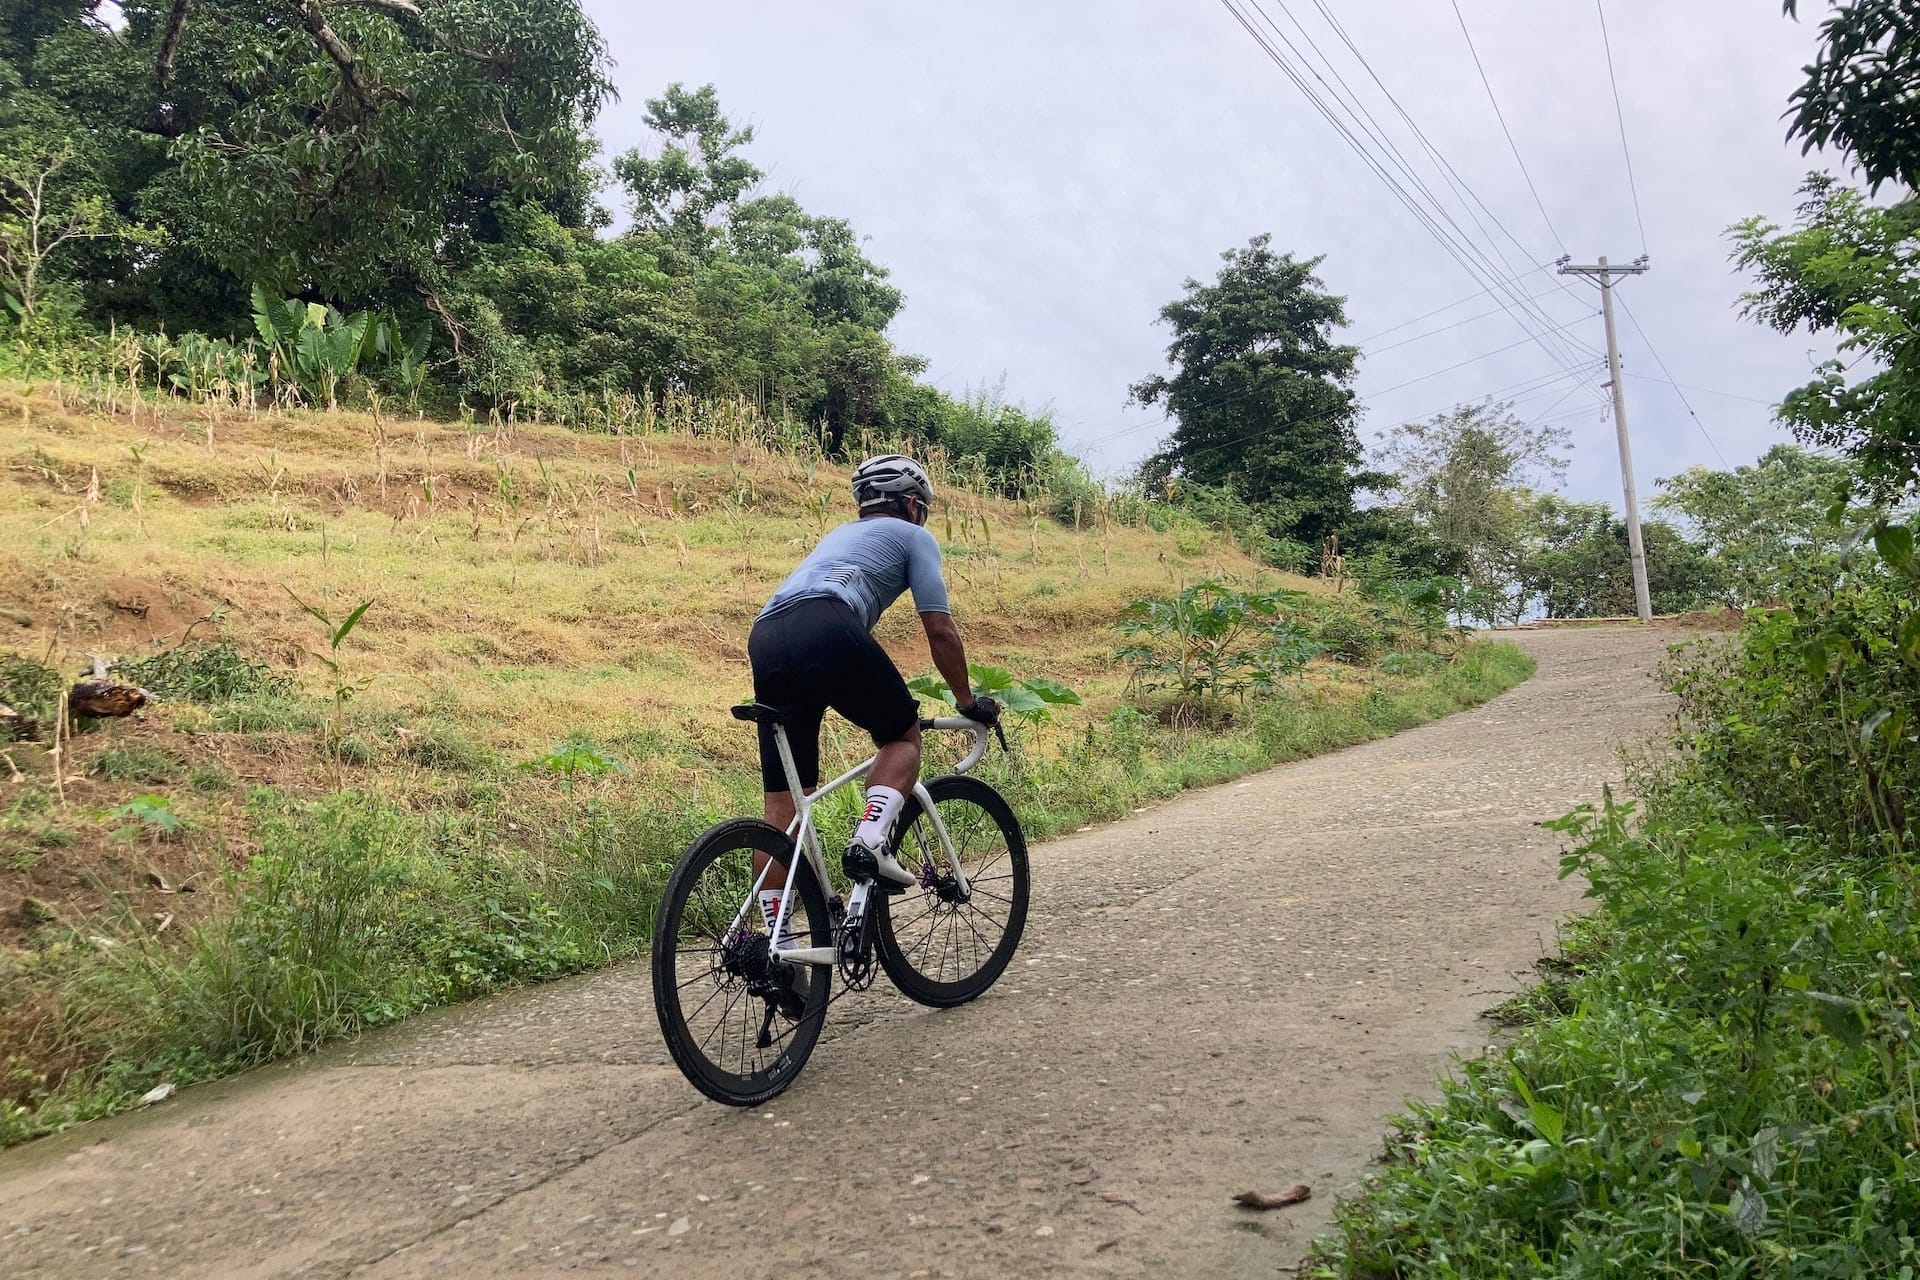
As detailed from the Orbea story, the backroads here in Cebu are not the smoothest and there are still some dirt sections in some areas. The head tube on this new build hasn’t rattled at all and the seat cluster has remained solid. I weigh 68 kg and initially I had to baby the saddle on those dirt sections but after a few months of riding, I’ve actually forgotten about it and ridden a couple of hillclimb races on it.
Of course when the bike is parked, most will notice the seat cluster and it becomes a good conversation-starter. A couple of guys riding TCRs have asked whether I would be willing to work on their bikes for a similar setup but I politely turned them down as I’d like to keep the exclusivity on the setup. That was what we wanted in the first place. But being asked was already a highlight; having other people trust what you do.
I’m not a sponsored builder and I buy all material out of my own pocket. This build was no different. So far I’ve exhausted what I could have done on this bike to make it better. Maybe I’ll have the headset cap reprinted in PA12 CF, a better material than the current ASA print. But then I have to think about the hassle of recabling and rebleeding the brakes.
For now, I’m just enjoying the ride while thinking about what project might come next!
Build list
- Frameset: 2025 GIANT TCR SL ISP, size S, Opal Raw Carbon
- Shift kit: Shimano Dura Ace 9200 DI2 Upgrade Kit
- Crankset: Elilee X-310 cranks/ Extralite Octaramp RC2 chainrings
- Drivetrain: Neutron ultralight cassette/ KMC X12 BlackTech chain
- Pedals: Speedplay Zero w/ titanium upgrade kit
- Brakes/ calipers: Hope rRX4 quad piston, purple
- Rotors: Ashima ARO-10 160 mm front and rear
- Handlebar: Darimo Ellipse road bar, 360 mm
- Stem: Extralite Hyperstem 110 mm aluminium w/ modified cable holes
- Cable routing: 3D-printed custom headset cap and compression ring, 5 mm stack
- Saddle: Berk Lupina Shorty padded black
- Seatclamp: custom direct mount carbon cradle with black titanium hardware and delrin insert
- Tape/ grips: Velo gel cork tapes
- Wheelset: Lightweight Meilenstein EVO Schwarz ED TLR
- Tires: Pirelli P-Zero Road TLR 30mm, tubeless
- Bike build/ modification/ 3D-printing: Francis Lim and Philip Angtuaco
- Parts customization: Luis Abari custom shop
- Workshop assistance: 45 KPH bike shop
Did we do a good job with this story?