
A new year means planning new adventures, ideally with bikes involved. Whenever I’ve had a bike in tow (or awaiting me at the destination), you can bet I’ve been obsessing over the tools required to assemble, adjust, and/or maintain the thing - all without excess and needless bulk.
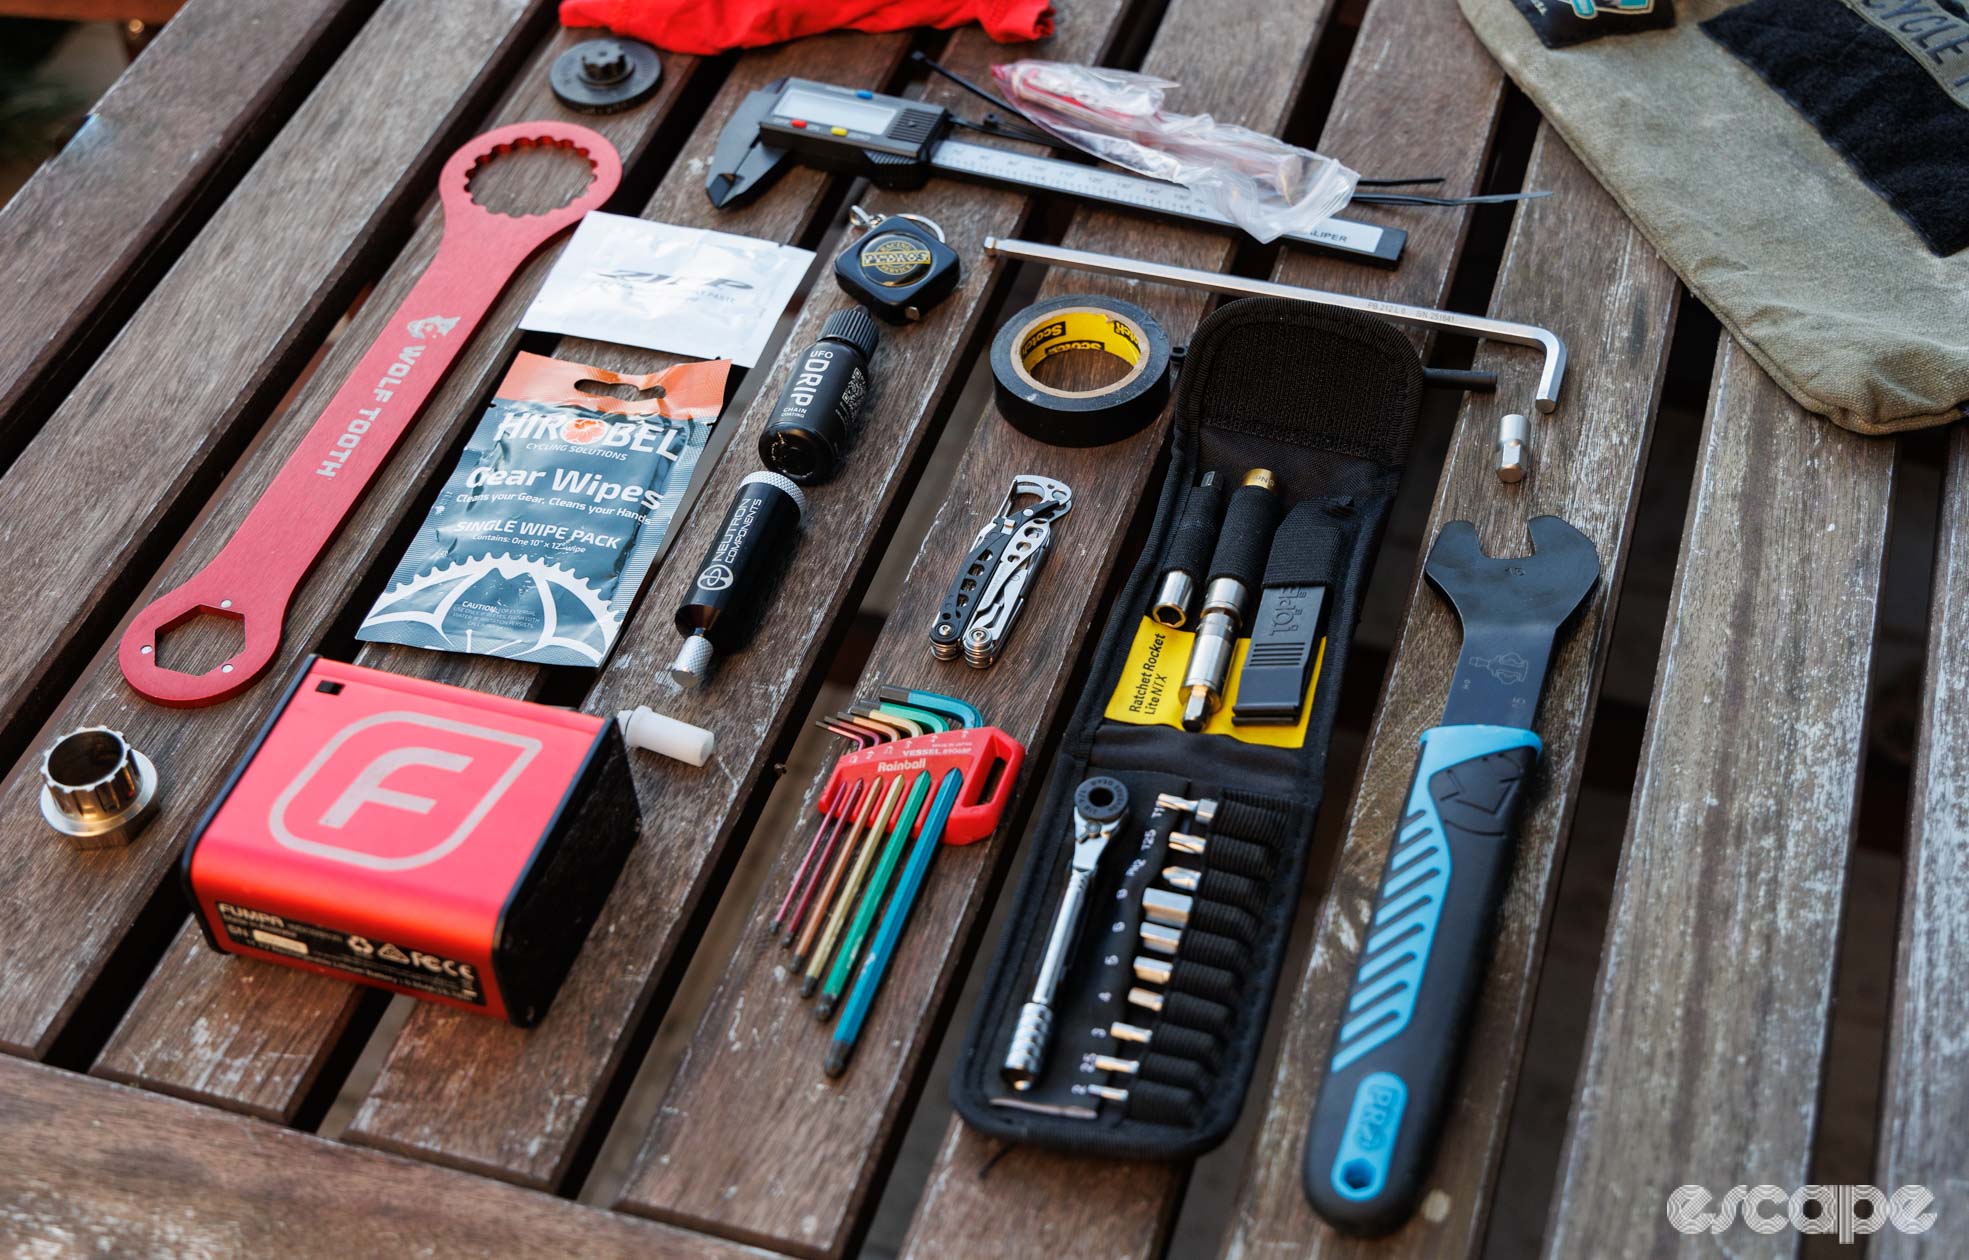
This edition of Threaded looks at how to assemble a functional, yet minimalist, tool kit to pack when travelling with a bike. A lot of this article assumes airplane travel (checked luggage) where weight and size are at a premium, but it can equally apply to creating a tool kit to pack in a car glovebox or perhaps just to take within a gear bag to events. Think 1 kg of tools and consumables, rather than 10 kg. Put another way, this is a geeky weight-weenies edition of Threaded.
Of course there are professional mechanics who travel the world for various reasons and need the kitchen sink, or at least, the caravan sink. There are also many home mechanics who want all their tools in a portable case. I’ll get to such portable tool kits in future. Similarly, we aren't talking today about what tools to pack for taking with you on a ride – although a few of the tools covered here are popular picks for more adventurous/remote rides.
Random tips for better bike travel
This article also isn’t about how to pack a bike or best protect it, but I do have a few quick tips to share on the themes of happier and easier wrenching, lighter packing, and just generally less chance of things going wrong.
First and foremost – and hopefully an obvious one – the bike you’re planning to travel with should be in excellent and well-serviced condition. There should be no niggling issues, bolts that are on the edge of rounding, creaks you’ve been ignoring, or parts you know you’ve worn through. Get these sorted well in advance of your travel day, leaving enough time to ride the bike and ensure it is in fact, fixed. Having full confidence in your equipment should make you confident to leave some of the bulkier tools and spares behind. It’s incredibly unlikely you’ll need a spare cable and cable cutter if your cables are fresh (*cough* Caley *cough*).
A less obvious tip is to start the trip with a pristinely clean drivetrain. Packing a bike with a dirty drivetrain sucks, and not only will it make a mess at your destination, it’ll spoil your case and packaging, too. This is one area where hot-melt wax (or a good drip wax) rules supreme. If going the wax route, pack a small bottle of good drip-on wax to use as a top-up lube.

I prefer to remove rotors from the wheels for disc-brake-equipped bikes going into a regular bike case or bag. I’ve had a few rotors get bent in transit over the years, and it’s a quick task to remove them (especially if they're centerlock). Once removed, I’ll wrap them together in paper towel (held on with an elastic band or masking tape), and then ideally into a clean ziplock bag. From there, I’ll find a pocket that’s safe from an external hit. If you'd prefer to leave them on, then consider getting some disc protectors from a local shop (they’re often used in the shipping of new bikes) and wrapping the rotors with some paper towel in case they’re in contact with a once-greasy part of the case.
Got a bike with electronic shifting (or dropper, or suspension, etc)? I always recommend travelling with your charger and a spare coin-cell shifter battery (if on newer wireless), just in case. For SRAM eTap/AXS bikes, be sure to remove the derailleur batteries to ensure they’re not keeping your components awake for the whole duration of travel. For Shimano, unplugging the rear derailleur wire will help to ensure accidental shifts can’t be triggered.

Derailleur hangers are one of the most commonly damaged parts when travelling with a bike. Some cases/bags/boxes do a great job of shielding the rear derailleur from potential impact, but if your case leaves the component vulnerable, then I’d suggest unbolting the rear derailleur (again, assuming you’re comfortable with the task).
If you need to remove your seatpost for travel, then clearly mark its height prior to moving it. I like to use a wrap of electrical tape for this, but a silver (gold or white work, too) Sharpie marker is another solid option. And similarly, if you need to remove your bars, I recommend marking two reference dots alongside the stem faceplate to assist with replicating your original position.

Finally, a few bits of plastic can go a long way to smoother travel. Use those disc brake pad spacers (ask your local bike shop if you don’t have any) in case of accidental lever pulling. And without a wheel in place, you should put something within the dropout of the frame/fork to prevent potential squishing (again, assuming your case doesn’t already offer this). Bike shops will once again have options, there are dedicated products you can buy, or for thru-axle frames, I’ve found cutting some PVC pipe of the correct diameter down to match your hub width (e.g. 100, 110, 142, or 148 mm) is best.
The case for using real tools
Many people are happy to use a multi-tool for regular wrenching. I prefer not to.

I see most multi-tools as ride-specific tools. They’re intentionally compact and easy to carry, but that often comes at the expense of how well they perform as a real tool. While there are good-quality multi-tools, many can compromise the fitment with a fastener. Then, consider that multi-tools typically also compromise general comfort in the hand, available leverage, control, speed of use, and even access to tightly confined bolts.
Did we do a good job with this story?