
In this first instalment of a four-part series on power in cycling, we will take a look at finding the right power meter for you. Power meters are seen as the gold standard in training metrics; unlike other physiological metrics like heart rate or perceived exertion, power is an objective measure of the output you generate through the pedals. Perceived exertion is inherently subjective, while heart rate can vary with fatigue levels, sleep, hydration and plenty of other factors. But power remains constant; one watt will always be one watt, regardless of how hard or easy it feels to generate it day by day.
Including power data in your training allows for more objective and measurable training from session to session. With training zones, it is simple to calculate the specific power zones you need to ride in to target a specific metabolic system. This allows for higher quality, repeatable and comparable training that can help you realise your potential.
While some bike brands are increasingly shipping premium models with power meters fitted, this is still an exception rather than the rule. For most, a power meter will be an aftermarket upgrade. With plenty of options to choose from, getting the right power meter can seem like a tricky task. Understanding what you are looking for and being able to identify the key differences can make choosing the right power meter for you that little bit easier.
What is a power meter and how does it work?
Regardless of the specific design of a power meter, they largely all exploit the same inner workings. In a scientific sense power is defined as the rate of work. In this definition, work refers to the transfer of energy.
For a power meter to give a reading it needs two input variables: firstly the force applied by the rider and secondly, the axial velocity or cadence. Cadence sensors use simple accelerometers to calculate how many revolutions per minute a rider is pedalling. To calculate the force applied by the rider strain gauges are used to measure microscopic deflections in the material to which it is mounted. As the measured area deflects it causes a change in the electrical resistance that can be converted into a torque measurement. When this is combined with the accelerometer's angular velocity measurement you have a power reading.
Why should you use a power meter?
Power meters can take the guesswork out of training and allow for consistent sessions to be replicated regardless of environmental factors, variance in heart rate, or motivation levels. If you use speed or heart rate as your only metrics it can be difficult to draw any meaningful conclusions from the data. Instead of using a specific hill or section of road for an interval with power, you can translate the sessions onto any terrain or location as riding at 300 watts is – broadly speaking – the same whether on the flat or a climb.
Quantify Your Training Load
It can be hard to compare the physiological stress of two different rides with varying intensities and durations. Adding power data allows an easier understanding of the general impact each ride has on your body. TSS – or training stress score – is a value assigned to each ride based on how hard and long it was. This allows you to stay within an optimal training load week to week regardless of which phase of a training block you are in.

Training Specificity
If you are building towards a target event or goal there are likely specific demands that can be broken down and trained for. Using interval sessions based on specific training zones allows you to recreate in training the demands of the event. If you are targeting a mountainous gran fondo, building up the ability to repeatedly climb at threshold intensities will prepare you for the demands on the day of the event. Likewise, if you are training for a criterium or kermis the ability to measure short, hard efforts is possible with a power meter in a way that heart rate alone can never achieve.
This is because power is instantaneous; the force you put through the pedals directly translates to the numbers on your head unit in real time. With heart rate, by contrast, there is a significant lag in your body's response to changes in intensity, which means for efforts under around one minute in length you can’t get an accurate reading.
Identify Strengths and Weaknesses
Training with power provides insights into a more detailed view of your cycling ability. You might be very good at short anaerobic efforts but struggle more with longer threshold efforts. Or you might have a big engine that can produce power for hours on end but struggle to hit the higher intensities. Using power profile mapping can help identify the type of rider you are and where you need to invest time improving to become a better-rounded rider for your target goals. Having a clearer understanding of your physiological abilities makes tailored training far more relevant to you as an individual.
What options are there?
Something else that can influence which meter is right for you is where the power meter is mounted. Historically the easiest place to consistently measure power on a bike was at the rear hub, which has the least input forces and is the most stable area for measurement. Although hub-based power meters were once very popular, in more recent times they have become somewhat of a rarity as pedal and crank-based power meters have largely replaced them. That's in part due to their ease of installation and the limitations of hub power meters.
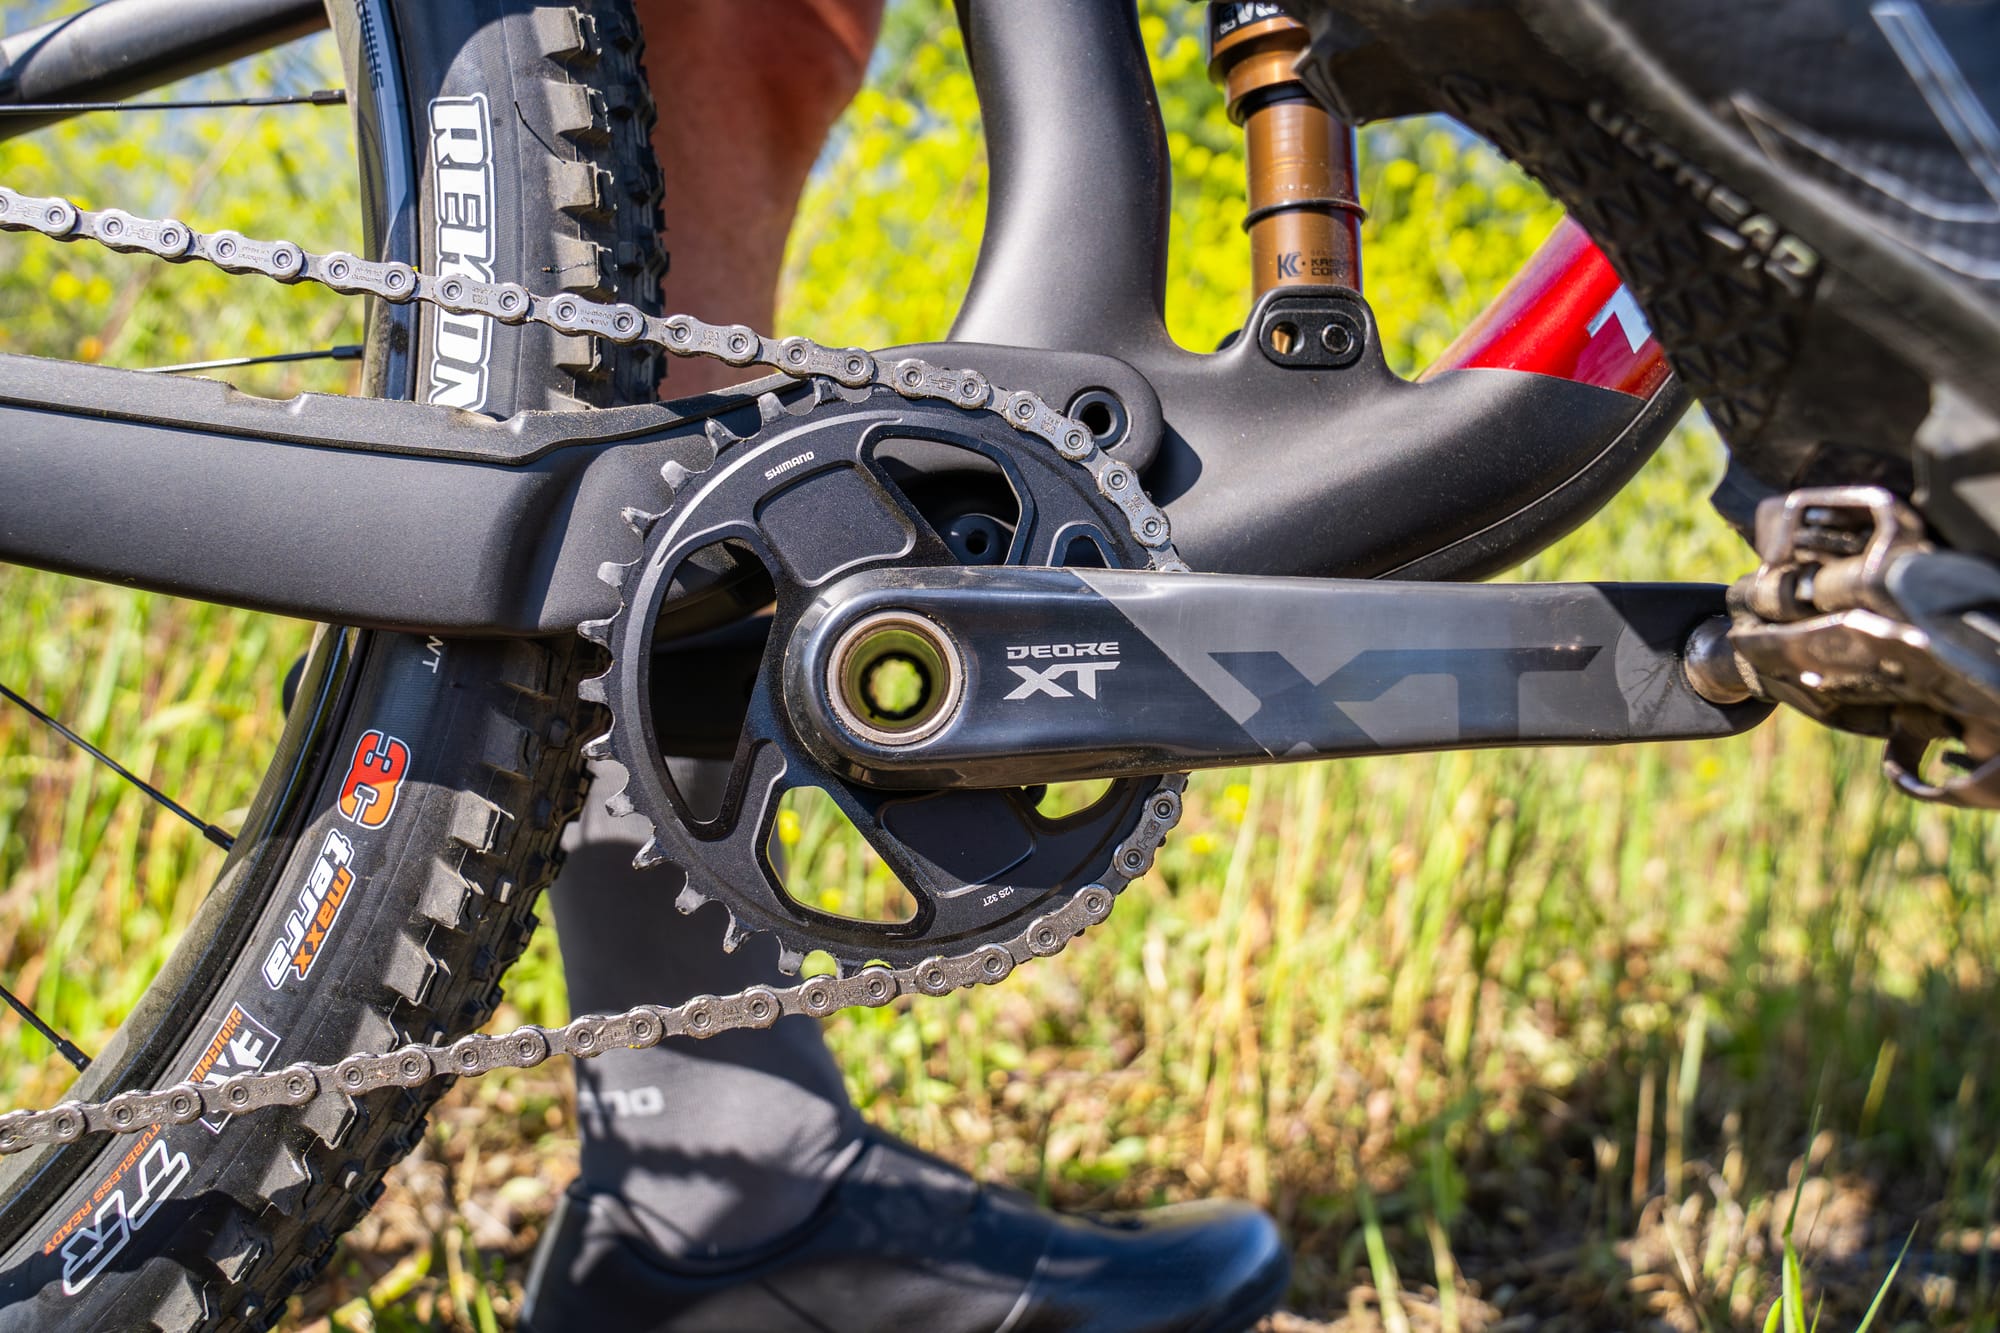
Crankarm

Crankarm power meters are most common at the lower-budget end of the power meter market. These are often available in both single or dual-sided options with the power meter usually protruding from the inside face of the crank arm. Some brands such as 4iiii offer an upgrade to existing cranksets, where they can be fitted with a power meter unit for a reduced fee. Since the power meter sits inboard of the crankarm, make sure your frame has enough clearance at the chainstay for the crankarms to rotate freely.
There is however some question over the accuracy of these after-market modifications in comparison to units that are manufactured to be power meters from the beginning. Shane Miller, the cycling technology reviewer more affectionately known as GP Lama bluntly predicts that "the lifespan of those licking stick companies is coming to an end. I think it's just an offering that they're trying to give people to make it more accessible.” With the reduction in the cost of power meters, these options are simply less appealing to the consumer than they once were.
Crank-based power meters are one of the easiest to install as they simply replace your existing crankarm; the only thing to watch out for is making sure you get the right crank length. As with any single-sided option, a left-side-only crank-based meter will be less accurate than a dual-sided or spider-based option.
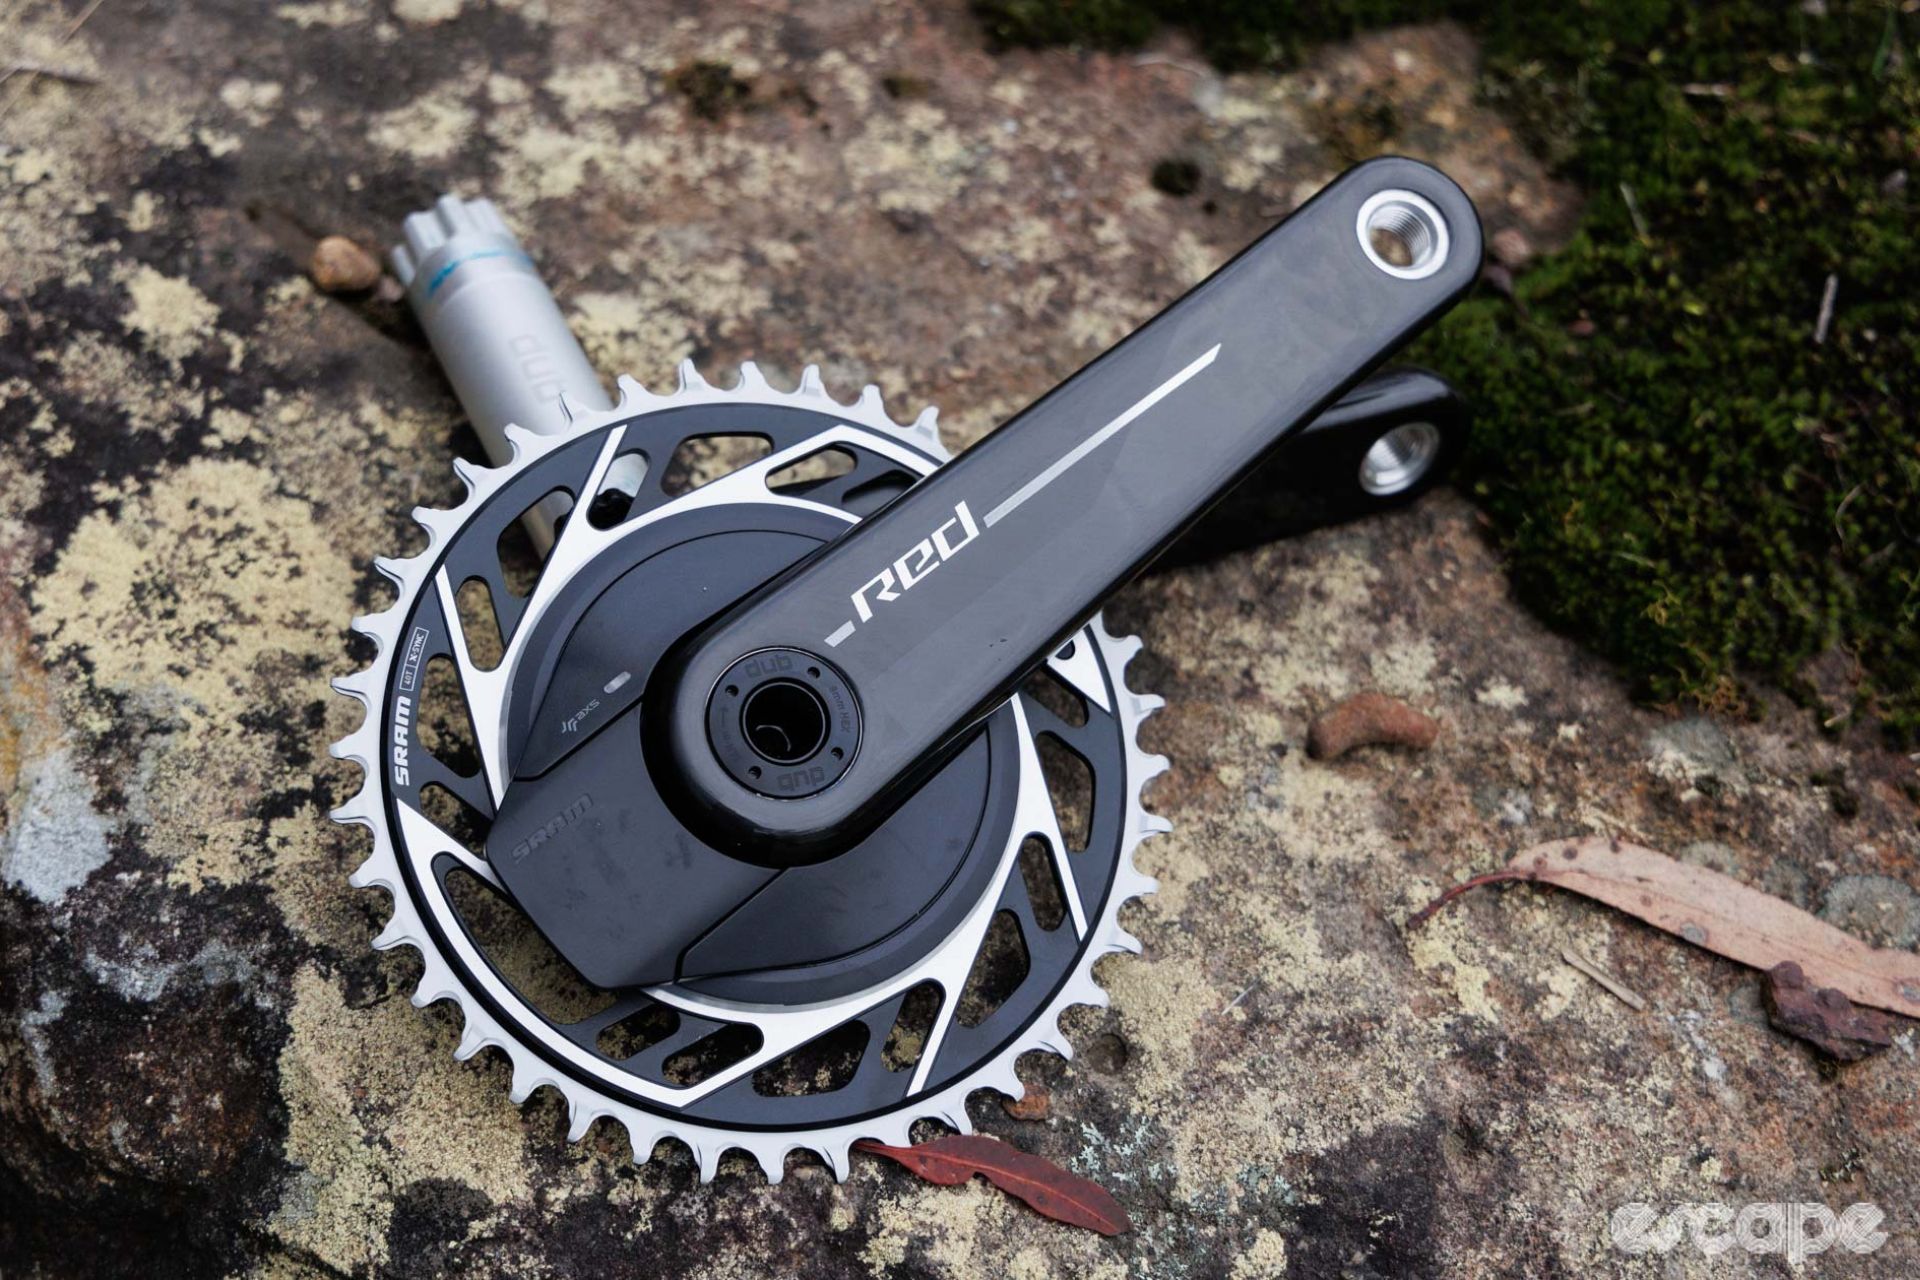
Spider

Power meters with strain gauges in the chainring spider are often more accurate and stable than crankarm or pedal-based power meters. Due to their location, spider-based power meters measure the total power applied by the rider from both pedals. This is more accurate than single-sided crank or pedal-based power meters that are open to a greater deal of potential error. Although they measure total power, Miller caveats this by adding, “Spiders will guess left and right balance.” This is because there is only one point of data collection – deflection at the spider – so the unit has to use the position of the crankarms to try and estimate which phase of a pedal revolution corresponds to which leg.
Spider-based power meters are also subjected to fewer random forces than pedals and are protected away from knocks, damage, and wear that could cause incurred errors over time. The limiting factor with spider-based power meters is often compatibility, with spider systems requiring specific cranks that match the spider and in some cases specific chainrings. This makes spider-based power meters some of the more expensive options on the market.
Spindle

Spindle-based power meters are similar to spider-based units. Instead of placing the strain gauges on the chainring spider they are moved inboard to the bottom bracket spindle that joins the left and right cranks. This is a great location for a power meter for a few reasons. Firstly it is the most protected location, with the meter hidden out of sight inside the hollow spindle. It also typically allows a larger battery to be fitted, which in the case of SRAM’s Quarq spindle meters allows for an AAA battery to be used instead of a coin cell, which results in longer battery life. The location also allows for easy isolation of input forces that boost the theoretical accuracy of spindle-based meters. The main drawback to this type of power meter is that it only measures the input from the left crankarm as this is the only force transferred through the spindle.
Pedal

Pedal-based power meters are often seen as the best option by riders as they can easily be fitted and swapped between multiple bikes. The issue with pedal power meters is that trying to accurately measure power in this location is notoriously difficult, with a lot of forces acting through the pedals. Miller adds for a dual-sided pedal meter, “They're the most difficult place to measure power because again, there are two power meters and they're moving in space and their cadence is never uniform. So if the technology is good enough, pedals are fine.” They are also in the most likely power meter location to suffer a knock or damage (especially on a gravel or mountain bike), however for the most part impacts to pedals won’t have any influence on the reliability of data.
One of the main appeals to consumers is that power pedals can be bought as a left-side-only option and upgraded to a dual-sided version at a later date. This can give the best of both worlds to someone getting started as they can access power training at a relatively low cost and upgrade to a more accurate system when they feel it is beneficial. The popularity of power pedals cannot be ignored, with Garmin’s Rally range and Wahoo’s Speedplay Power pedals recently joined by Look’s X-Track and Keo Blade Power models and Favero’s Assioma. This area of the market looks to be expanding more than others.
Single or double-sided

For crank- and pedal-based meters, most brands offer a single and a dual-sided option. For those on a budget who are looking to use power as another metric of general interest, single-sided units will most likely offer all the accuracy that a rider needs. If, however, you are looking for a power meter that objectively measures total rider output for precise training, then dual-sided power meters are the obvious route to take.
Single-sided power meters by their very nature are open to a potentially chasmic margin of error. To calculate your total power output, single-sided power meters measure the output of one leg – typically the left – and then simply double this value to give your total. The issue with this is that no rider has a perfect, 50/50 left-leg, right-leg power balance and even a small difference can lead to very skewed data.
Any discrepancy between each leg can vary at different intensities, so this non-fixed balance makes manually offsetting it an impossible task. For example, while you may be close to 50/50 when riding at tempo, at high-intensity efforts like sprints of punchy hill climbs it is possible for your dominant leg to produce a few percent more than your non-dominant leg. At 800 watts a left/right split of 48/52 is a 4% gap and could lead to a huge difference in readings from a single-sided unit. As an example, If you are using a left-side-only crank or pedal meter, during an interval effort of 800 watts, the 48/52 split would measure an output of 384 watts – which when doubled to ‘calculate' the total becomes 768 watts. This is a 32-watt under-read from the actual output of both legs combined. Alternatively, if you were to measure just the right leg in this example it would return a calculated total reading of 832 watts. In this hypothetical example, there is the potential for a 64-watt swing in calculated data which can make drawing meaningful conclusions from session to session and over months and years of training almost impossible.
On the topic of power imbalances Miller goes further and explains, "If it's a left-only meter, they've got to realize that it's a power estimator. Total power can change. And if people always say, 'I'm always 51/49' or, 'I'm always 50/50,' they're not. After four hours of riding, you're sloppy, you're 55/45 and that changes. It's a variable.”
If the left/right discrepancy issue weighs on your purchase decision Miller has a simple answer for you: “If you ask the question, buy the dual-sided because [otherwise] you'll always be wondering.”
It is for this reason that single-sided power meters are best used as an introduction to training with power or for more generic data collection rather than specific training. Muscular imbalances are also susceptible to change over time, especially if you incorporate strength training into your routine. This means that the percentage difference between each leg is open to change making it hard to compensate for unmeasured imbalance accurately.
Understanding quoted accuracy
All power meters will have a quoted accuracy given as a percentage, with the gold standard being +/-1%. The common misconception is that this "accuracy" is in comparison to true power. True power is hard to measure and typically requires a complex lab bike that is manually calibrated before every use by suspending a known weight from the crank arm to supply a known load. The term true power simply refers to the genuine power output you produce rather than the number an on-bike power meter might display.
What the +/-1% accuracy figure is actually referring to is the power meter's reliability against itself. This means that day to day, the power meter will vary its readings by no more than +/-1%. To calculate this reliability figure brands simply repeatedly test the power meter at regular intervals with a known fixed input and monitor how much the readings drift from day to day. Although an "accuracy" of +/-1% sounds incredibly accurate it does still open up a fair amount of error for a trained athlete. For example, at 300 watts a power meter with an accuracy of +/-1% could have a total swing of 6 watts. Although that is not enough to throw out your training zones, it can make measuring progress a little harder to define.
Some power meters on the market are well-documented to read significantly higher or lower than true power. This does have some of its own issues which we will cover later in this series, however for the most part having a reliable power meter is more important than having an accurate one. If a power meter consistently reads 10% over true power but is always within +/-1% of itself, the data it provides is far more usable in training than data from a power meter that is very close to measuring true power but has a swing of +/-3%. The latter unit's erratic readings make extracting meaningful conclusions a hard task even if the numeric values themselves are closer to true power.
In general power meters are more accurate and reliable than ever; technological developments and the refinement of hardware and software has driven the improvement of power meters across the board. On this topic, Miller says, “Power meters are these days actually a lot more reliable than what they used to be, and a lot more trustworthy than they used to be as well.”
Which one is right for you?

Each type of power meter has its pros and cons but deciding the right one for you can be boiled down to your budget, data accuracy needs, and intended use. If you are looking to get started with power on a budget then a single-sided crank or pedal meter is going to present the lowest barrier to access, in particular if you're tracking general fitness trends rather than trying to use them for specific interval work at close accuracy.
For those who want to use power as a more objective training tool, going for a spider-based meter or dual-sided pedal meter will provide more accurate data to work from.
Spider-based meters account for the total power produced by the rider as they measure the power transferred through the spider to the chainring. These units are typically more expensive and take more effort to install with the potential for compatibility issues; if you are unsure about the right option for you it is best to consult your local bike shop for advice on this front. For riders looking to transfer their power meter from bike to bike a spider-based option is the wrong pick.
For that, the best option by far are power meter pedals, the fastest growing portion of the market right now. The location of power pedals does put them at greater risk of damage in a crash. Pedals also deal with a lot of forces beyond rider input that on rougher surfaces such as gravel or singletrack can affect the accuracy of the data they can collect.
When asked to pick between pedal or crank arm meters for a budget option Miller recommends going for a single-sided pedal as there is the option to upgrade to a dual-sided configuration at a later date.
Once you have your power meter the next thing is to make sense of the data it gives you. In the next instalment of "An Introductory Guide to Power," we take a look at the different methods of power testing and how to analyse power data.
Did we do a good job with this story?