
Welcome back to Threaded. I’ve just spent the past few weeks obsessing over every detail of SRAM’s latest gravel groupset, which got me thinking about the long-term cost of bike ownership. Many drivetrain components have been expensive for a long time, but we’re now in the age of US$600 cassettes and $100 chains, which gets all the more ridiculous if you’re causing wear with each pedal stroke. The fact is, how you maintain such a drivetrain can result in wildly different running costs.
Chain maintenance is one of the few tech topics on which nearly every cyclist has an opinion. Your choice of chain lube, riding style, geographical location, attitude to maintenance, and general fussiness all play a significant role in which methods may or may not work.
I personally live in a region that’s more often dry than not (although not lately). For my riding, I’ve found submersion chain waxing (aka, hot melt wax) to be the pinnacle, and topping it off with a quality (most aren’t) drip-on dry chain wax lube to be a wonderful compromise that keeps the chain on the bike and related maintenance to a minimum.
Chain waxing may be great, but most cyclists are still cleaning and lubing the chain on their bikes. This edition of Threaded is a departure from the usual deep workshop nerdery and offers a few simple tools and tricks you may not have considered for on-bike chain cleaning that could help you save time, improve the longevity of your drivetrain, save your bearings (and brakes!), and just generally make your bike run smoother.
The bulk of this article assumes you have access to an outdoor area that allows you to wash a bike when needed. If this isn’t you, or you prefer a quicker option, then I’ve included a few thoughts for apartment dwellers and the like.
What’s wrong with a dirty chain?
Whether you do your own bike servicing or not, basic and regular chain maintenance is one of the easiest ways to reduce your bike’s running costs. A low-quality chain lube combined with a bit of grit will create a grinding paste that can wear out a drivetrain in as little as 500 km. By contrast, chains regularly recoated in wax have been known to go for 15,000 to 20,000 km, and with the matching cassette and chainring/s still accepting of a new chain. And then we have the middle ground where a good drip-on chain lube that’s kept relatively (but not obsessively) clean should last in the vicinity of 5,000-10,000 km.

There's also the efficiency element. Previous testing done by the now-defunct Friction Facts showed that a chain with less than an hour of dirty riding on it would cost a rider somewhere between 2-6 watts of losses (at 250 W, with the variance being in the chain lube). Meanwhile, a chain run without lubricant would have losses in the range of 13-20 W.
I won’t make this article about wax versus oil, or what the best chain lube is – a good resource for such information is Zero Friction Cycling. Just know that no matter how good a lube is claimed to be, neglect will still result in excessive and avoidable wear.
Some basic pointers when shopping for chain lube. Avoid chain lubes that claim to double as a degreaser or cleaner. Perfumes are not a lubricant, so seriously question chain lubes that smell like berries or candy. Know that all oil-based lubes are technically “wet” lubes; they can be great, but they’ll naturally attract more dirt than a true dry lube (there are very few truly dry lubes on the market). And if you’re scared to rub your chain against your leg after a single ride, then you can probably do better in your lube choice.

In addition to occasional hot-melt waxing, I use CeramicSpeed UFO Drip All-Conditions or Silca Super Secret Drip Wax on my own bikes, and most commonly put Smoove (yep, these are all wax-based lubes) on the bikes of friends, family, or others I may repair – unless they specifically tell me they’re using an oil. However, just because one chain lube works for someone on the internet, doesn’t make it the perfect choice for your riding needs, conditions or maintenance preferences.
The basics of on-bike chain cleaning
Whether you do it after every big ride, once a week, or whenever your chain looks and feels grotty, your bike will thank you if you get into the rhythm of keeping the running components clean.
When it comes to cleaning a chain on the bike, most basic methods work, but perhaps aren’t as good as they could be. Often I see well-meaning riders introducing degreaser into hub bearings, forcing water into bottom bracket bearings, or just leaving a chain still feeling gritty.
For those reasons (and others), I encourage professional shop mechanics and more advanced enthusiasts to deep clean the drivetrain components off the bike. In doing so, it’s also possible to clean the chain to an extra level of cleanliness. Of course, I use this method of drivetrain degreasing when replacing a chain or if the old-but-not-worn chain has a quick link that’s safe to re-use (or one I’ll replace). Otherwise, I’ll clean the chain on the bike.

There are many other reasons why cleaning a chain on the bike makes sense. It doesn’t need to be a complicated ordeal and you can get away with just a few simple tools. This article isn’t intended to be a how-to (Google or YouTube for that, factoring in the advice below), but the fundamentals of cleaning a chain can be broken down into five steps: prep, degrease, rinse, dry, and re-lube. And if all that sounds like too much work, then there's something for you toward the end.
For prep, I view a workstand (it doesn't need to be as fancy as these) as an almost must-have. Alternatively, you can hang a bike by its saddle. A workstand helps get the bike at a comfortable working height, holds it stable, and lets you clean the chain with the rear wheel removed. Yep, wheel off.
Dummy hub
With the rear wheel removed we get to the first of my favourite tools for on-bike chain cleaning – a dummy hub (aka, chainkeeper). As the name suggests, a dummy hub merely takes the place of the cassette and allows you to pedal the chain without splashing degreaser on your braking surfaces or into the rear hub bearings.
Professional-grade dummy hubs are rarely expensive but you can hack your own way into such a tool. The hack methods typically involve a leftover container of PTFE Teflon tape (aka, plumber’s tape), a 3D printer, or just using a suitably sized bit of cut-down PVC pipe. Still, given the cost of such a tool, and the fact solvents tend to break down most hack jobs, I vote for enjoying the fuss-free nature of the real deal.
When buying a dummy hub, it’s worth noting that some are specifically designed to work only with quick-release (open dropout) frames, some are specific to thru-axle dropouts, and others can do it all.

If you want a dummy hub to do it all, then I’d encourage you to look for one that offers a removable pulley wheel that slides on a fixed axle. Originally created by Abbey Bike Tools, this design allows you to shift the derailleur (or at least get the chain in a position where it’s not constantly rubbing), mount it in a quick-release frame, or just remove the pulley and run that on your bike’s thru axle.
Abbey Bike Tools’ Wash Buddy (US$58) remains the pinnacle in my eye, and it still offers the smoothest operation and most solid feel. The next in line would be Pedro’s Pro Chain Keeper (US$37), followed by the Park Tool DH-1 (US$21). Unfortunately for Park Tool, AliExpress, Temu, and similar online sellers of Chinese goods offer near-exact copies for a fraction of the price (talking US$5), and I’ll admit, they do the job just fine.
If all you need is a Dummy Hub for 12 mm thru-axle frames, you can buy good-quality pulleys from Abbey Bike Tools, Feedback Sports, and Morgan Blue.


One extra tip for those with disc brakes is to cover the caliper with a small plastic bag held in place with a rubber band. This way, you don’t need to fear any degreaser or greasy water splashing toward those oil-sensitive brake pads.
Clip-on chain-cleaning device
OK, the chain is secure in its dummy hub, and you’re ready to degrease it. Sure, you can absolutely swish degreaser on with a paint brush, part-cleaning brush, or that random toothbrush you don’t think anyone uses anymore. In fact, the brush method is exactly what most pro-race mechanics have always used. Most of these well-travelled mechanics have specific brushes they swear by, but Tampico-bristled brushes seem to be a common pick. Just keep in mind that race mechanics are cleaning chains almost daily and so the grime is rarely stubborn.
Personally, I prefer the more contained nature of a clip-on chain-cleaning device. These run the chain through a series of brushes (and sometimes sponges) that draw from a small bath of degreaser. Most work in the same way, simply attaching to the bottom span of the chain, and then you back pedal with one hand, while holding the device in the other.

I personally use these devices just for degreaser, but in case you don’t have access to a stream of water, or can't make such a mess, these clip-on cleaners also work well to then flush the chain with a small amount of water. It can take two to three cycles to get all the degreaser out, but it does the trick.
I’ve broken my fair share of these chain-cleaning devices over the past two decades and have some strong opinions on the matter. The cheap and generic ones most brands sell do a semi-OK job of cleaning, but they tend to crack when dropped, and if they do last, then you’re unlikely to be able to buy replacement brushes. I’m not big on disposable tools, so let’s move on.
With most chain-cleaning devices failing in one way or another, I can recommend those from Park Tool and Pedro’s. Sorry, that's the list. These two brands offer cleaners that actually seem to clean better, and my experience has shown them to be durable over the years and with spare parts that are easy to come by.
The Park Tool CM-5.3 Cyclo Chain Scrubber (US$31) and Pedro’s Chain Pig II (US$36) are both made of translucent plastic, offer a series of rotating brushes, and clip onto the chain securely.


If you’re a heavy user of such a device, then it may be worth splurging for the bombproof Park Tool CM-25 “Professional” Chain Scubber (ooo-lala, especially at its US$116 price). This aluminium version doesn’t let you see inside while it scrubs, but it features a series of cleaning pads, sponges, and brushes to get the chain shiny. All the actual cleaning and moving parts sit within replaceable plastic cartridges, and Park Tool recently started offering the faster-wearing cleaning sponges as an additional separate item for purchase.
The not-so-secret weapon - degreaser
Perhaps the most important and often-overlooked tool for degreasing a bike chain is, well, the degreaser itself. It’s astonishing how many degreaser products claim the world and then leave a gritty-feeling and streaky-looking chain behind. Like everything in this world, not all degreasers are created equal.
It’s been a little while since I last did some back-to-back testing on degreasers, but I do recall that Smoove Prep came out on top like a cleaning unicorn. However, the South African magic juice can be hard to find, arguably isn’t great for the environment, and it’s incredibly expensive given the small bottle it comes in. That as the cleaning benchmark, I’ve since had good success with CeramicSpeed UFO Drivetrain Clean (non-toxic and biodegradable). And Silca has been making big strides in the space with its Bio Degreaser and more recently its Stripper, both of which are biodegradable, but the latter is marginally toxic.

While more expensive, those bike-specific options do seem to have cleaning advantages over a number of more household-based options, and you can trust they won't cause unexpected issues. Still, a trip to the hardware store is likely to reveal all sorts of potions. Beware that regular Simple Green is now on the naughty list of many chain brands for its ability to cause hydrogen embrittlement in steel (aka, broken chains). For those in the USA, Simple Green’s Aircraft Precision is a good and safe option. In Australia, I’ve found the Ph-neutral CRC Bio Degreaser to work decently well and not destroy grass. And there are a number of other options that likely work great, but they may or may not fade anodising, dull your bike’s paint, degrade rubber seals, cause you to grow a third nipple, and/or kill a patch of grass for eternity.
Again, this isn’t a how-to, but while that degreaser is out, don’t forget to scrub those chainrings, pulley wheels, and a tiny little bit on the cassette (giving caution to the bearings and disc rotor). Brush choice is controversial, but I also quite like the shaping of the cog-specific brushes. My favourite is the Park Tool GSC-1 (US$10) simply because you can buy replacement bristle heads for about US$3.


The final steps: Rinse, dry, and lube
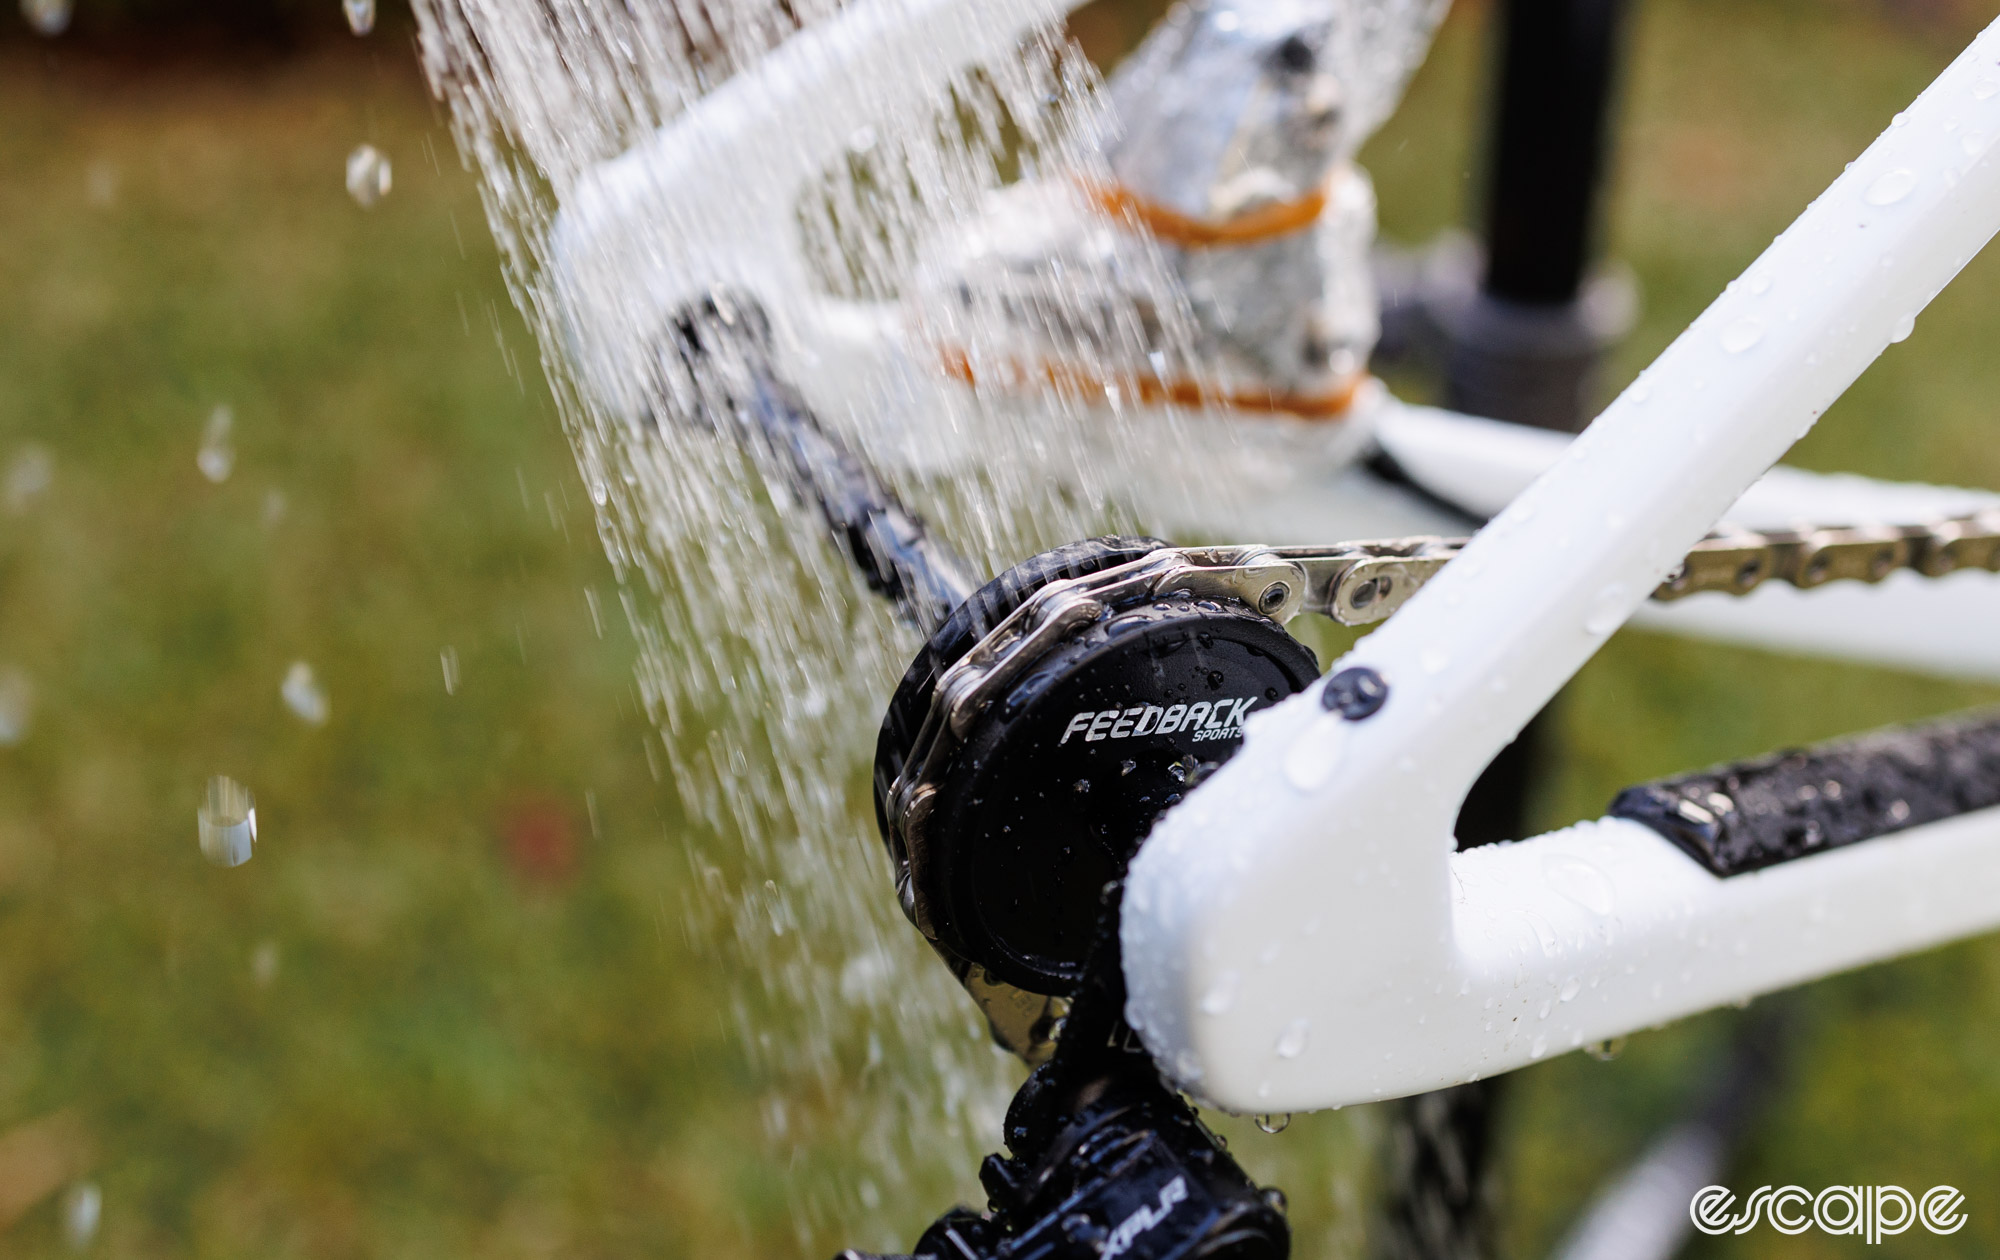
Avoid high-pressure nozzles and sprayers when rinsing off that degreaser. If the degreaser is good, all you should need is the equivalent pressure of a shower.
Air drying is OK if that’s all you’ve got, but ideally, you should dry off any standing water as soon as possible. My tool of choice for this is an air compressor and blow gun (wearing full PPE, of course, in case anyone from OHS is reading), but you can get decent results with a leaf blower or a variety of new battery-powered high-pressure blowers.


Once things are dry, it’s time to shake that quality chain lube and apply it. For wet lubes, you want to apply and then wipe off all the excess so the exterior is as dry to the touch as possible. Meanwhile, truly dry wax-based lubes are just left to dry, where the excess typically forms a protective coating to prevent dirt ingress beneath the roller.
Side-bar for apartment dwellers and the lazy
Do you live in an apartment block without a hose pipe? Or are you just opposed to degreasing things? Maybe you just want some options that will delay the need for a deeper clean?
This may prove to be its own article in the future, but for now, my advice is to consider how best to prevent needing to degrease a drivetrain in the first place. Using a great chain lube and not leaving it to build up into grime is the bare minimum I recommend to even the laziest of riders.
At the most basic level you should never apply chain lube over an already dirty chain. My advice would be to at least run the chain through a rag a number of times, remove the most obvious grime, and then lube your chain. This 30-seconds of work can make a big difference for those running a wet lube.
A little spritz of isopropyl alcohol onto a microfibre cloth takes this technique up a few levels for those feeling fancy. That fancy method is most effective with wax-based dry chain lubes which tend to prevent grit from getting into the chain but can also gunk up externally. That’s why merely wiping the exterior works fairly well if done regularly.

Then there’s always hot-melt waxing. There are now plenty of pre-waxed chains (or the new Silca Strip Chip) available to save you from ever having to buy degreaser. You merely install the waxed chain onto a clean drivetrain, and from there, all your chain cleaning and re-lubing is confined to the wax pot. Better yet, the chain is completely clean and dry to touch, so no more grease-related worries there. The big compromises are that you’ll need to remove the chain from the bike (although I’ve seen some very patient people that don’t), and the fact that freshly waxed chains do flake a bit when the chain is articulated.
What’s next on Threaded
Regulars to Threaded may be wondering whether basic maintenance topics are the future for the series. Don’t worry, the next edition of Threaded is only ever two weeks away and you can bet I’ll continue to cover a broad spectrum of bicycle maintenance and repair-related topics with the common goal of making bikes run better. Some will be useful to all, others may focus on the more advanced end of the service scale, and a few will focus solely on tools. How great are tools?
As for what’s next, I think I’m going to wrap-up a deep-dive summary on the new world of electric tyre inflators. I’ve got a battery of them to test …
Did we do a good job with this story?