
Few things in a bicycle mechanic’s day can fill a swear jar as efficiently as internal cable routing. A quick gear cable replacement gone wrong can result in a game of fishing without bait or a bike being turned to pieces.
This is one of those topics that I deliberated over covering. Internal cable routing is one of those dark arts of the mechanic world, where giving away such tips and tricks may be viewed as giving away the lunch of mechanics. Heck, I feel oddly protective about a few of the things shared here.
Still, I truly believe that the sharing of information raises all boats. I hope both professional and hobby mechanics can benefit from at least some of what I've written below. At the same time, the wrenching-curious can gain a greater understanding of how some jobs are done.
Internal cable routing is a topic with plenty of nuances that can only be learned through doing. This edition of Threaded covers just a few tips, tools, and tricks that I find to be day-savers when dealing with frames with internal cable routing. However your results may vary based on the specific bike, component, or situation.
It’s also worth mentioning that what’s covered is how I tackle things. Other mechanics employ many other tricks, and if you’ve got one such trick, please consider sharing it in the comments.
If you worry about missing an edition of Threaded, you can sign up here for free to get an email notification.
Knowing what you’re dealing with
Many of the latest bikes with hydraulic disc brakes and electronic gearing have largely simplified working with internal cable routing. Meanwhile, when it comes to bikes with mechanical derailleurs or brakes, it can be a true guessing game of how a cable may be placed within a frame. And in rare cases, it's a game where the rules are only realised once things are pulled apart.
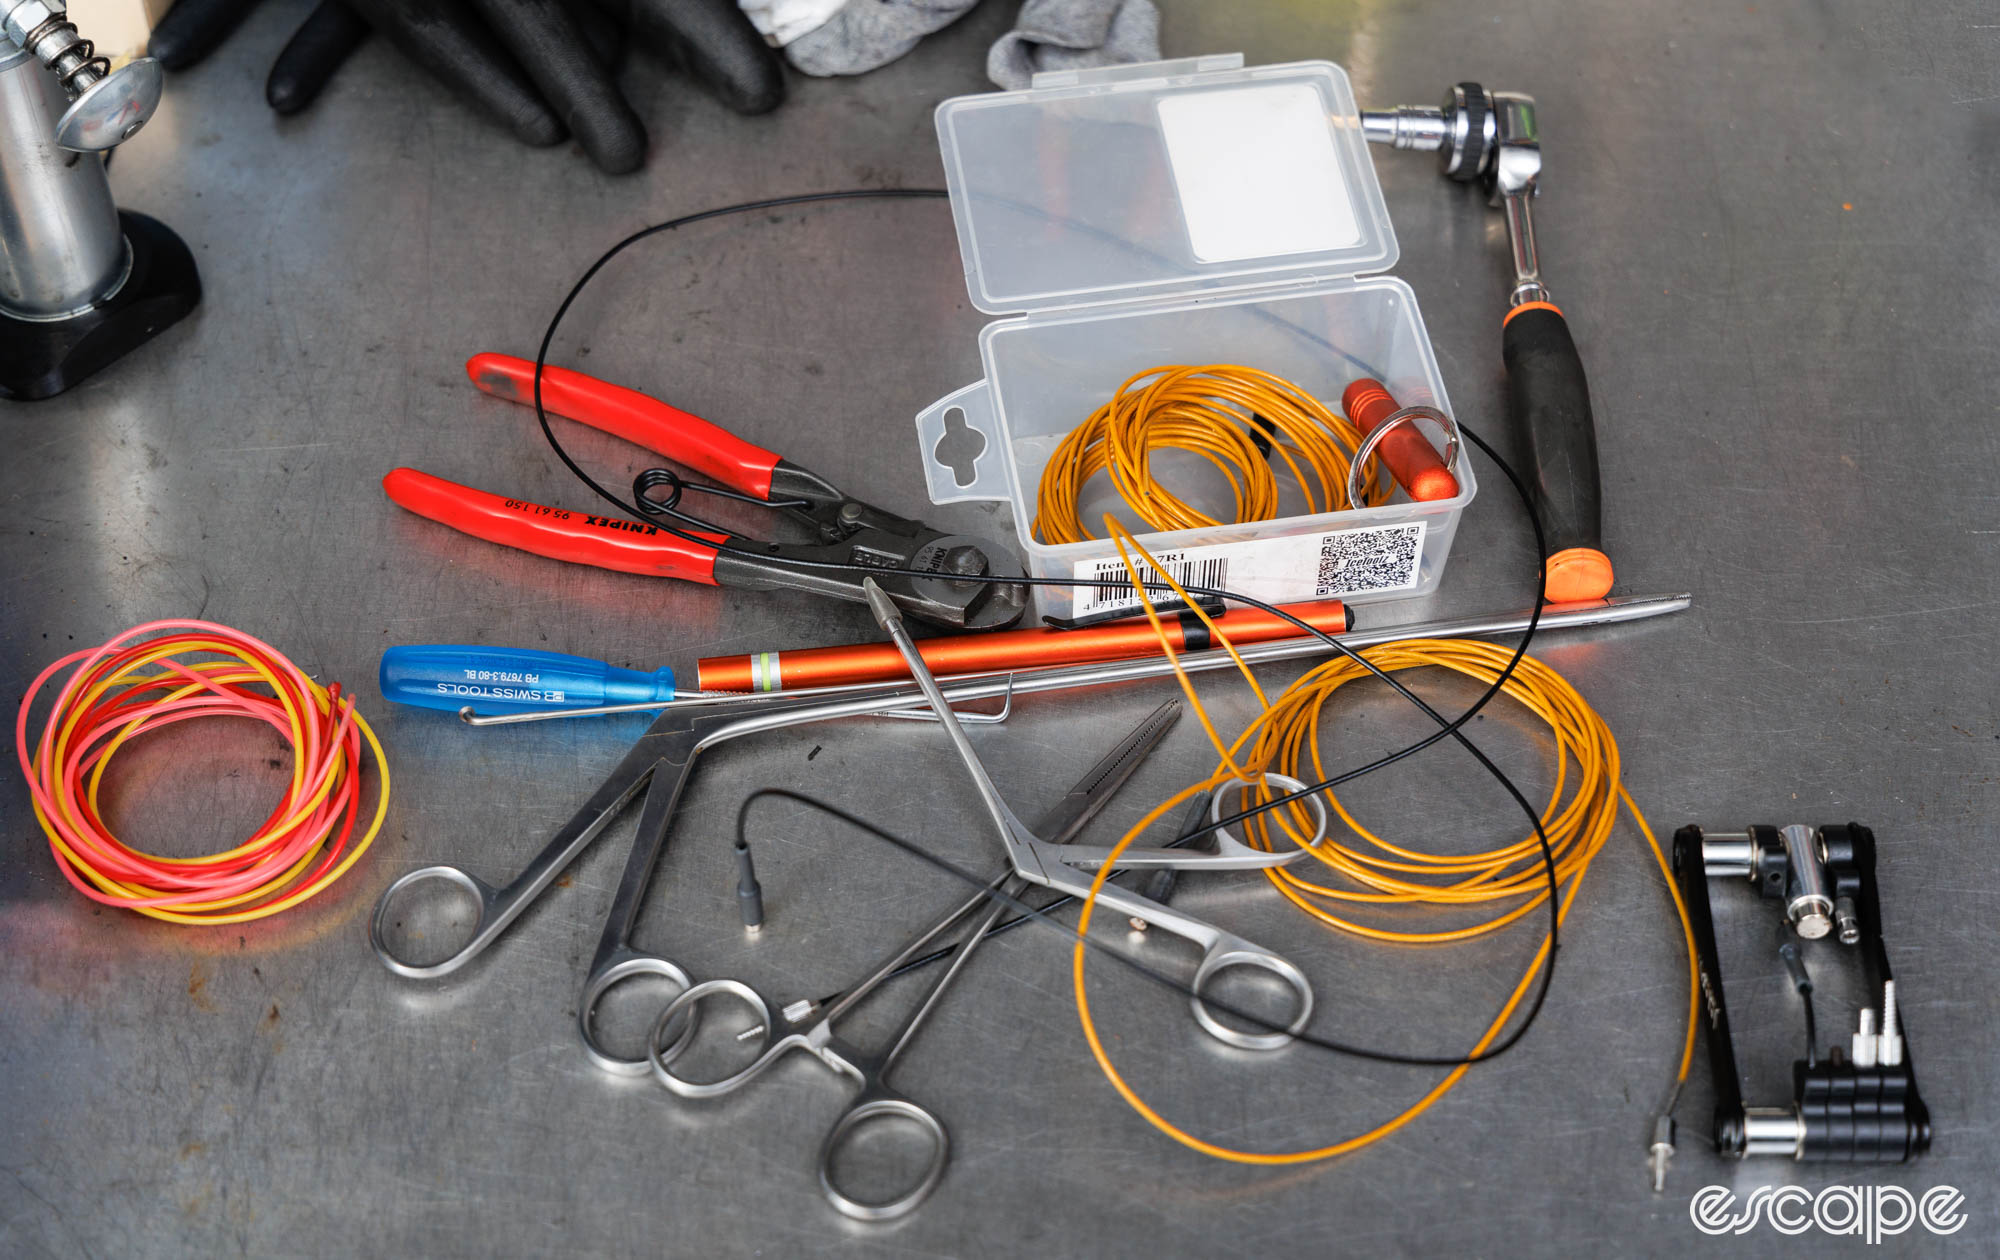
Sometimes brand-provided schematics or service manuals can help reveal what’s inside before you begin, but commonly, you’ll need to figure it out yourself. For that, it’s worth knowing the various ways that cables can be run through a frame.

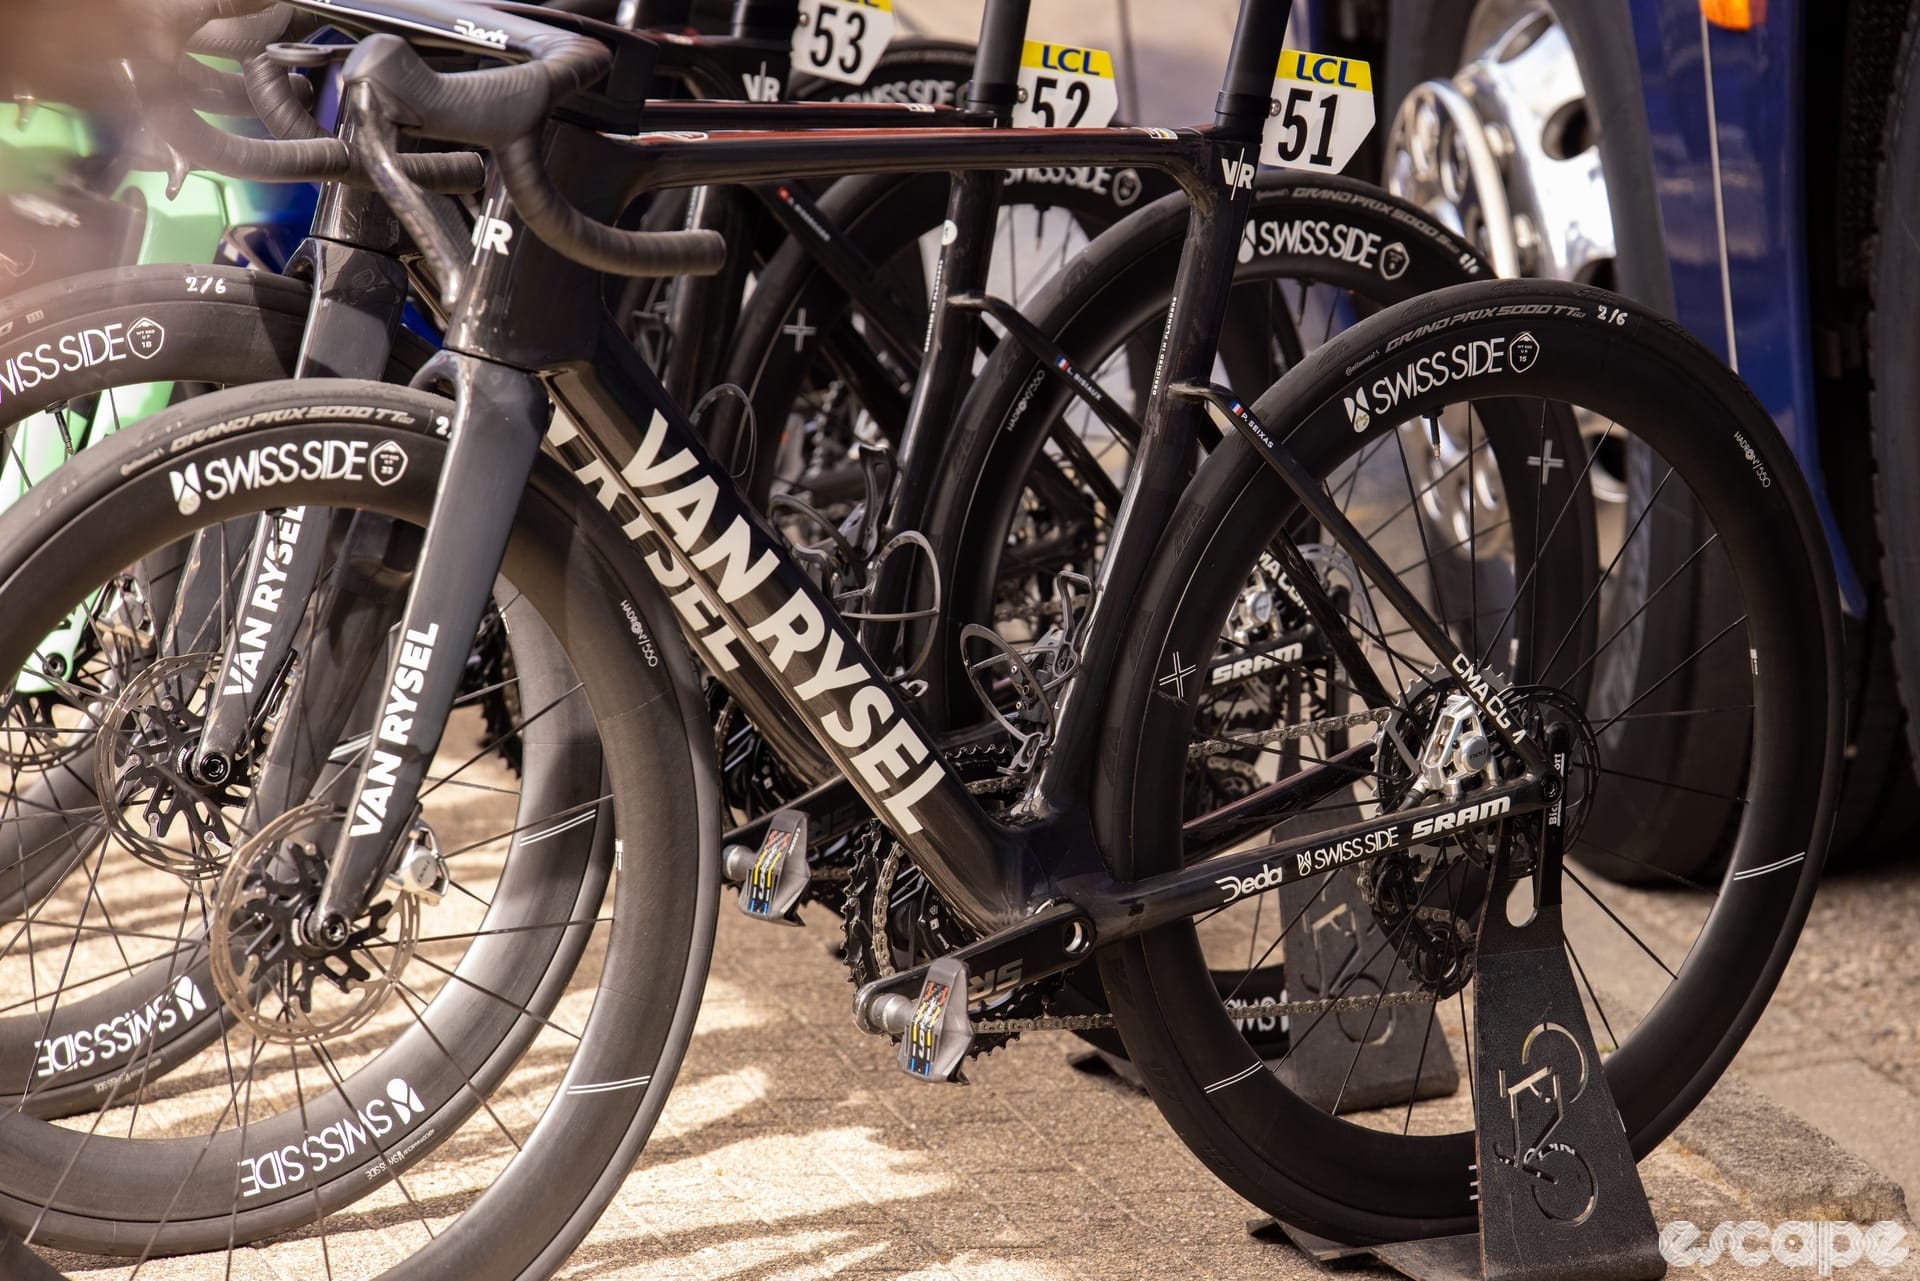
The most common routing method today is full-length housing, meaning the outer cable housing is uninterrupted between the lever/shifter and through to the derailleur/brake. It’s rare to find a modern full-suspension mountain bike, e-bike, or even gravel bike without such full-length housings. Dropper posts are also almost always matched with full-length housings. Similarly, bikes routing gear or brake cables through a headset will certainly feature full-length housings. And likewise, if you’ve got hydraulic disc brakes, you’ve got a guarantee that there’s a continuous hose between the caliper and the lever.
Such uninterrupted housings can typically be spotted by how they enter and exit the frame, or can be revealed by gently pulling on them and seeing if there’s movement (beware of some cable guides that physically clamp onto the housings which will prevent such movement). These housings/hoses often sit loosely within the down tube of a bike, but a small number of premium bikes will have guided tubes (e.g. guided routing) in place to make installation and replacement a straight shot where the tricks in this article probably aren't needed.


Next, we have segmented housing, where the housing is split into sections and slotted into provided cable stops/guides/holes. In most cases, you can spot segmented housing by the presence of a ferrule (aka housing end cap). However, in some cases, the ferrule may be hidden from view or simply not used.
Segmented housing means that inside the frame there’s either a bare inner cable or some form of a plastic guiding sheath. The problem is, it can be tough to know what’s in front of you and the techniques can vary slightly for each.


Patience and forward-thinking
Perhaps the best tool of all is thinking through the task before just yanking at cables. Consider what type of cables you’re dealing with, how you may be able to access them most easily, and what you’ll do if the proverbial shit hits the fan (a genuine anxiety with modern e-bikes).
While not applicable to all bikes (especially those with guided routing), the general professional approach is never to pull out an existing cable without having a replacement cable or temporary wire take its place. Most learn this lesson at least once.
Did we do a good job with this story?