
The tunes are blaring, the tools are scattered, you’re out of time but just five minutes away from having it all back together. Then disaster strikes: the dreaded feeling of your hex key slipping within the fastener. Time is merely a vacuum now.
Rounding out fasteners, or worse, having them break, can quickly ruin a day on the tools. All too often I see mechanics jump straight to using a drill or Dremel, but I’d like to share how I avoid getting to those drastic steps. In this edition of (un)Threaded, you’ll find a handful of helpful tips in dealing with such problems, along with a few of the tools I’ve found to offer efficient, repeatable, and satisfying success.
Before I start, it's worth noting that this is an advanced topic applicable to professionals and experienced home mechanics. Failing to remove a rounded or broken bolt may make it more difficult for a professional to do so later. If you follow the tips in this article, please note that they are written in an order where all recommendations are somewhat cumulative. It’s worth reading the whole thing if you’re keen for a clean outcome.
If you worry about missing an edition of Threaded, you can sign up here for free to get an email notification.
First, some terminology
Rounded-out fasteners are those where the tool interface has been damaged to the point where the correct tool no longer works well enough to be used at torque. The first sign of this is a tool slipping, and any further attempts with the same tool are likely to worsen the issue. This article largely focuses on this most common (but preventable!) occurrence.
Cam-out is closely related to a rounded bolt and is arguably the same thing in many cases. Most commonly, cam-out is discussed in relation to Phillips screws, where the driver lifts up and out of the tool interface under torque. Cam-out can also refer to when applied torque causes the tool to slip out at an angle. This is often caused by applying torque incorrectly (at the wrong axis), and the shallower a fastener, the more likely the issue.

Then, there are broken bolts and threads. A broken bolt is where the head and threaded section have separated from each other (aka, a bad day). By contrast, a cross-threaded fastener is where the threaded bolt and receiving thread are forced together out of alignment. The result of cross-threading is typically a stripped fastener where the thread has failed (can be applicable to the threaded fastener and/or the receiving thread).
Prevention is key
Rounded-out, sheared, or stripped fasteners are often preventable. While poor design or faulty manufacturing can be to blame, such issues often arise through corrosion, incorrect usage, low-quality tools, or ignoring signs of wear. Let’s talk about how to prevent ever needing the more specialist tooling covered later in this article.
Clean, grease, torque and technique
Whether rounded out or snapped clean off, stuck bolts are often the result of corrosion and/or improper torque.
Galvanic corrosion is prevalent in modern bicycles. Many components mix dissimilar materials (such as steel bolts into aluminium), and the rider then provides the corrosive electrolyte through sweat. The good news is that semi-regular maintenance and correct thread lubrication can prevent issues. Any water-resistant grease is better than none, but using an anti-seize for problematic fasteners that are likely to corrode (stem bolts, for example) is even better.

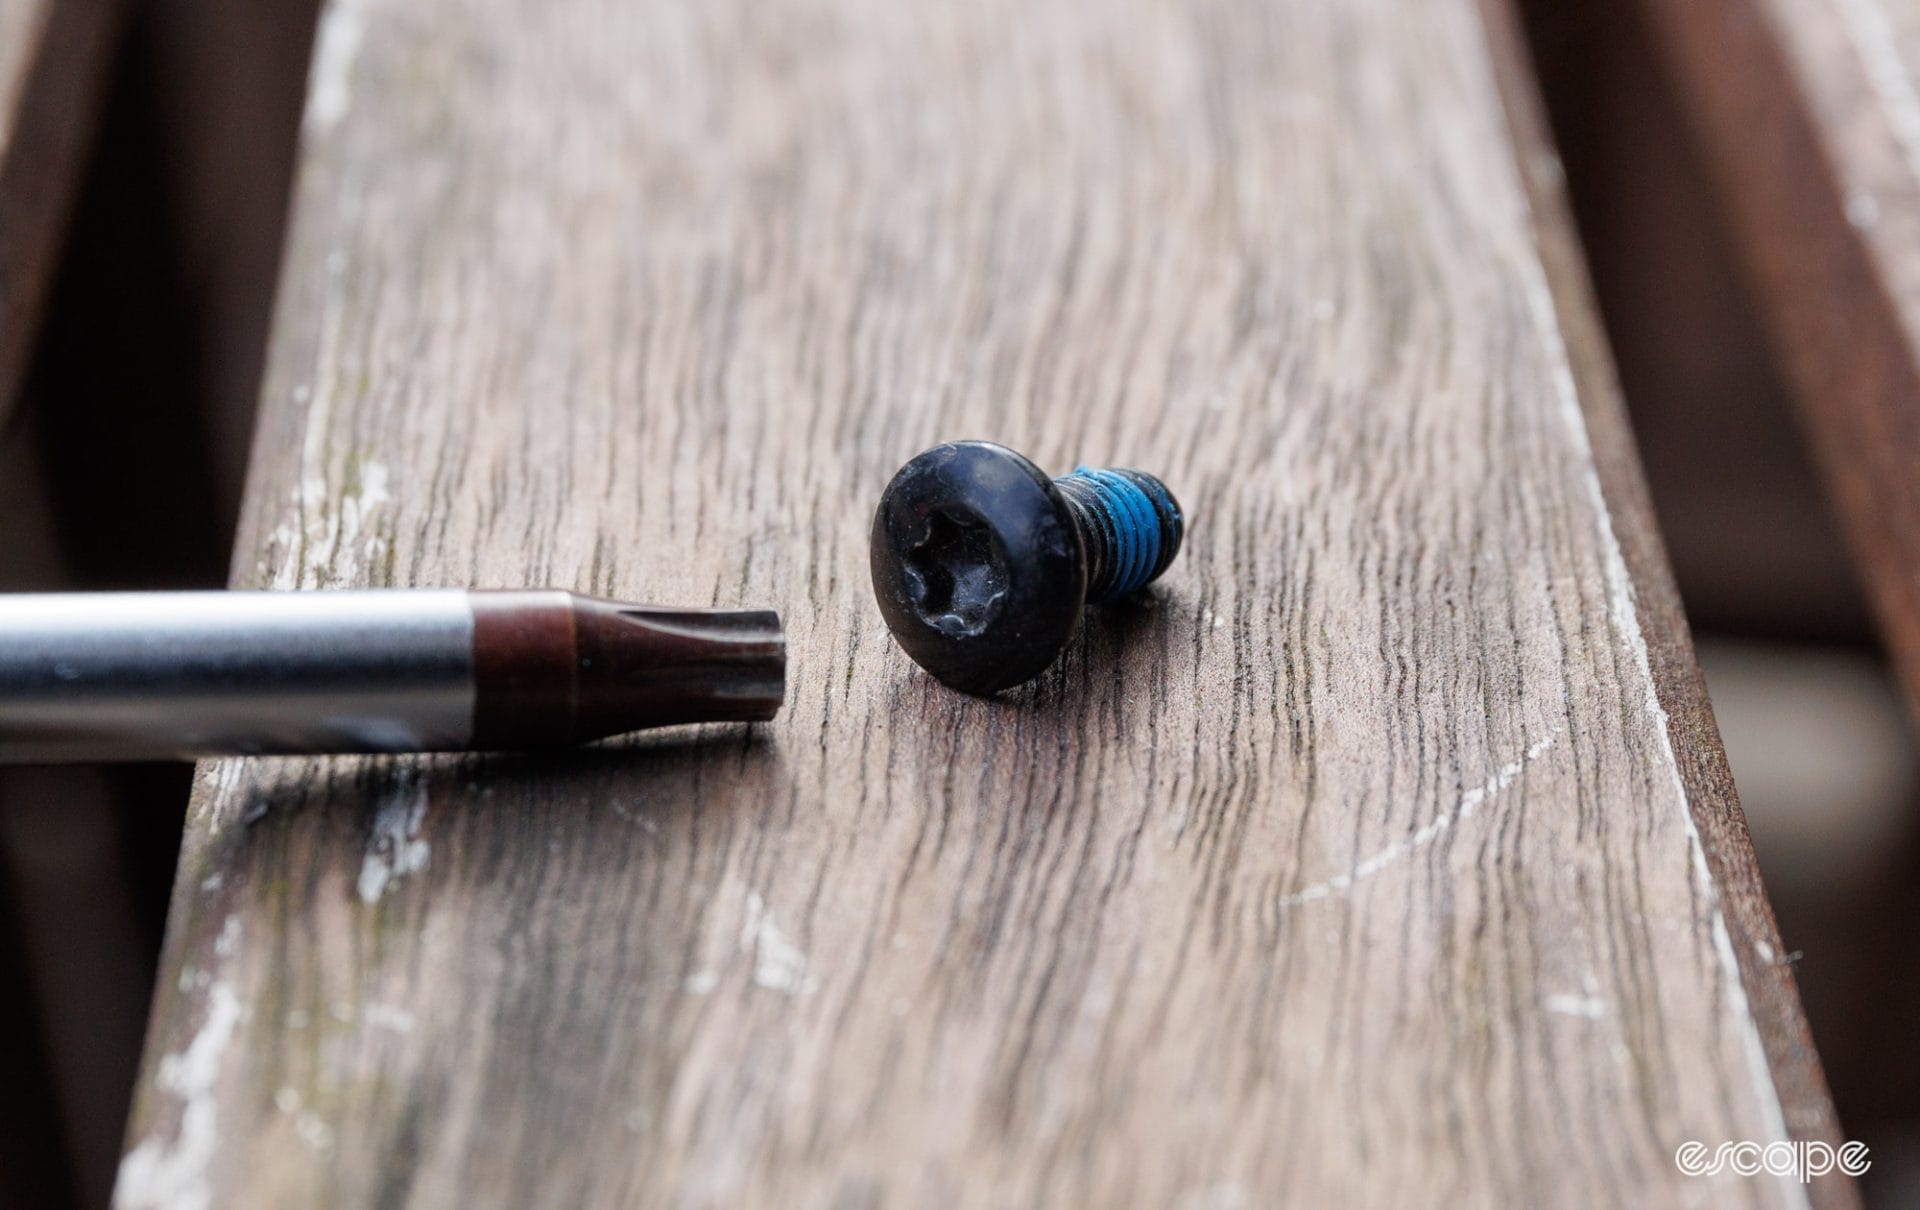
When removing a fastener it’s a good idea to take a peek inside the head for any debris that may prevent full engagement with the tool. It’s common to find such dirt build-up in cleat bolts, derailleur limit screws, and brake caliper bolts. Meanwhile, corrosion in a bolt head could provide similar interference from having the tool sit as firmly into the fastener as intended.
Then there’s the importance of torque. Stripped threads, snapped bolts, and rounded-out heads can all occur as the direct result of too much torque. One such phenomenon is known as thread galling, where too much friction can cause the bolt to seize into place, and it’s especially common on fine-pitch stainless steel, aluminium, and titanium, which just so happen to be the kind of fasteners commonly used on lightweight bicycles.
Using a torque wrench and following recommended manufacturer figures is increasingly recommended when dealing with modern (and performance-oriented) bikes. And as covered in a previous edition of Threaded, torque wrenches don’t need to be expensive.
And then we come to the technique. Rounded bolt heads can be caused by not having the tool fully seated in the fastener's base. Paying attention to how things fit together can be critical. I find a little wiggle of the wrist helps me be confident things are firmly seated or reveals signs that the tool isn’t suitable (more on this next).
A little wiggle between the bolt and tool is normal, but this much is asking for issues.
To counter cam-out, it’s good practice to push the tool toward the line of the bolt thread. Doing this will help prevent the dreaded cam-out and ensure the tool is fully engaged.
Tools absolutely matter
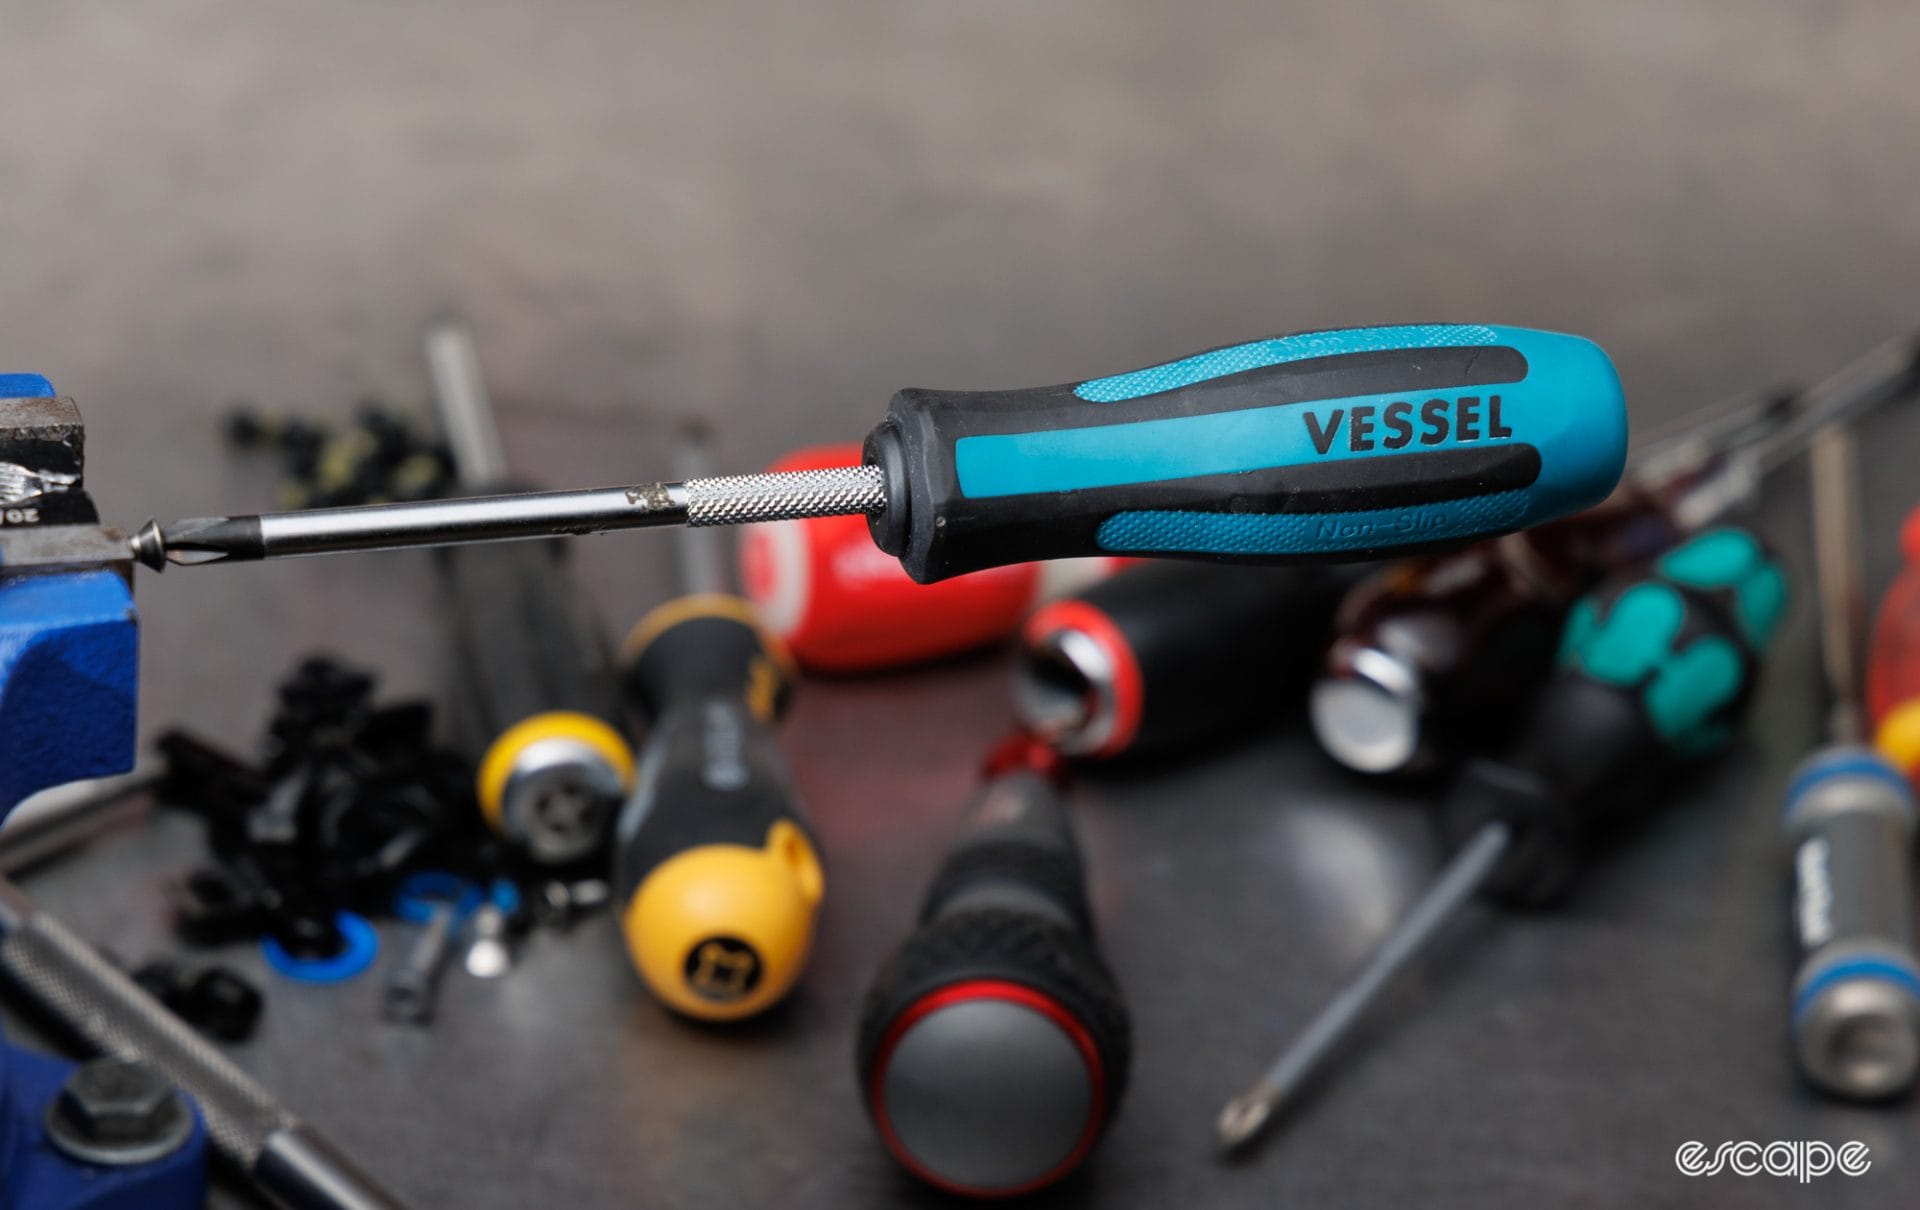
The hex, Torx, and screwdrivers you use can make a huge difference. Cheap and/or worn tools will likely be undersized and poorly shaped to drive fasteners correctly. If you’re regularly rounding out bolts, then quite simply, you need better tools.
Worn or problematic tools can often be identified through visual damage at the driving end. For hex tools, a high-quality vernier caliper may reveal a smaller measured sizing at the end versus along an unused section of the tool. Alternatively, having a few tools to compare against within a consistent bolt will give you a quick idea of which fits better and which should be relegated to the junk drawer.


As covered in previous editions of Threaded, for Torx, my experience has been that PB Swiss and Wera fit better than most. For Phillips, I’ll only ever use drivers made to current ISO standards. And for my preferred hex tools, I tend to mostly use PB Swiss, Wiha, Wera, Bondhus, and Koken (and no, I haven't found Wera's HexPlus profiling to be any better than a well-sized traditionally shaped hex).
Whatever hex or Torx key you settle on, it’s strongly advised to avoid using ball-ended tools for initial loosening or final tightening. Ball-ended tools work through reduced surface area contact with the fastener, and as a result, they’re far more likely to round out at higher torque.
The previously mentioned wiggle of the hex key within the head of the bolt is a quick test of the fit. The key should fit into place with only a small amount of movement. Often a worn or undersized key will be to blame for excessive play in the interface, but sometimes that blame falls on a worn or oversized bolt head.
Worn fasteners
Worn or rounded fasteners on a bicycle can often be seen through marred surfaces and softened edges. Experienced mechanics will also be able to feel a fastener (through the tool) that is about to slip (round). Replacing the fastener before it puts up a fight is always the best solution.
And a note for the weight weenies amongst us. Those colourful and wonderfully light aluminium bolts are great for specific applications, but just beware that they aren’t as strong or durable as high-quality steel or titanium fasteners. Go easy on the torque and consider replacing them if they’re something you adjust frequently.
Rounded out heads
As soon as you feel a tool slip, you should stop and consider the situation. All too often, I see people make repeated attempts with the same tool that’s already failed the task, somehow expecting a different result despite there being less and less material with each attempt. Equally, I see too many people being overly eager to reach for that drill. Hang on a second!
Tips and tricks
OK, so you’ve felt the tool slip. Now what? First, go through the list in the prevention section above. Are you using high-quality tools and ensuring they’re fully seated into a clean bolt? Are you pushing that tool into the fastener head? If you can still get a good fit to remove it, then now is the time to replace it.
While doing these steps also consider what is keeping that bolt under torque. For example: “Where you've got multiple bolts holding something together and one is seized, don't loosen the good bolts before getting the stuck one out," said Jason Quade of Abbey Bike Tools. "It'll only put more tension on the problematic one." It’s a tip that’s hugely useful when it comes to rounded stem bolts, Shimano crank pinch bolts, and numerous other components seen in a bicycle. Just beware there are exceptions to this, such as on certain two-bolt seatposts and stem faceplates.

Often, such stuck bolts can greatly benefit from some lubrication, helping to reduce break-away torque and also break down any corrosion. This is the domain of penetrating oil, a big topic where the best option is typically dependent on what’s available in your region. For ease of consumer purchase, I personally use Finish Line Chillzone but it’s hardly the only good option.
Some heat may help. We know that heat expands metals and that expansion can break a bond caused by corrosion. That said, bicycles often feature many heat-sensitive materials, such as carbon fibre composites or heat-treated aluminium. Take extreme care when using heat for bolt removal in a bicycle; damaging the paint is arguably only a small worry.


There are also proven tricks to give your existing tools a better hold. “If the head is damaged and the tool won't engage properly, then the classic cling film trick is always a favourite,” shared Swedish mechanic Jon Lindgren (angrybikemechanic on Instagram) of a technique that literally involves putting a layer of cling wrap over the tool end. Lindgren also recommends the use of gritty carbon paste grease when a tool is experiencing cam-out.
And as covered, try to reassess how you're applying load. Perhaps the tool being used or the angle of approach isn’t helping. Here, I’ll look for ways to apply my body weight into the fastener while undoing it. In some cases, I may use a Quick Grip to press the tool bit firmly into the fastener. Or at other times, the forces created from an impact driver (whether manually applied with a hammer or an electric tool) can help to keep the bit seated and knock the fastener loose (take care here, as those forces can also rapidly cause rounding to an already damaged fastener).

All of these tips and tricks can help save a day, but sometimes you just need specialty tools.
Tooling
Still stuck? Now is the time I'd stop and think about the tool I’m using and assess whether I have something that I know fits tighter. For example, with hex head bolts I know a set of Bondhus BriteGuard/GoldGuard hex keys are oversized and fit tighter than my daily drivers. And for Torx I know PB Swiss’ bits fit snugger than other Torx options from the brand.
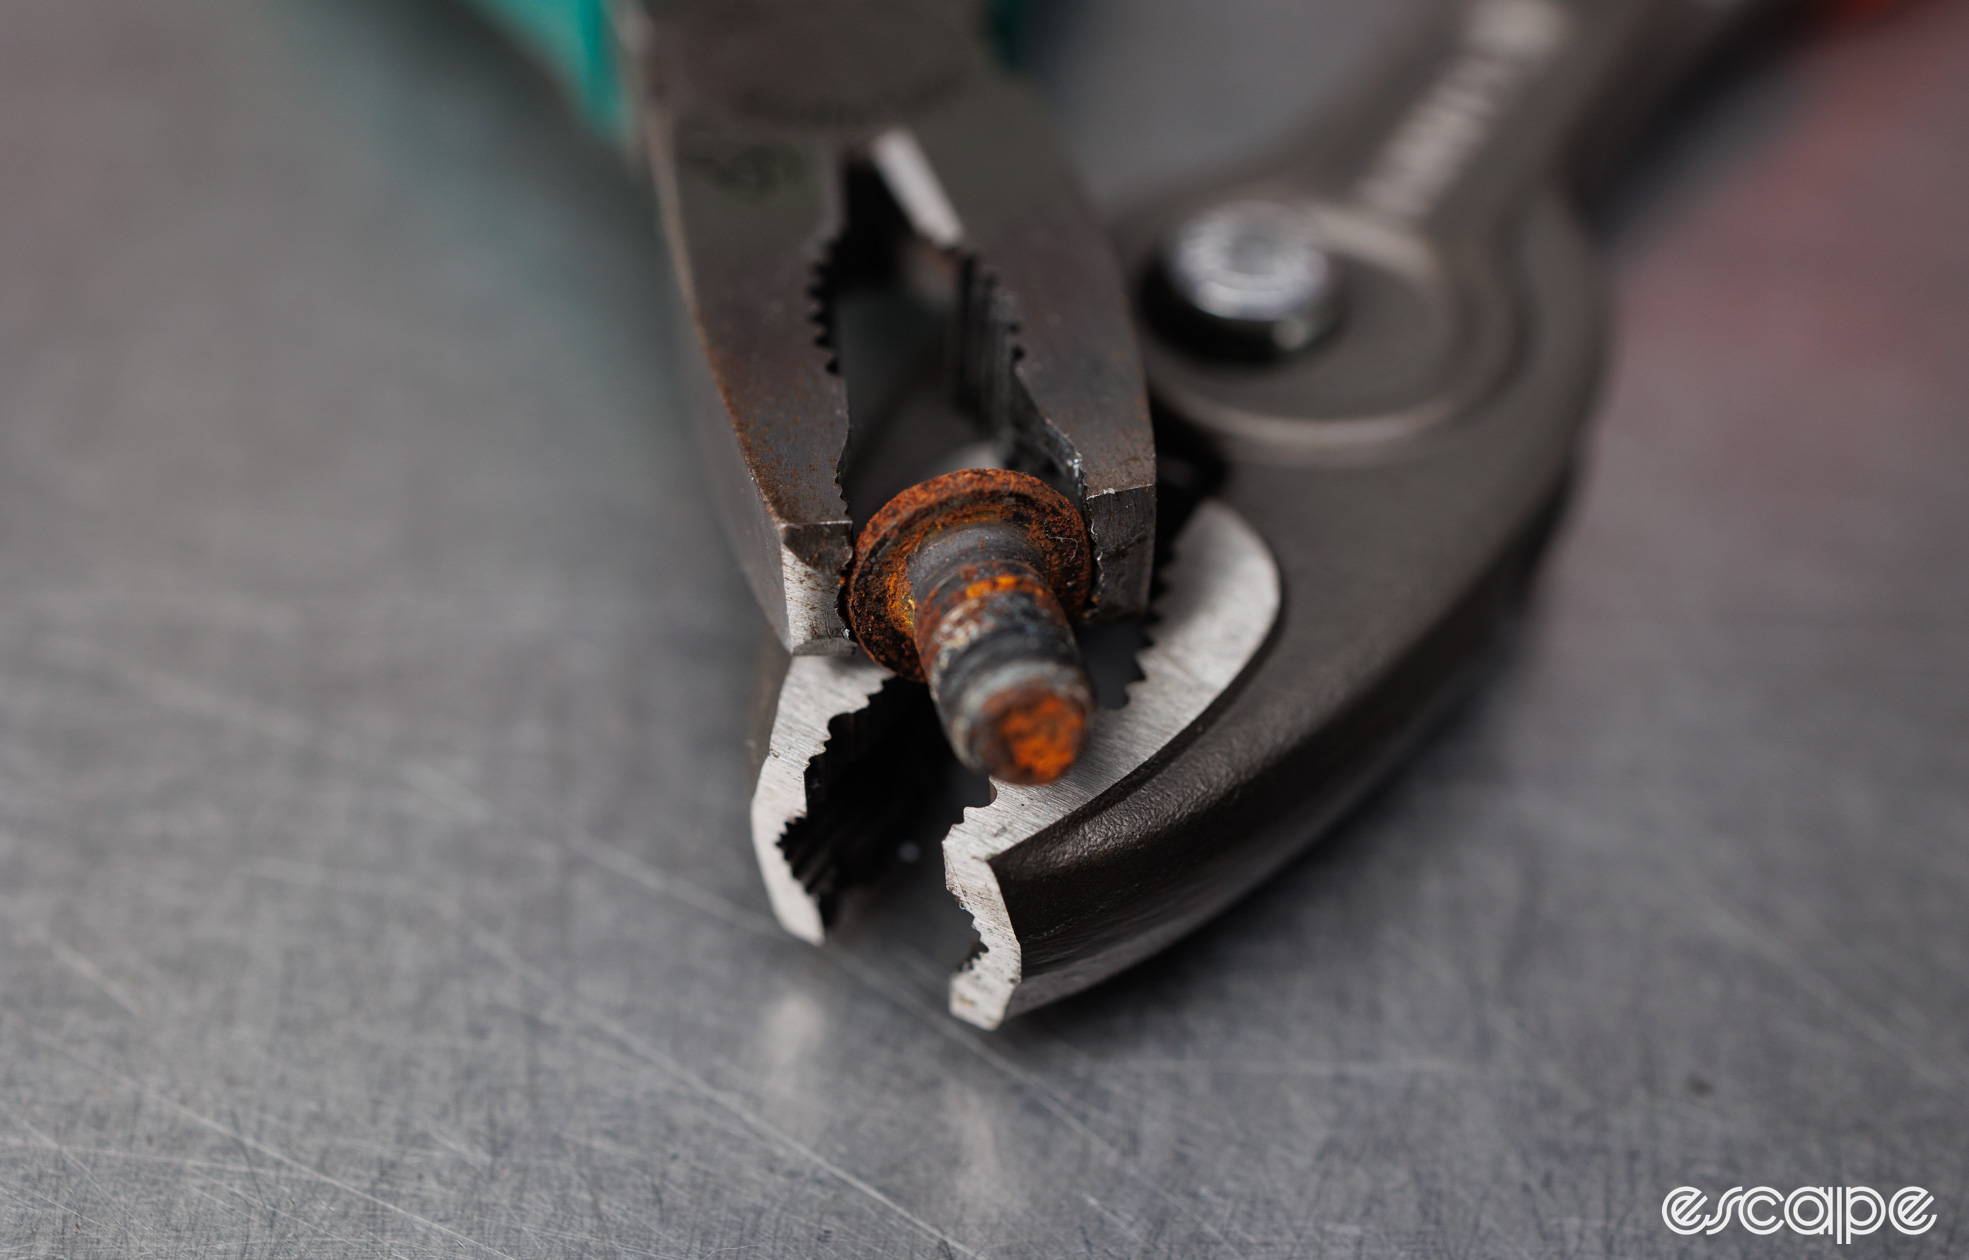
If it’s a smaller fastener and the bolt head sits proud of the component then a pair of specialty screw-removal pliers may prove the perfect tool. For years Engineer screw-removal pliers (such as #PZ-58) were the secret weapon, but that patent has now expired and so good options also exist from Knipex, Snap-On, and even Icon (Harbor Freight’s premium tool line).

If the bolt head is tucked out of reach or simply too shallow to grab then it’s time to move into the fun world of screw removers and extractors.
Most common is the trick of hammering a slightly larger Torx bit into a hex bolt. This can work when the sizes align, and you have Torx bits you don’t mind damaging, but this being Threaded, you probably knew that I was about to talk about more-dedicated tools.
Most tools in this category are designed to work alongside a drill, where the centre of the bolt is hollowed out for the extractor to bite into. Some of these extractors are great, but allow me to focus on a range of tools requiring no drilling.
There’s an enormous range of options for such fastener removal tools with many aimed at automotive and industry purposes. For bicycles, the fasteners you’ll be aiming to remove are typically of the socket-screw type (hex or Torx) and in smaller sizes (M3-M6) than what many automotive kits are designed for.
For rounded hex head bolts my absolute gold standard is tools from Sock It Out. These are simply wedge-shaped hex bits that you hammer into the fastener and then turn out. They’re relatively pricey and the angle of the wedge does need to be matched to the type of hex bolt you’re trying to remove (e.g. button head versus socket head). Worse yet, these tools are notoriously hard to source outside of the USA (within the USA you’ll find them at McMasterCarr, sold as Socket Screw Extractors). Oh, and beware that they sell both SAE (American standard) and metric versions, the latter being the one you want.


Another popular option for removing rounded hex fasteners comes from a company called GripEdge who had previously licenced the technology to MAC/Proto and Facom for the RBRT and OGV extractors, respectively. I own a set of the Facom OGV, and my experiences have been mixed, with the Sock It Out proving the more reliable pick in preventing me from needing a drill after a small-size fastener has been rounded. That said, the GripEdge design offers many positives, such as being more easily sourced and that it can be used as a regular tool, too.
Speaking of mixed results, there are also twisted-end type fastener removers that effectively aim to thread into a rounded bolt upon removal. Clever Standard was the first to bring such a thing to market with its T-handles, and Park Tool’s T-handle hex keys feature this same concept. In my experience, a known-tighter-fitting hex key and perhaps some cling wrap is more likely to result in success than these twisted ends.

The money hole continues with a number of other bolt removers I’ve tried over the years. Some, such as GearWrenches’ Bolt Biters are pretty good for external hex type bolts, but are rarely of use on a bicycle. Meanwhile the common spiral-type removers are more likely to perfectly round the heads of your bolts than actually remove them.
Wholly rounded, sheared bolt head, or stripped fasteners
If you’ve read this far and you're still stuck then you’re probably having a bad day.
It’s at this point that I’d take a moment to consider the bolt material in question, how much torque is remaining in the thread, the position of the bolt and potential for surrounding damage, and whether the part in question is worth saving at all. In theory everything is fixable, it’s just a matter of at what expense?
It’s only at this point that I’ll dig out tools such as a drill, Dremel, or similar noise-making option. And truthfully, needing to take such drastic measures has become extremely rare through following the steps and tools outlined above.
When all else fails there are many different tools and techniques to consider for removing stuck bolts. For me, I love a good set of left-handed drill bits that can help to undo a stuck bolt merely through the heat and friction of drilling into it. A high quality set of Easy-Out screw extractors can be oh-so-satisying when they work. And merely sleeping on a problem and returning to it with a fresh mind can result in success.

Meanwhile, stripped threads require a different approach. In some cases, a usable amount of the thread can be repaired with a simple thread tap. Other times the thread may be replaceable through a new retaining nut, rivet nut, or perhaps just enlarging and thread-taping the hole. And when all that fails, there’s the fun world of thread inserts.
I’ve glossed over a number of details here and perhaps I’ll return to the topic in a future Threaded. In the meantime I’d like to emphasise that prevention and taking considered steps while the bolt head is intact can truly go a long way to ensure you don’t end up this frustrated.
Coming up!
It seems we currently have a bunch of brands releasing new things, and you can bet that includes tools. Watch for another instalment of New Tools Day (catch the previous one here). I'm also slowly clicking, clipping, and pin-pushing my way through a handful of comparative reviews applicable to the wrench-curious and tool-obsessed.
In the meantime, happy wrenching!
To be blunt, Escape Collective isn’t yet profitable and its future rests in the hands of those that consume its product. Join today.
Did we do a good job with this story?