
The sweat is making your hand slip, the vein in your forehead is threatening to explode, and your tools are begging you to end it. Stuck fasteners or threaded components are relatively rare on well-kept bikes, but ask any busy shop mechanic and they’ll tell you an ultra-tight pedal, crank bolt, bottom bracket, thru-axle, or even cassette is a daily encounter.
In many ways, the methods for dealing with such tight threaded components overlap closely with those tips and tricks previously shared for removing rounded bolts. Sensible application of torque, perhaps some penetrating oil, and maybe a careful application of heat will often fix all but the most welded-on of tight threads. However, the process of undoing any stuck component can be nuanced, so the suggestions, tools, and techniques can vary. In this article, I’ll cover some broader elements along with a few common specifics.
Before we get started with this edition of Threaded, it’s critical to note that if done incorrectly, many of the things covered in this article can cause injury to body and/or bike. Many professional mechanics have proven methods, secret tricks, or just pure witchcraft for finding success, but such methods become vastly more time-consuming (and expensive) if someone else has previously tried and failed at the task. If you’re unsure, please consult a professional.
Prevention and technique
With most things maintenance-related, prevention is key. Bicycles don’t offer much protection from the elements; add in sweat plus the common use of dissimilar materials and you have a quick recipe for galvanic corrosion. Unless something specifically calls for a dry thread, then you should add a coating of anti-seize, grease, or thread-locker to keep corrosion away.
As if corrosion weren’t enough, modern performance-oriented bicycles now feature many softer materials in an effort to save weight. Fine-thread aluminium bolts and lockrings are common and more susceptible to galling, where the soft threads effectively bind under extreme torque (this is what causes SRAM DUB cranks to become stuck, addressed in a sidebar later).
It’s also common to experience fasteners that were overtightened from the factory or by the previous person to touch them. While not always the case, much of this is preventable by following torque recommendations (and applying corrosion-preventative lubricant to the thread.)
Even with proper prevention, a rounded-out fastener or damaged component is always nearby whenever a fastener is stuck. As covered in the related previous edition of Threaded (linked above), it’s critical to ensure you’re using the right tool, have it squarely seated, and do what you can to prevent it from camming-out under the applied load.
In some cases, using the right tool may still not be enough. There can be big differences in engagement quality, and therefore torque capacity, between poor-fitting or worn tools and higher-quality options. I’ve previously shared my preferences for better-fitting Torx, Hex, and Phillips options. These same better fitments can be experienced in all categories of tools, such as pedal wrenches, bottom bracket sockets, and cassette lockring tools. If the tool you’re using feels sloppy or at risk of slipping from the component, then pause and consider your options before causing further headaches.

Leverage or impact
Often if you’re struggling with something you can’t loosen, you simply need to produce more torque. The easiest way to do this is to add a longer lever into the equation, which will increase torque for a given input (force). If you’re fighting a pedal or crank bolt with a short hex key, well, don’t. After all, history suggests that Archimedes once said, "give me a lever long enough, and I shall undo the tightest of bottom brackets."
Whether it’s a hex key or pedal spanner, professional-grade tools often provide more leverage than consumer-based options. I always recommend owning at least a set of long-length L-shape hex keys, but sometimes, even that’s not enough of a lever (especially if you're weak like me).

The cheap solution is to use what’s commonly called a cheater bar, otherwise known as an extension pipe added to whatever tool you’re using. This can be a bit of fence post, an old length of metal pipe, a bicycle handlebar, or even a piece of frame tube from a wrecked bicycle. My warning about this is that most tools are only designed to handle the torque that would be reasonably applied given the provided handle length. In almost all cases using a cheater bar will surpass the strength limits of the tool. Or in other words, you’ll probably break something and be denied warranty.
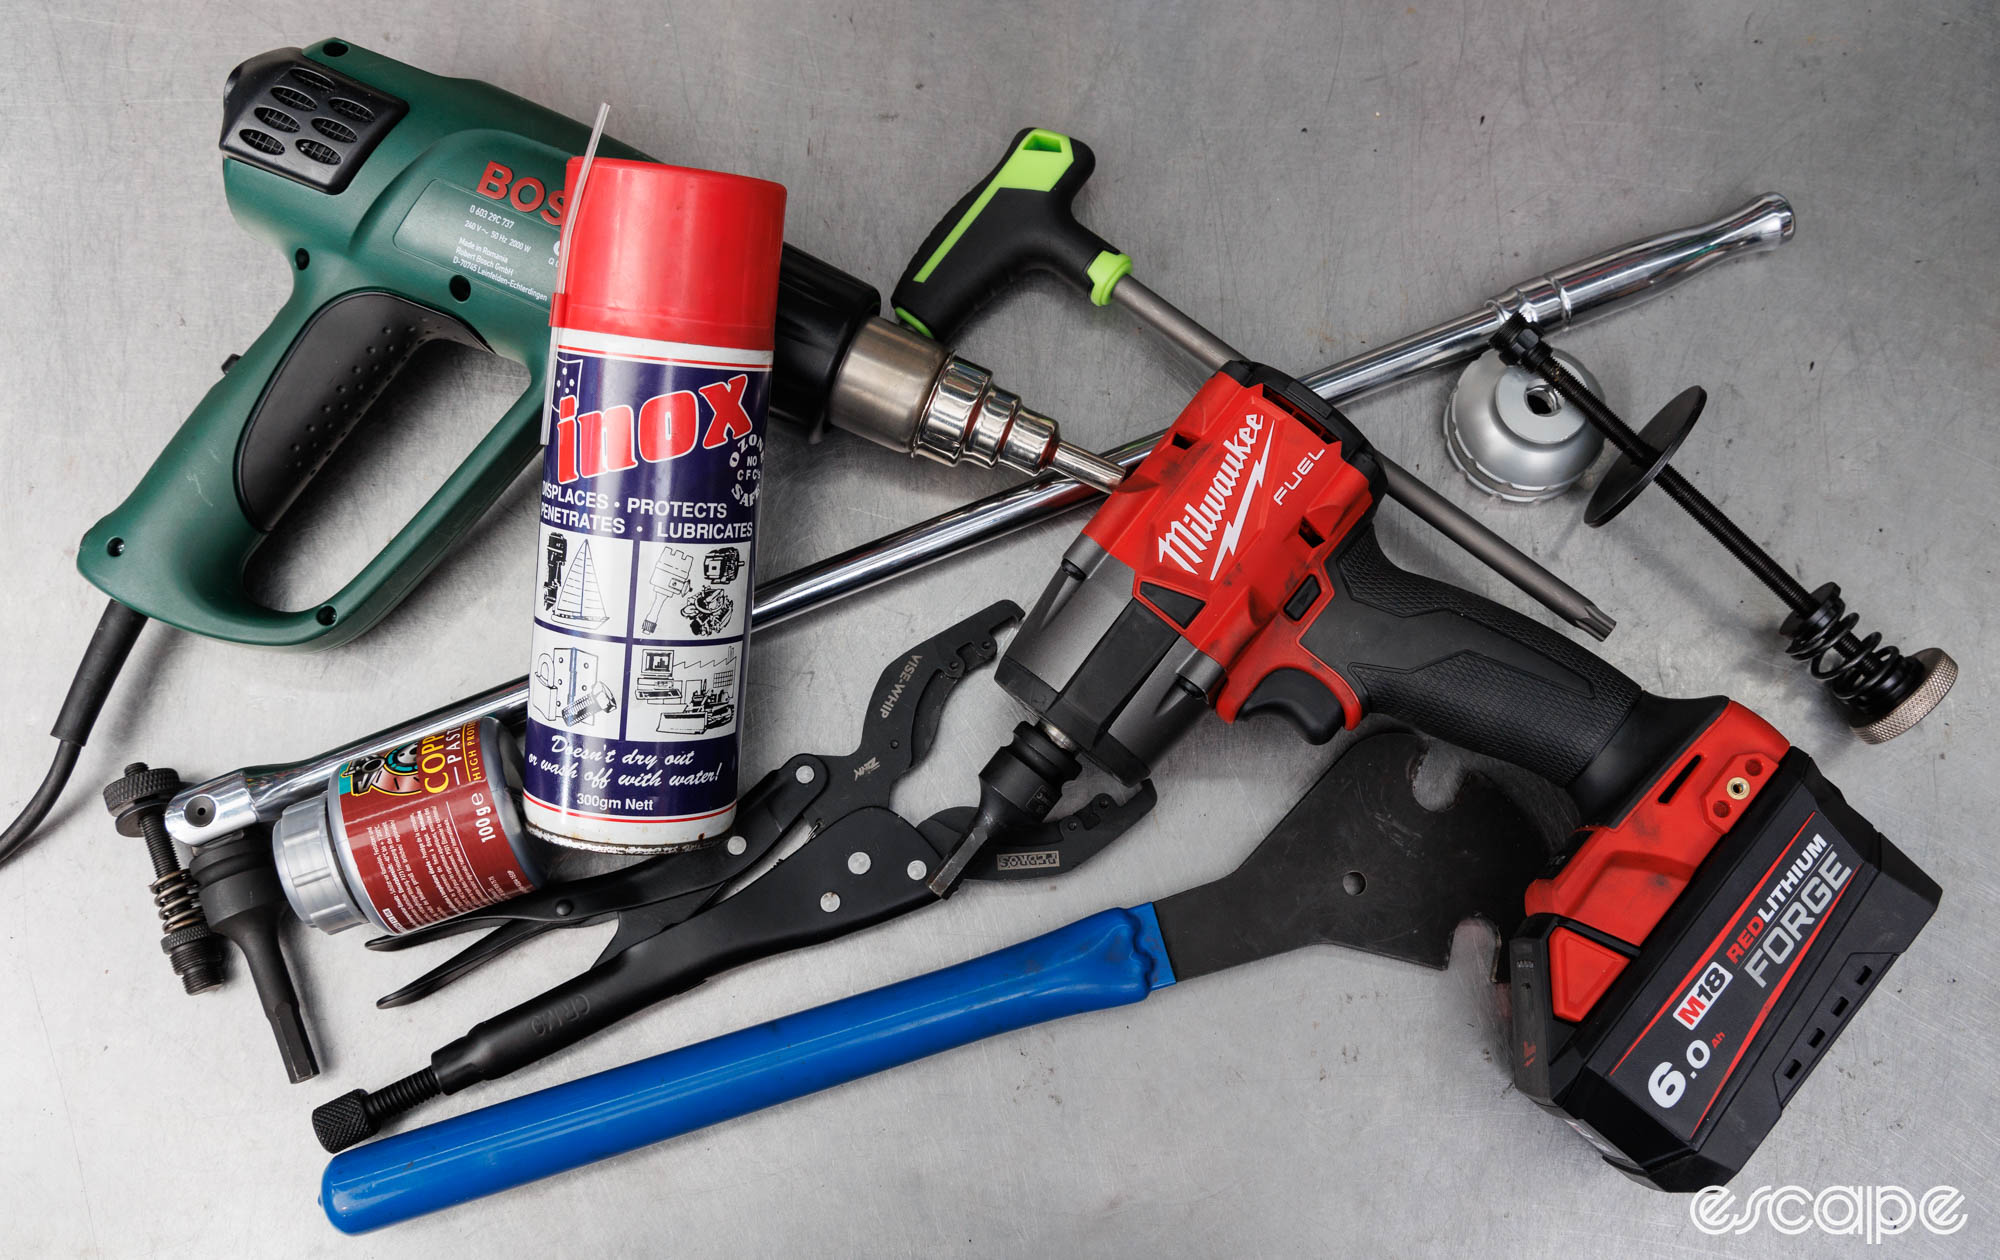
When high-torque situations arise, I prefer to use tools specifically designed to handle them. The good news is that such tools are commonplace in the automotive industry and, therefore, are often easily (and cheaply) sourced at local hardware or automotive parts shops. A common example of this is a breaker bar (pictured above), which as the name implies, is a simple tool designed for breaking free tight fasteners – it’s effectively a long lever with a swivel end to accept a socket. Available in a variety of lengths (18 to 24" is the sweet spot for the task), pick up one in either 3/8" or 1/2" square drive to suit whatever hex, Torx, bottom bracket, or lockring sockets you may already have.
However, merely adding a longer lever can create complications, something I’ll return to in the next section.


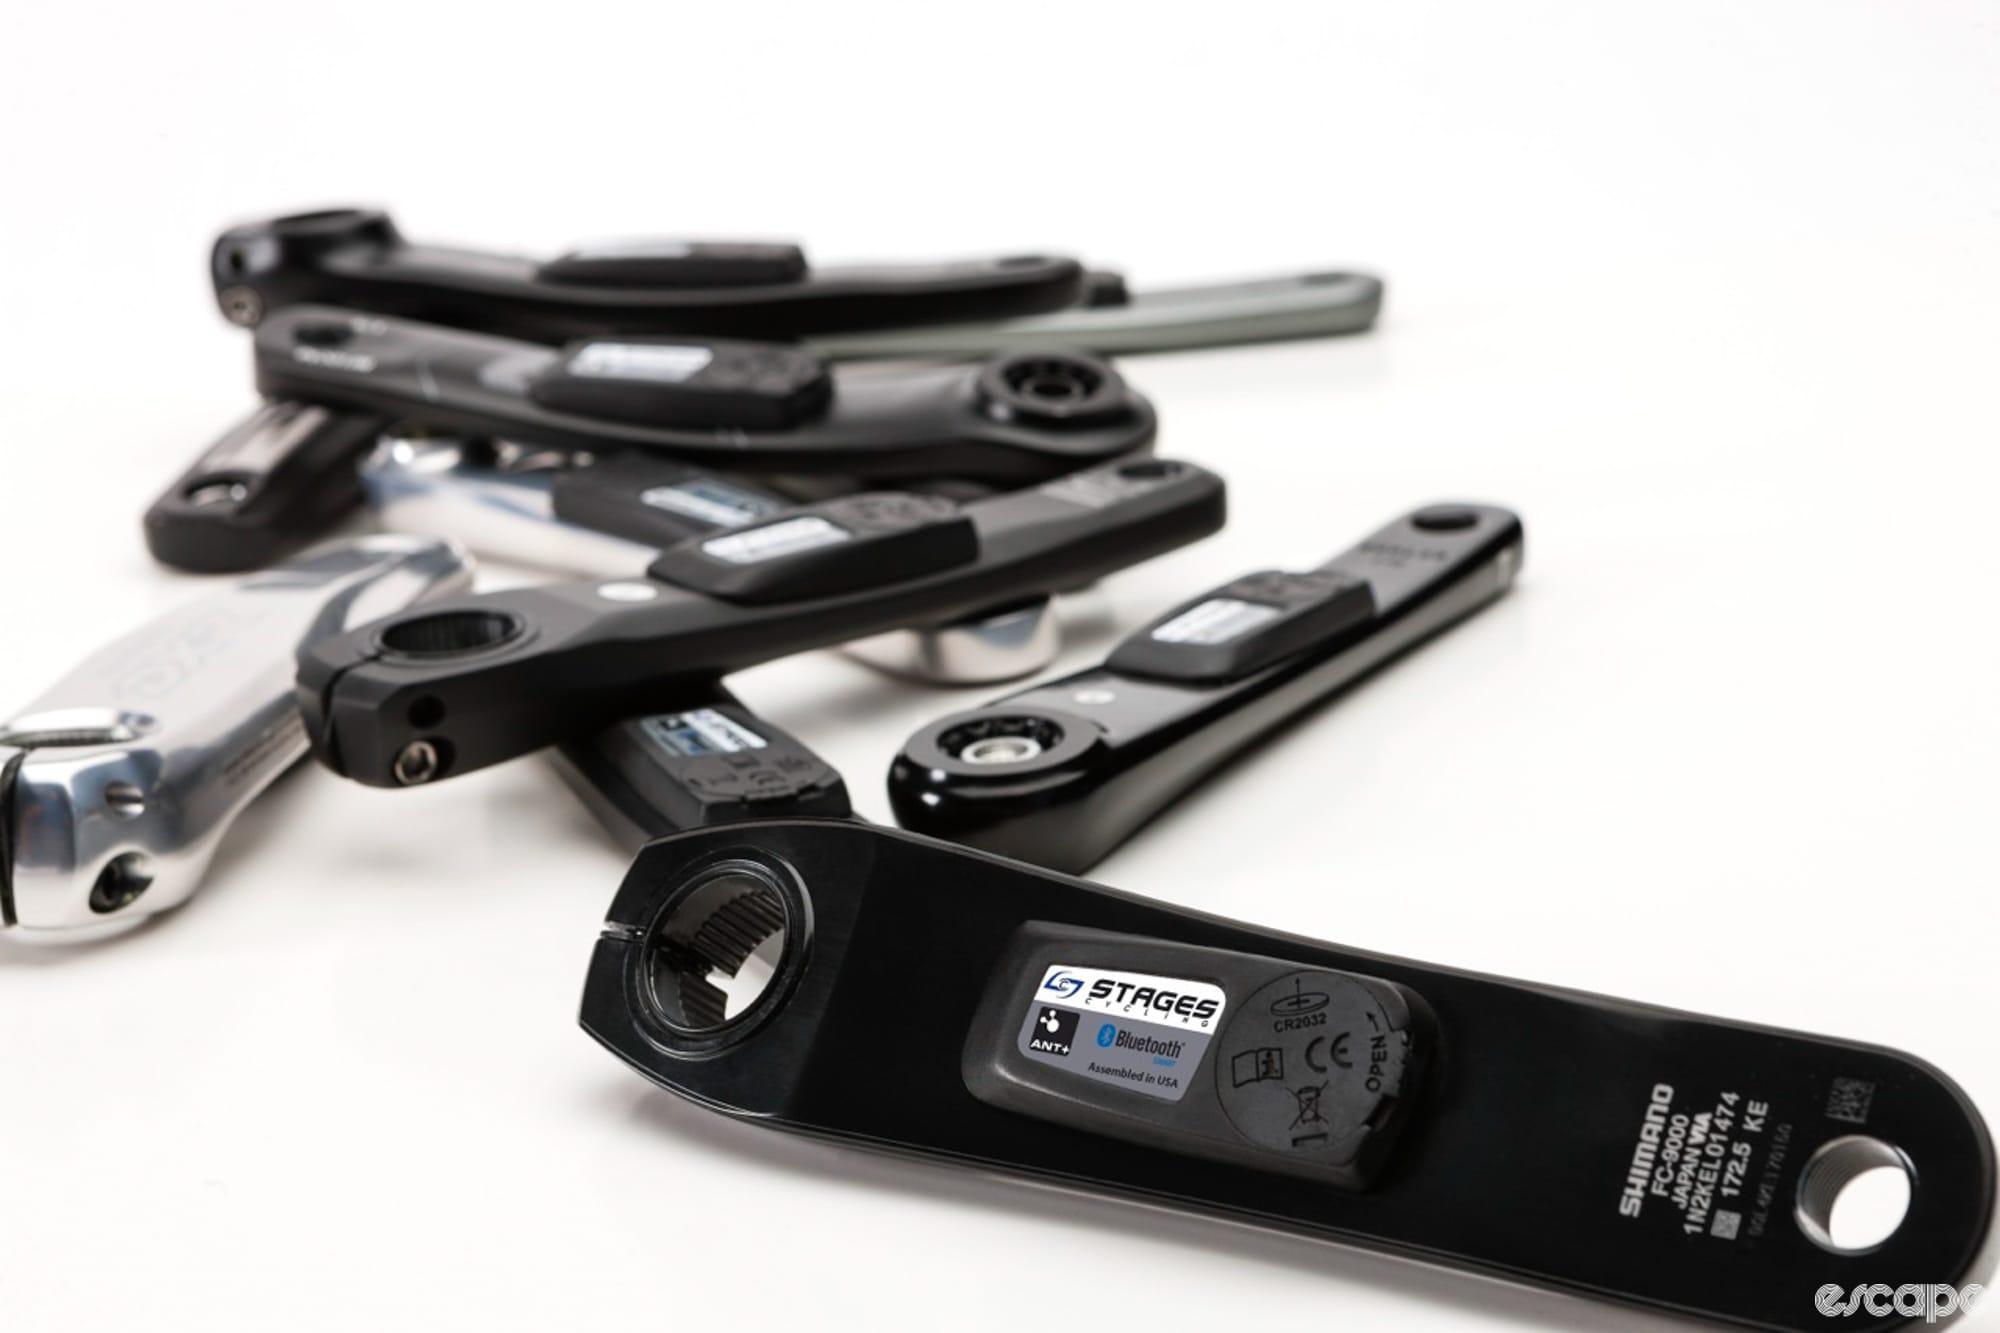
An alternative to using a longer lever is an impact wrench. These pneumatic (air) or electric-powered tools, which are kind of a drill with a hammering action, create torque by combining speed with force. That application of torque is also impressively retained by the fastener, and often, you can remove a stuck crank or pedal (hex-based) without even holding the opposing side. However, for reasons of playing it safe, it's best to avoid using these with spider and/or crank-based power meters (such as higher-end SRAM/Quarq).
The category of impact tools deserves its own series of articles (which exists, such as with the brilliant Torque Test Channel), but the fundamentals are to decide whether you want pneumatic or electric, with the latter then opening up the debate to corded or battery and then a whole rabbit hole of colour-based power tool brand allegiances.
Broadly speaking the larger the drive anvil, the more torque the tool is designed to produce, and I’d suggest a 1/2" drive is where you should be looking. Before going wild, just know that these tools can cause irreparable damage if misused. They need to be matched with impact-rated sockets, and you should always wear eye protection.

All too often I see confusion between impact wrenches, manual impact drivers, and powered impact drivers. A manual impact wrench is a tool intended for automotive and big industry where high torque and typically square-drive sockets go together. A manual impact driver looks like a screwdriver, where an applied hammer force helps to turn out fasteners. A powered impact driver is largely intended for driving screws in carpentry and works with bit-style tools. Impact drivers are awesome for smaller fasteners, but they tend to lack the torque required for undoing a stuck DUB crank or a steel bottom bracket that’s been rusting for 30 years. There's a longer video explainer of all this on my Instagram page.
A third option, but more limited in application: some tight bolts can be overcome with constriction. This is something that was recently covered by using an inner tube to undo a tight SRAM DUB crank bolt. The method works, and is certainly worth trying for home mechanics or those out on the road, but I’ve personally found long levers or impact wrenches to be easier and quicker.
With great power comes great responsibility
Whenever adding more torque, it’s important to think about where that extra load is going. Reefing on a stuck bottom bracket with the bike mounted in a repair stand is likely to strain the seatpost or frame. If a fastener is tight enough to warrant a breaker bar, I typically like to have the bike on the ground and supported evenly through its wheels.
At this point you should also consider the direction you need to turn the fastener. This may sound idiotically simple, but left pedals and right-side English threaded/T47 bottom bracket cups are reverse threaded. Then there’s some funkier stuff, such as Campagnolo’s Super Record Ultra-Torque cranks being reverse threaded, but not the first generation nor any other models in the line-up. This is the stuff that all too often trips up people into making something tight, even tighter.
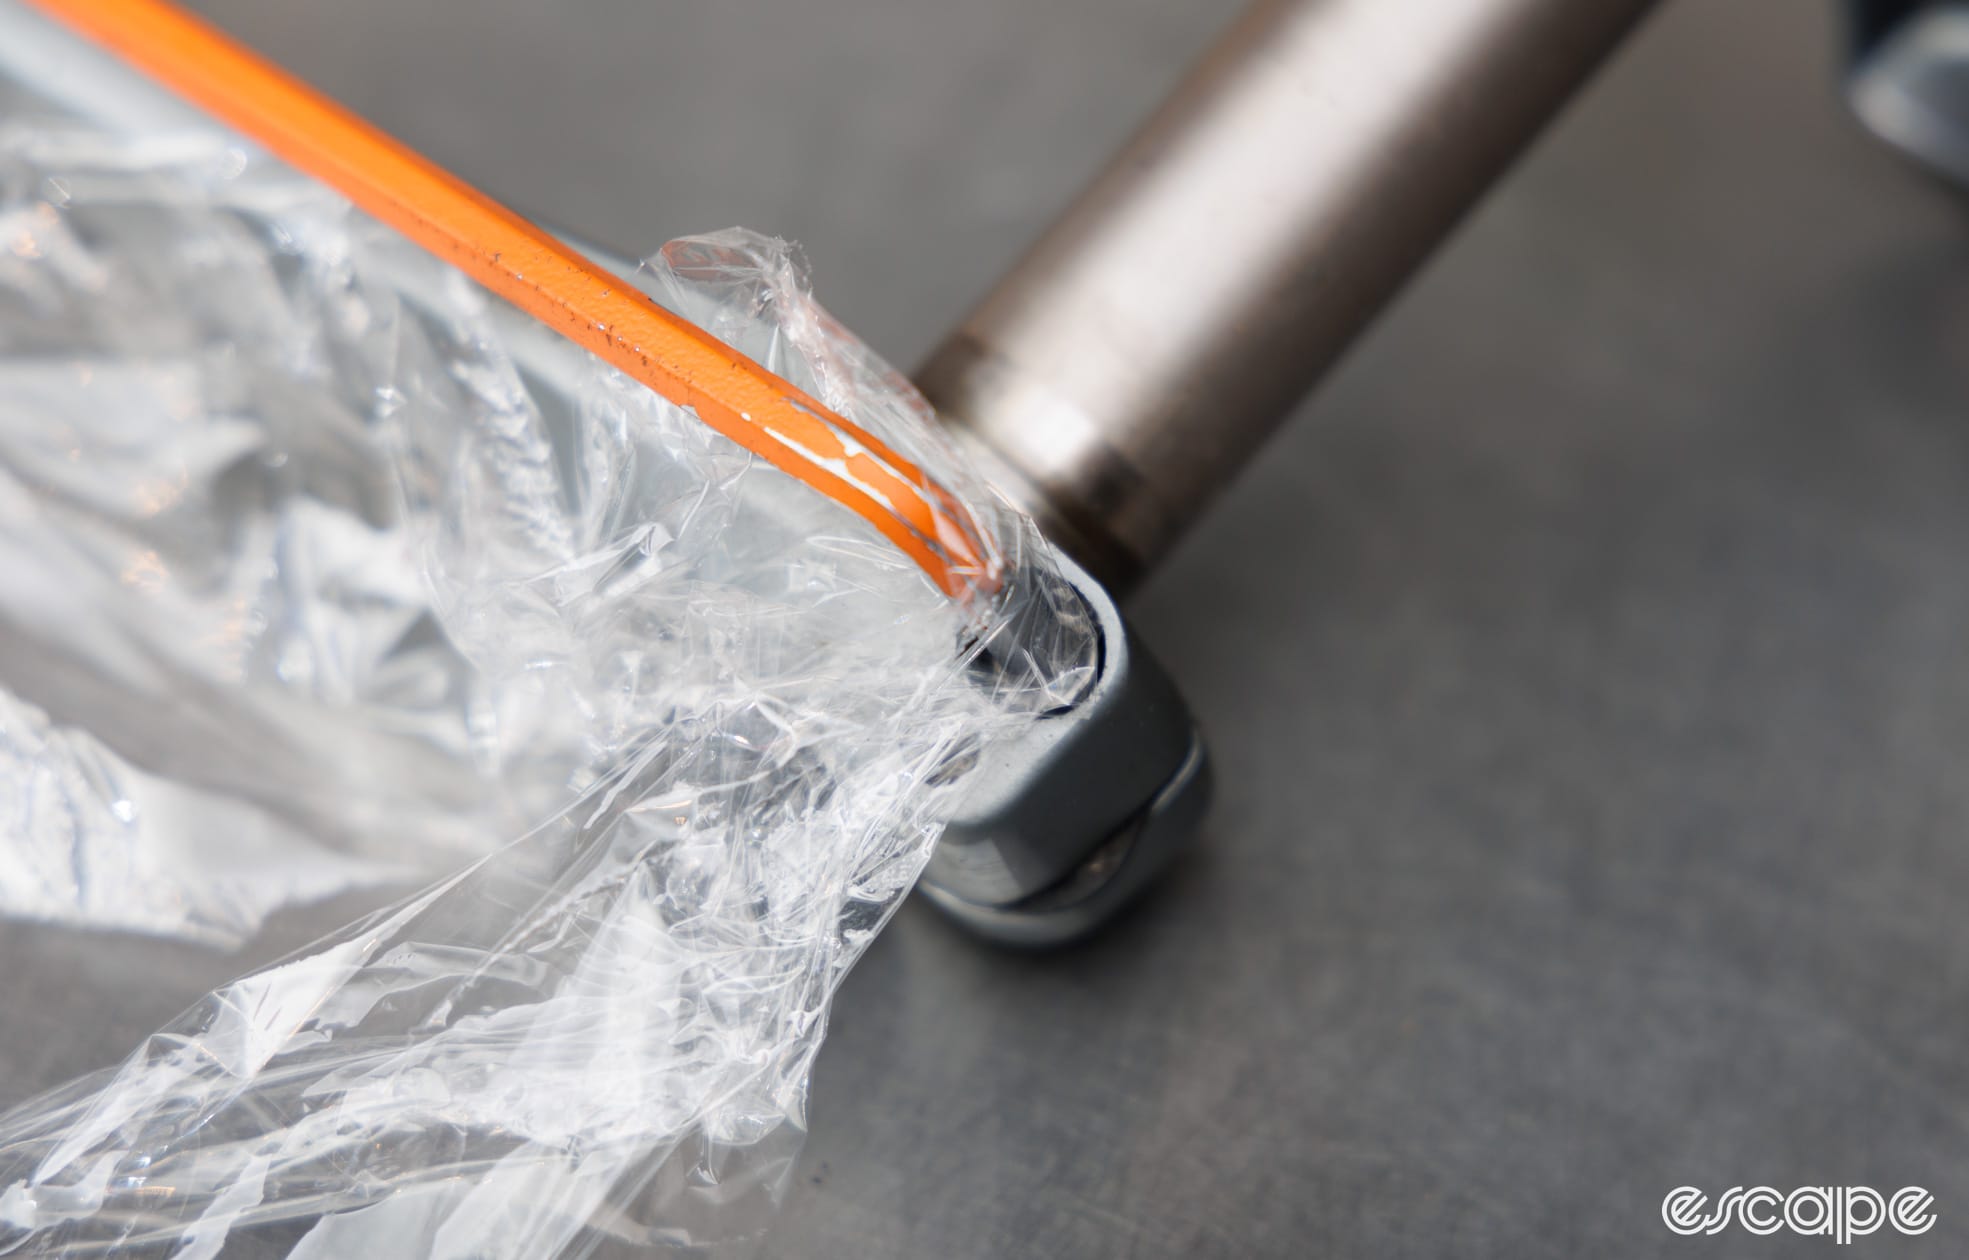
If it’s a crank bolt, pedal, or cassette, you’ll need to affix the component or counter the torque to stop it from spinning. For the specific task of undoing tight crank bolts there are a myriad of differing methods that mechanics swear by. The previously mentioned inner tube constriction tip is one option, and contains the forces just within the crank. Some like to place the opposite-side pedal on a raised platform (like a step stool) or under a heavy bench shelf and then stand on the wrench. Others like to affix the opposite-side crank to the chainstay of the frame with toe straps or similar methods – it works, but I don’t feel comfortable suggesting this method on lightweight carbon frames.
Meanwhile, I prefer to either use a 1/2" impact wrench, which typically just takes a few seconds and requires no securing of the crank arm. If I don’t see immediate success with the impact wrench (e.g. within five ugga-duggas), I’ll typically move to a more manually controlled method where I can feel what the bolt is doing. For this, I place a long pipe (fence post) over the opposite crank arm (covered in a rag) and have the pipe contact the ground (pointing toward the back of the bike), from there you can comfortably and safely apply a helluvalot of torque through a breaker bar.

For pedals, it’s often a matter of getting the crank to sit at the right angle where your force is focussed on undoing it rather than turning the crank. Applicable to many other aspects of wrenching, consider how you can undo something so that when the thread does loosen, your hand can’t possibly end up in danger (for pedals, you should pull away rather than pushing toward the chainring). Not to oversimplify a sometimes-difficult task, but most stuck hex-based pedals can be undone quite simply through placing your foot on the end of a long hex key – it's all about the angles.
Overcoming the freewheel/freehub of a cassette can be a little more difficult. Here a long-length and professional-grade chain whip can be hugely helpful. A cheater pipe placed over a lockring tool such as Pedro’s Vise Whip is an option, too. One safer method (unless the chip whip snaps; ask me how I know) is to place the cassette lockring tool in a bench vise, leaving you to solely worry about adding load to the chain whip. Alternatively, I prefer to use a 18" breaker bar on a cassette lockring socket (well, truthfully I have a custom tool that combines these), and match that to an equally long chainwhip – one swift movement brings success.


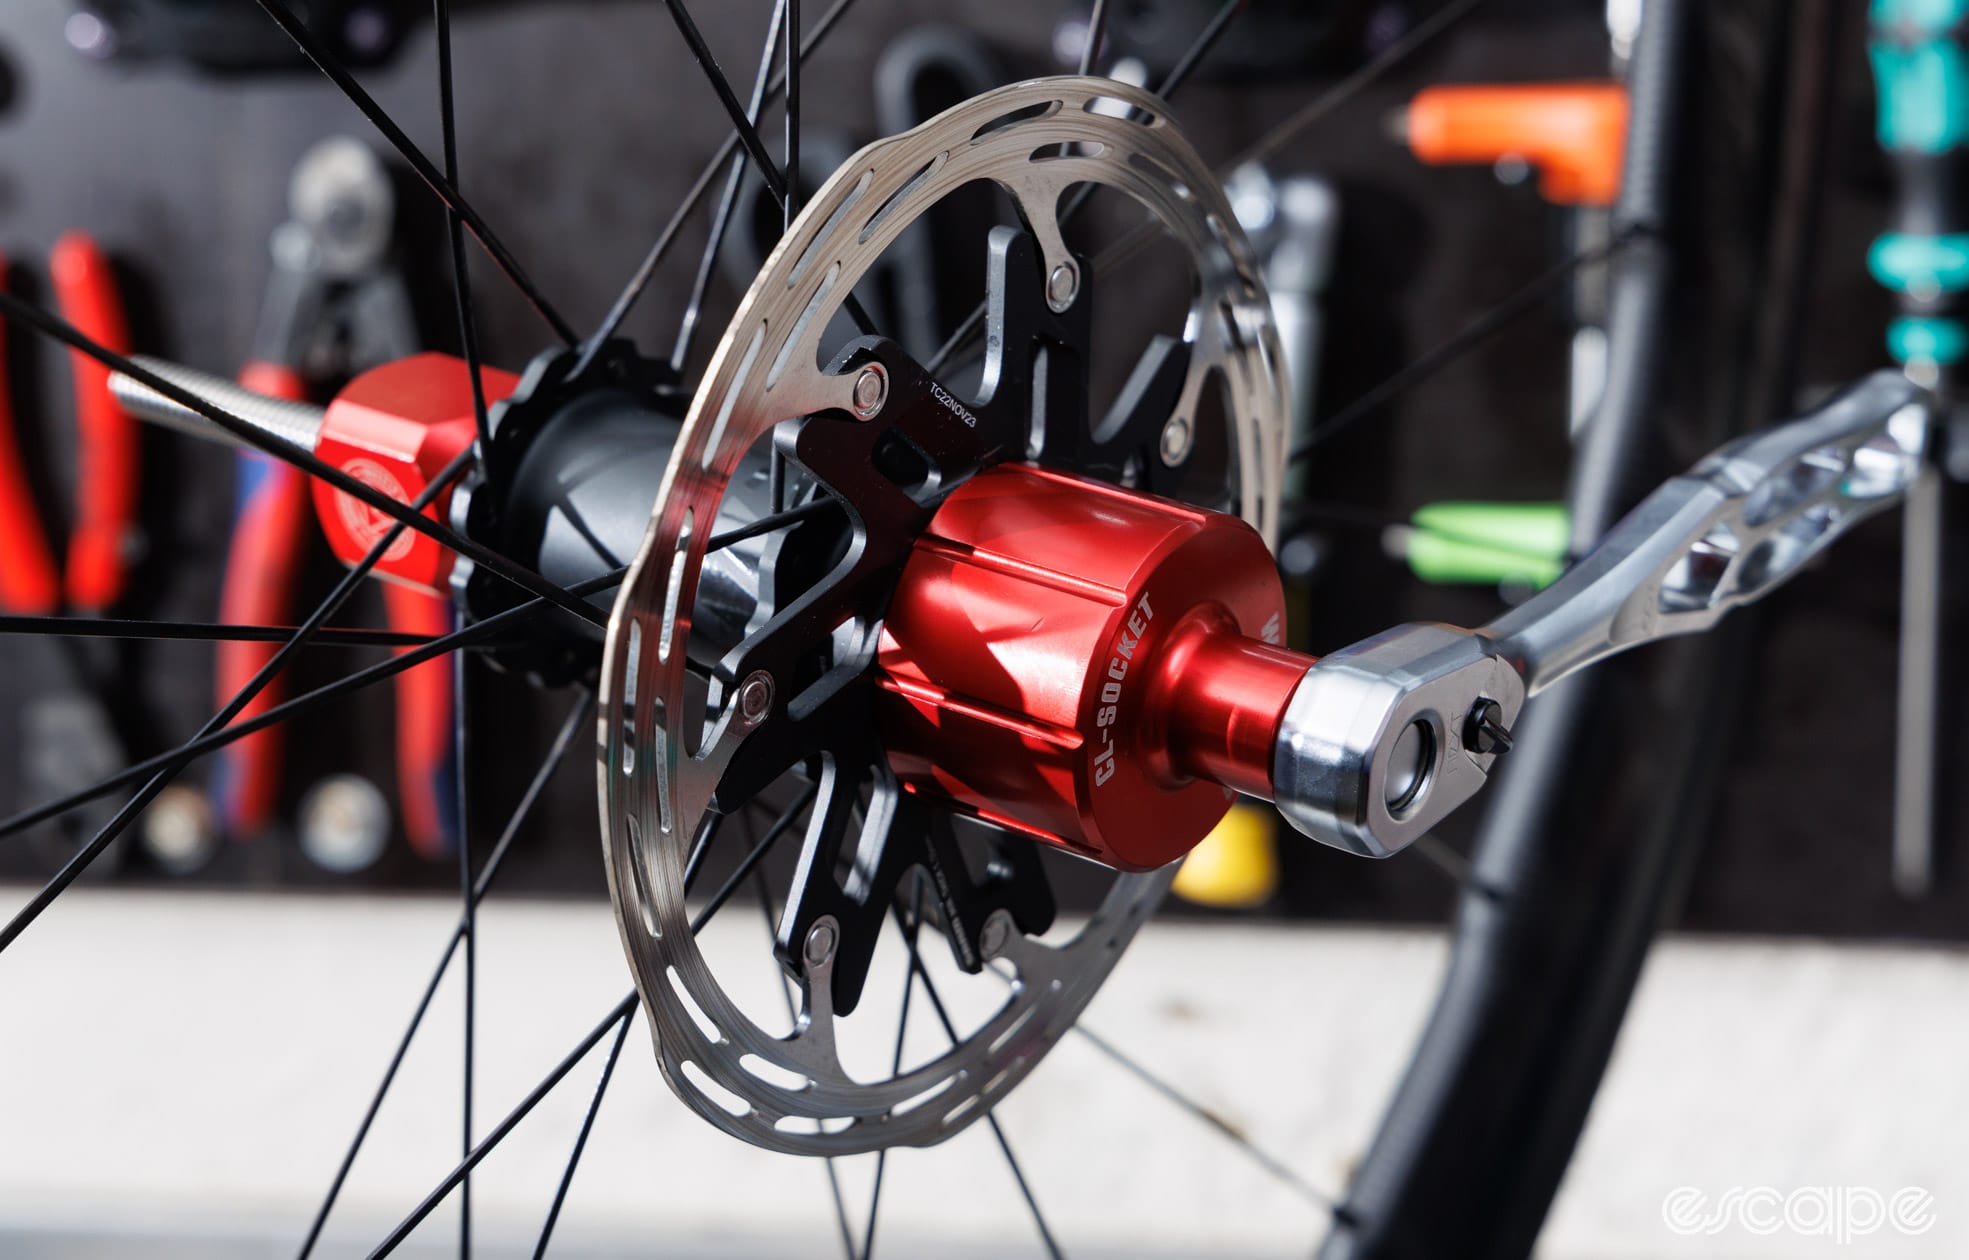
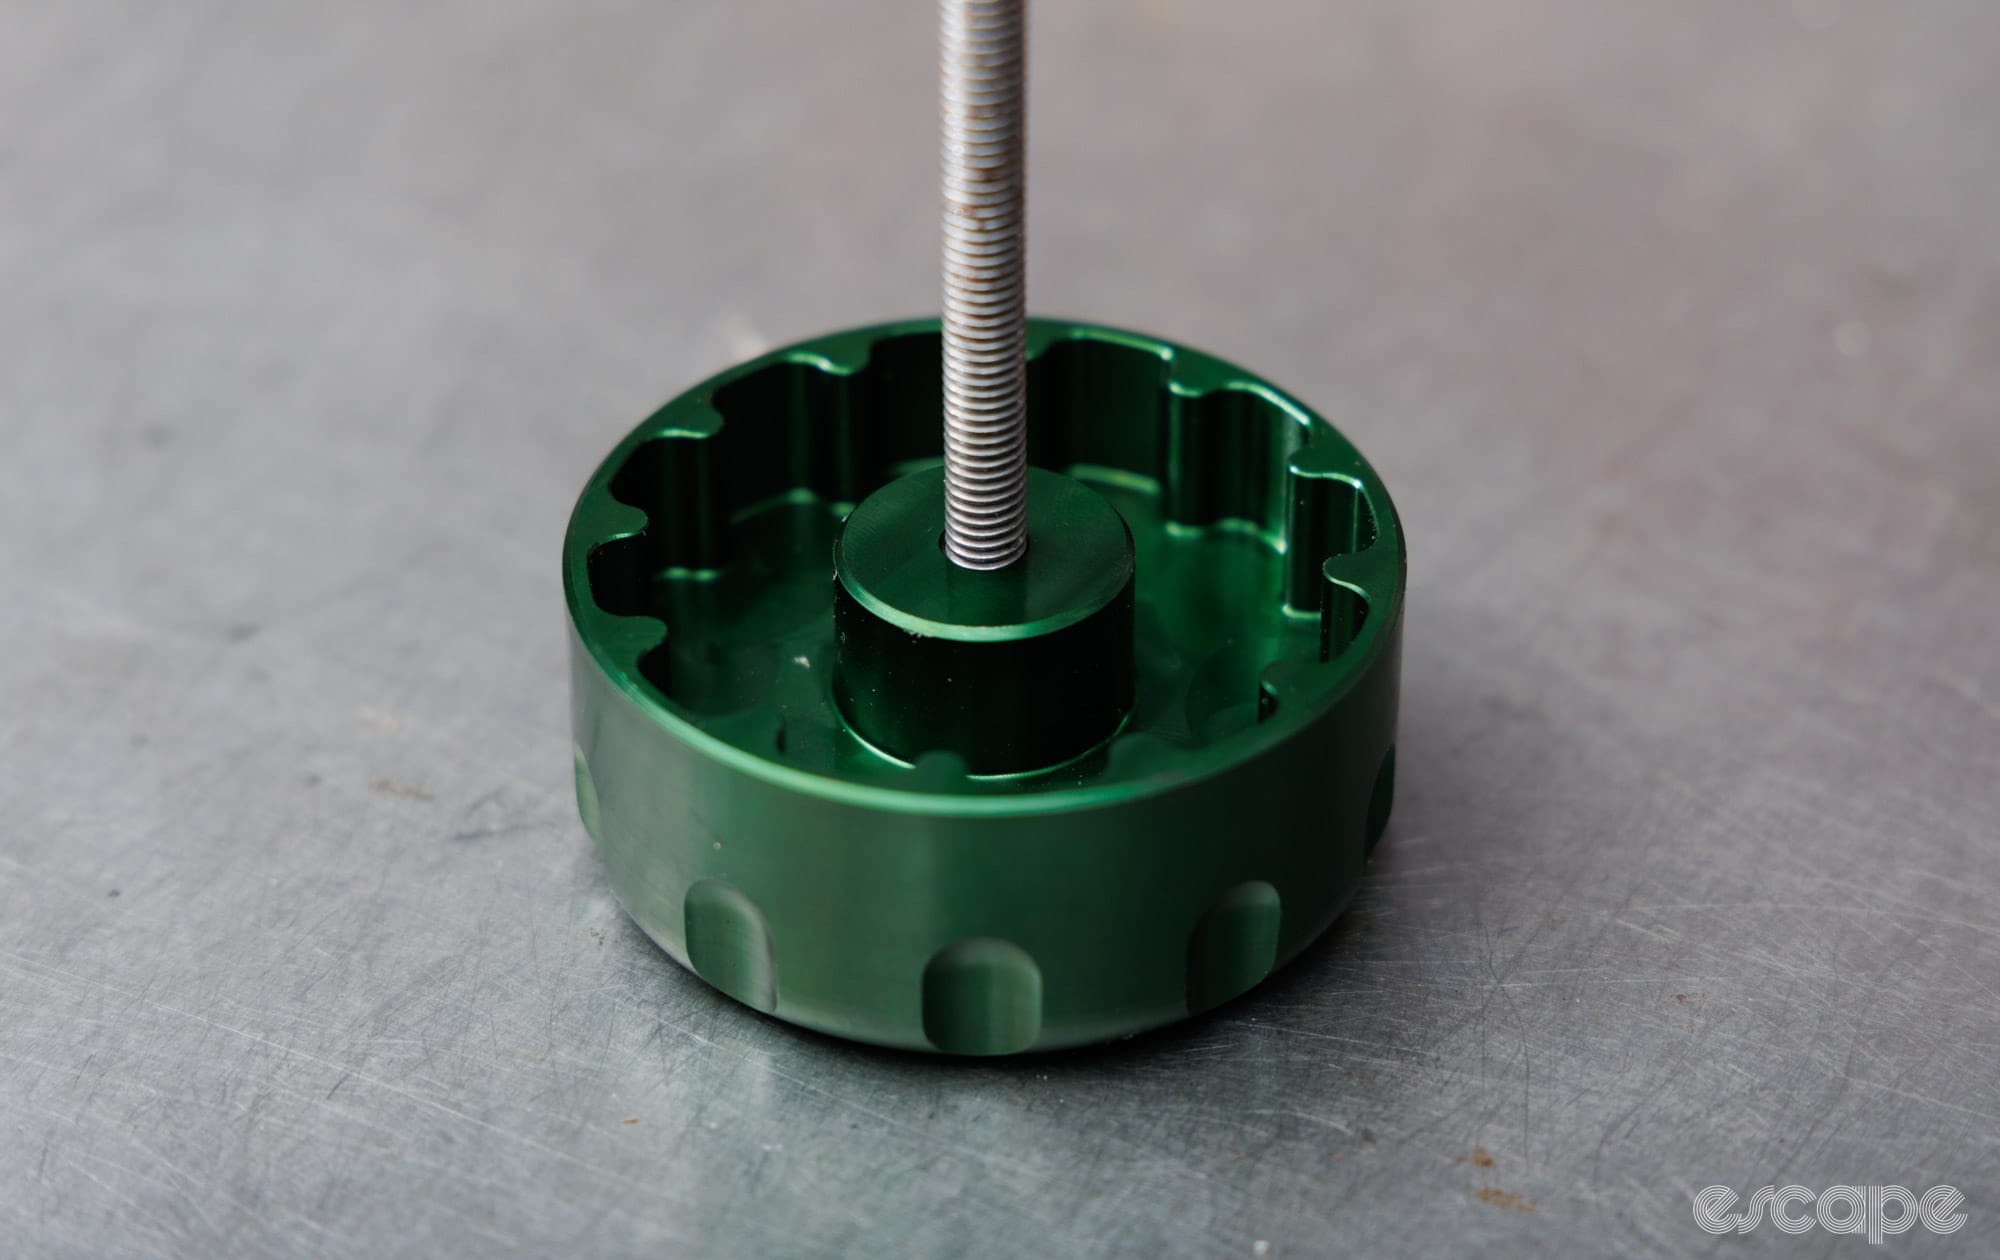
Whatever the task or method of choice, it’s a good idea to consider whether the tool you’re using will be susceptible to cam-out (where the tool twists out off-plane due to an indirect force applied). This is a topic I’ve recently covered in relation to thin centerlock lockrings and again with thin flange T47 bottom bracket cups, but it also commonly applies to cartridge-style bottom brackets, or anytime there is shallow tool engagement. In these instances, the suggestion is to find a method for securing the tool in place that prevents the risk of it camming off. This can involve specialist tools that can be threaded into place, or in other instances, it can be done with a wood-style clamp and a little creativity – it just depends on the situation.
Heat and penetrating oil
If that fastener doesn’t budge then it’s likely time to consider what can be done to break down the corrosion bond and/or reduce friction. Ah yes, it’s time for heat and/or penetrating oil.
My go-to methods tend to vary based on the task at hand. I’ll employ heat where safe to do so (away from paint, composite materials, rubbers, etc.) and when the surrounding threaded material is likely to expand at a greater rate than the mating threaded fastener (for example, an aluminium crank arm with a stuck pedal thread.) I like to use an electric heat gun versus a flame for better control and simply because it’s safer to do so. Either way, avoid getting things red hot and thereby introducing brittleness into the material.


A safer approach is typically to use a penetrating oil which, as the name implies, is intended to get into the nooks and crannies (specialist products exist, while something like WD-40 can do an OK job). Patience is required here as penetrating oils (or other corrosion-fighting solutions) can take hours to work in and can need repeated applications. Let gravity assist, feel free to add more, and then return to those longer levers or applying impact.
Sidebar: SRAM DUB things
SRAM's DUB crank system gets a deservedly bad rap given the widespread bolt galling issues it has experienced. There are reasons why tricks like wrapping an inner tube have gone so viral. Using a torque wrench and greasing the bolt helps, but it doesn't solve the issue of first undoing that tight 8 mm hex bolt.
To undo these bolts, skip the heat and penetrating oils; typically, you just need a good-quality 8 mm hex and plenty of leverage. To find success, follow the steps above for removing crank bolts.
The proven way to fix the bolt galling issue (present on higher-end DUB cranks) is to swap the lightweight aluminium bolt for a steel one that's 13 grams heavier (SRAM part #11.6118.066.000). Making this change has proven to be a good preventative measure against further issues. However, installing one of these does require you to remove the extraction cap of the original bolt, a task that can be annoying without a dedicated tool (Abbey Bike Tools has one).


I also like to remove the cap and add a small amount of anti-seize beneath the bolt head, which I believe aids in creating a slippery surface for the bolt to turn on. However, the counter-argument to this is that such lubrication under the bolt head actually allows a higher clamping force to be achieved for a given torque, which could then worsen the galling issue. Yes, I tend to overthink everything.
Know when you’re beat
I started this article with a warning that failed attempts at removing stuck fasteners and components almost always result in a bigger final bill for a professional to do it. If something isn’t undoing the way you think it should, take a breather, perhaps even sleep on it, and reassess later. Fresh eyes can go a long way toward stopping you from quite literally screwing something up. Similarly, never feel too proud to ask for help. There are a lot of good bike shops and repair businesses out there with the skills to make your bike more enjoyable to use.
Tightening is a different story
Have you got the thing loose without damaging anything and are ready to bolt it back up? It's important to remember that the tools covered in this article are best kept for undoing things. Using breaker bars or impact wrenches for assembly is like bringing a flamethrower to a water pistol fight – you'll quickly get burnt.
Regular-sized hand tools and torque wrenches are your friends for general service and assembly work.
Did we do a good job with this story?