It's that time again. It's Threaded time.
In the previous edition, I covered 12 foundational tools that anyone repairing or just maintaining modern bicycles should own. Now, taking things up a notch, here’s a list of 12 more tools for accomplishing many intermediate maintenance and service tasks on the majority of modern road, gravel, mountain bikes, and more.
With these tools, you can get deeper and more detailed in what you can achieve, but equally, there’s an increased risk of getting it wrong. If you’re looking to do repairs yourself, please keep in mind that even a component as unassuming as a chain can risk the safety of you and others if installed wrong. Always consult a professional if you’re not confident in a repair.
The case for better tools
One goal for Threaded is to spread the joy in using better tools. Not only will they last (often a lifetime), but they can reduce the risk of damaging the component or yourself. Equally, a great tool will make the task smoother, faster, and easier.
Sometimes, it pays to spend more (buy once, cry once), but equally, some cheap tools are great. As noted in this article, some things are worth spending more on, but there are places where it’s fine to save some money.
So, with that, these next 12 tools will turn that foundational tool kit into an intermediate one. These are tools that if you’re a pro mechanic you’ll be reaching for multiple times a day, or if you’re just really into bikes, you’ll still get plenty of value from.
And to repeat from the previous article, I’m firmly of the belief that the big industry tool brands do general-purpose tools best, while cycling tool brands are obviously best for bicycle-specific things. By this stage you should own a decent workstand for holding the bike, and if setting up in a semi-permanent spot, you'll benefit greatly from a workbench (or similar flat surface), and a bench vise (commonly used in more intermediate to advanced repairs).
OK, on with the tools.
Chain breaker
Chain breakers simply drive a chain pin in or out of the outer plates. They’re such a staple cycling tool that many portable multi-tools include one in case of a broken chain or twisted link. In the workshop, they’re used for sizing up new chains and removing old ones (where a quick link isn’t present). While the purpose may be simple, it's quite astonishing how many tools fail at the dedicated task.
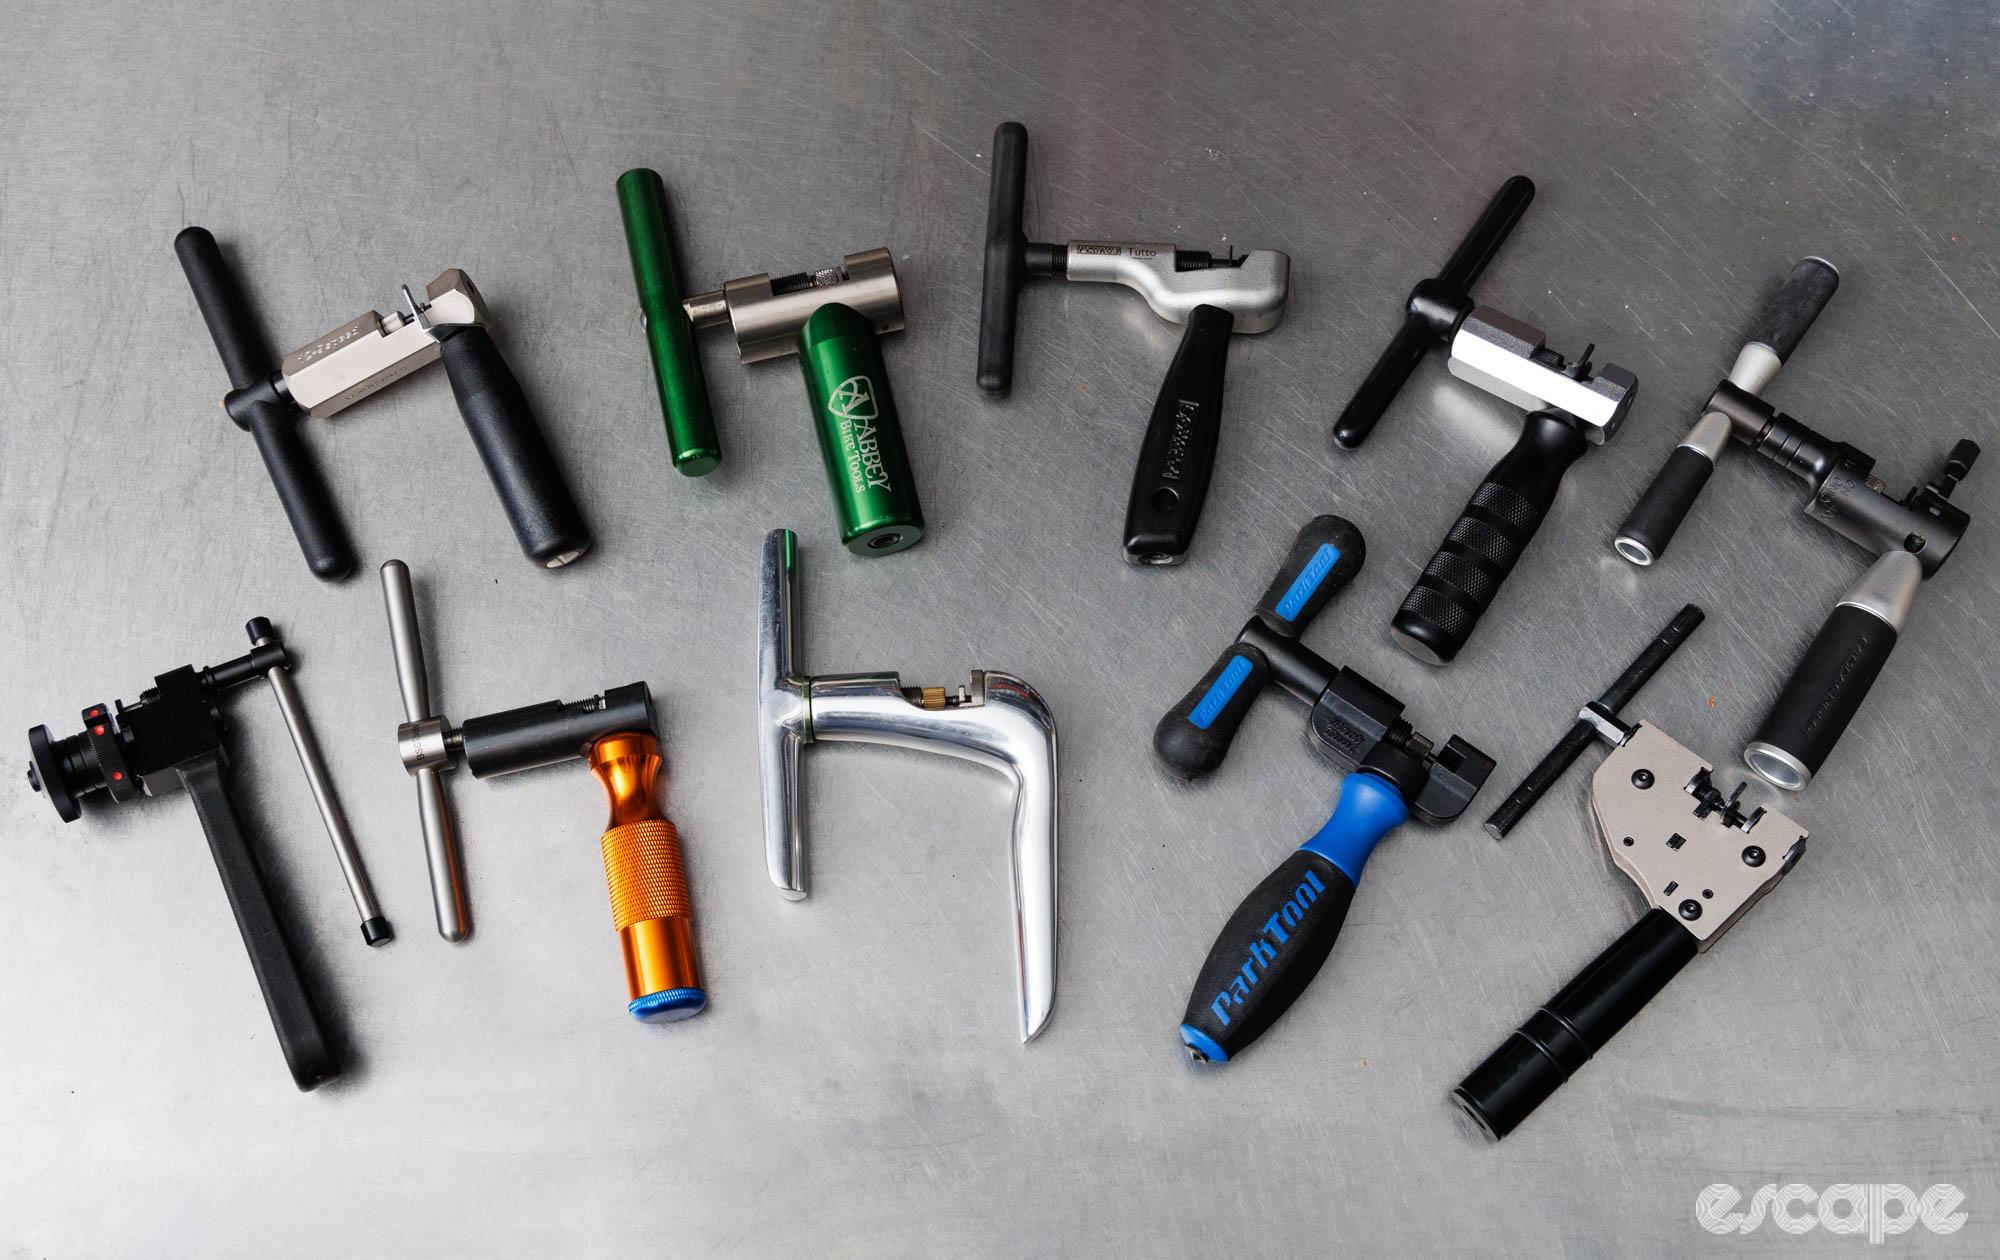
The most important consideration in a chain breaker is compatibility. Older and cheaper tools can present fitment issues with newer 12- and 13-speed chains (especially SRAM’s Flat Top and T-Type). Meanwhile, 10-, 11- and 12-speed Campagnolo chains often require a peening function, something missing from many more consumer-level options.
Next, consider how much you’ll use it. Modern multi-speed chains often have tight-fitting and peened pins that significantly strain the tool. Professional-grade tools typically offer large handles to make light work of pushing rivets in and out. They also have stiffer and stronger constructions that keep the driving pin aligned with the chain. And in many cases, the tolerances and/or design are made to hold the chain more securely and prevent the dreaded crooked rivet.
The topic of chain breakers is on my to-do list for a future Threaded edition. In the meantime, I’ll suggest that home mechanics avoid the cheapest options and get something in the prosumer range that’ll reliably do the job. For professionals, it’s common to have two chain breakers on rotation – one for regular stuff, and perhaps a second tailored toward Campagnolo peening and/or SRAM 12-speed (some tools do it all, but I’ve found it more efficient to have dedicated tools).
What I use: Abbey Bike Tools Decade (six years on and still on the original pin, US$185), plus Pedro’s Tutto II (for chain types I see less of, US$150).
What I suggest on a budget: BSC Chain Tool (US$78), Shimano TL-29 (US$65), Feedback Sports Chain Tool 3.0 (US$40), Birzman Damselfly Universal (US$48), Unior Professional (US$41), Park Tool CT-3.3 (US$42), or Pedro’s Pro Chain Tool 3.2 (well weighted for a portable kit, US$85).
What to carry on a ride: One for a future article.
Note: All the tools recommended above will work with a wide variety of common chains. All work with newer SRAM Flat Top/T-Type 12-speed chains, but not all support Campagnolo peening.
Quick link pliers
While once rare, many modern multi-speed chains are now installed with a quick link (aka master link or chain connector). While links from Connex, or those for 8- and 9-speed chains can typically be opened by hand, most others will require a tool.
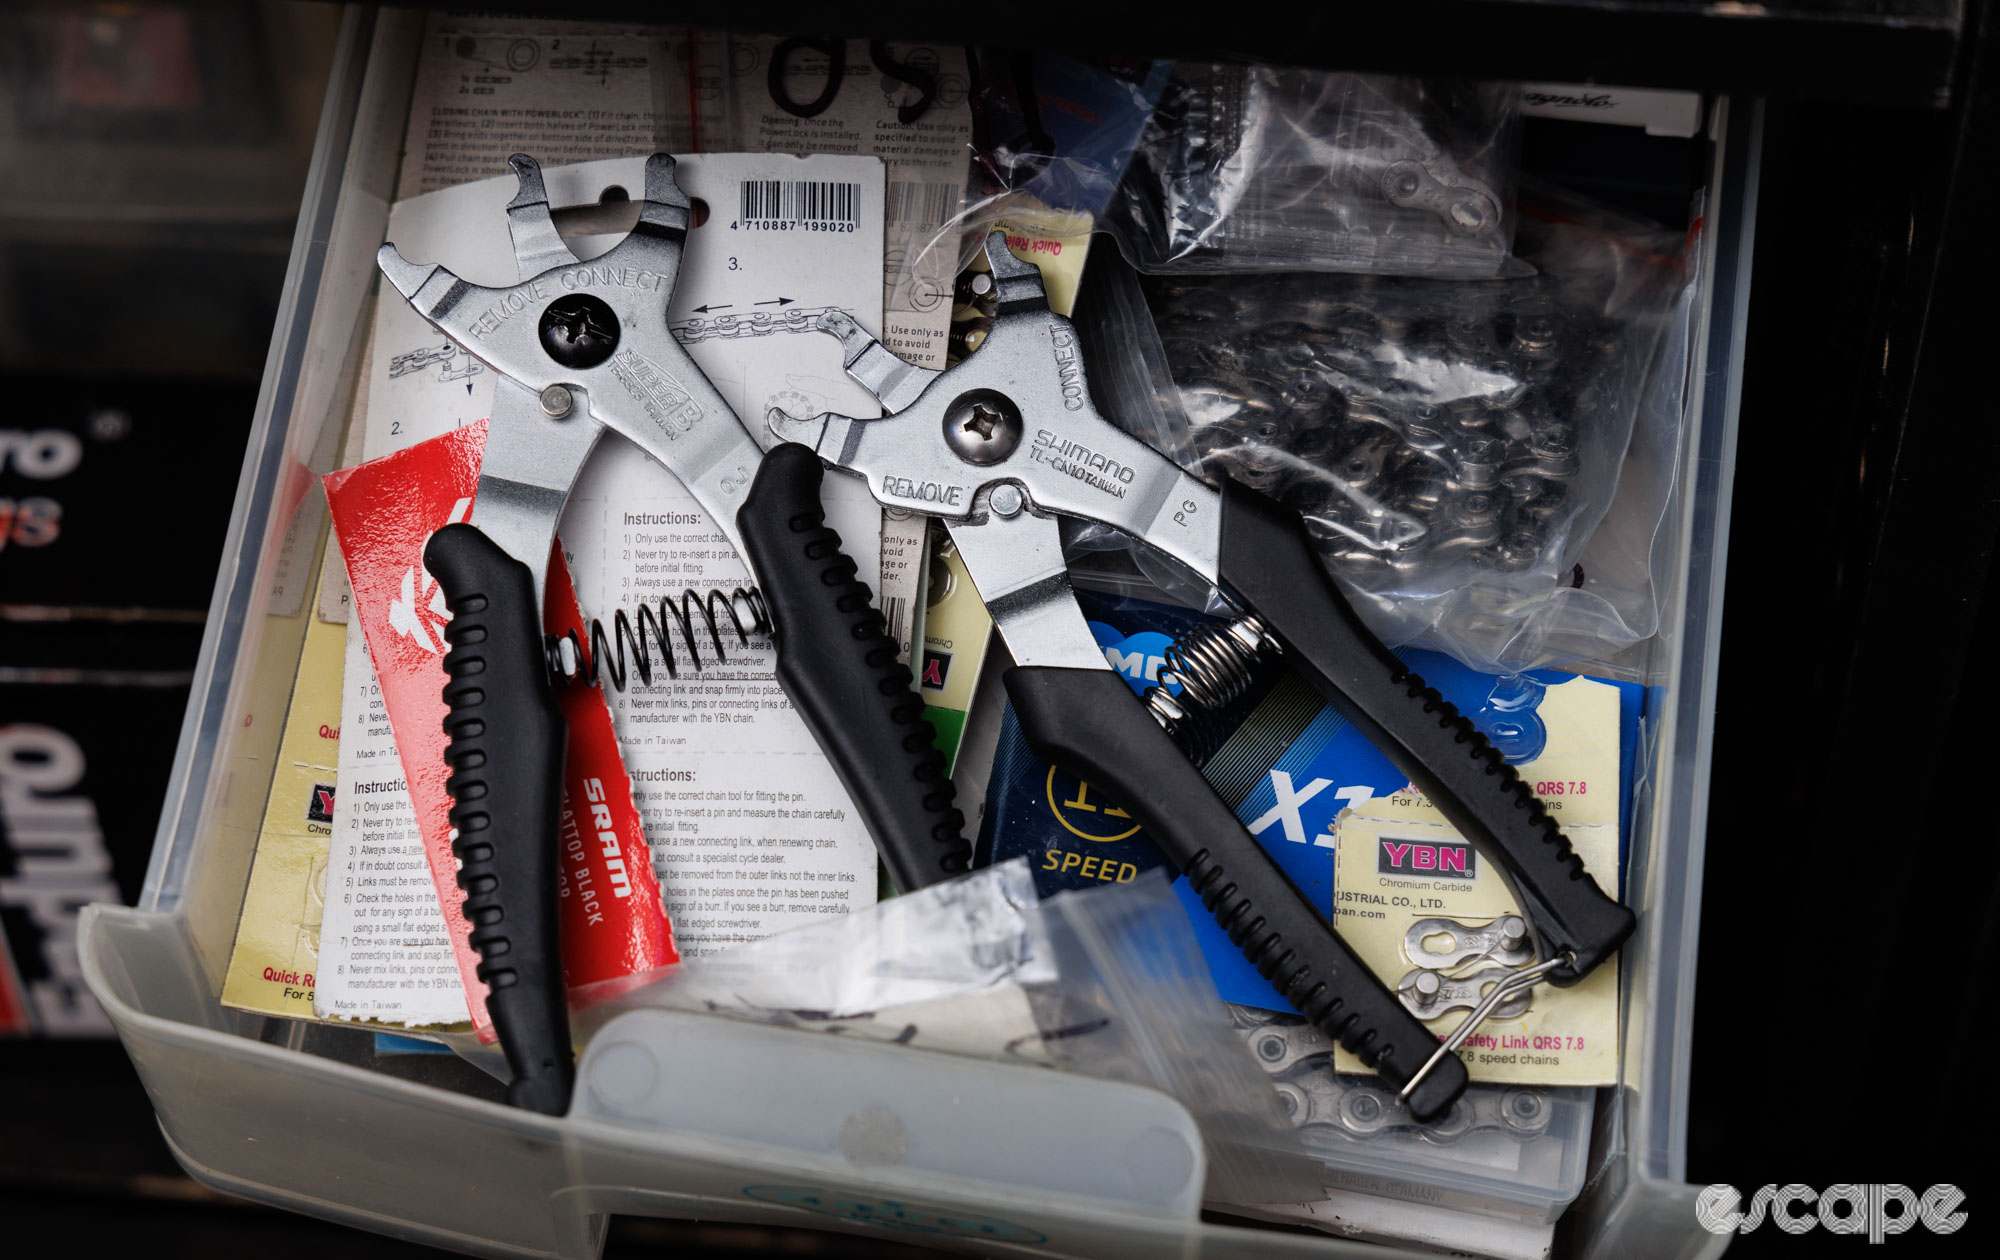
With care and the right technique, you can use a long-nose plier to open these links. Similarly, you don’t need a tool to close these links; rather you can use the leverage of the rear wheel and crank to snap them into place.
Still, a dedicated quick link plier is easier on the links if you want to reuse them (note: Shimano and SRAM recommend against re-use, but countless riders have ignored such advice with success). I personally choose to use a quick link plier that allows me to open and close the link with one hand, meaning I can pinch the link together with a spare hand while closing it.
As previously covered, the Shimano TL-CN10 (or the cheaper Super B 2-in-1) remains a favourite because it easily opens and closes quick links.
What I use: Shimano TL-CN10 (covered in my most-loved tools article, US$45)
What I suggest on a budget: SuperB 2-in-1 (approx US$15).
Marker pen
The Sharpie is an iconic product for a reason.
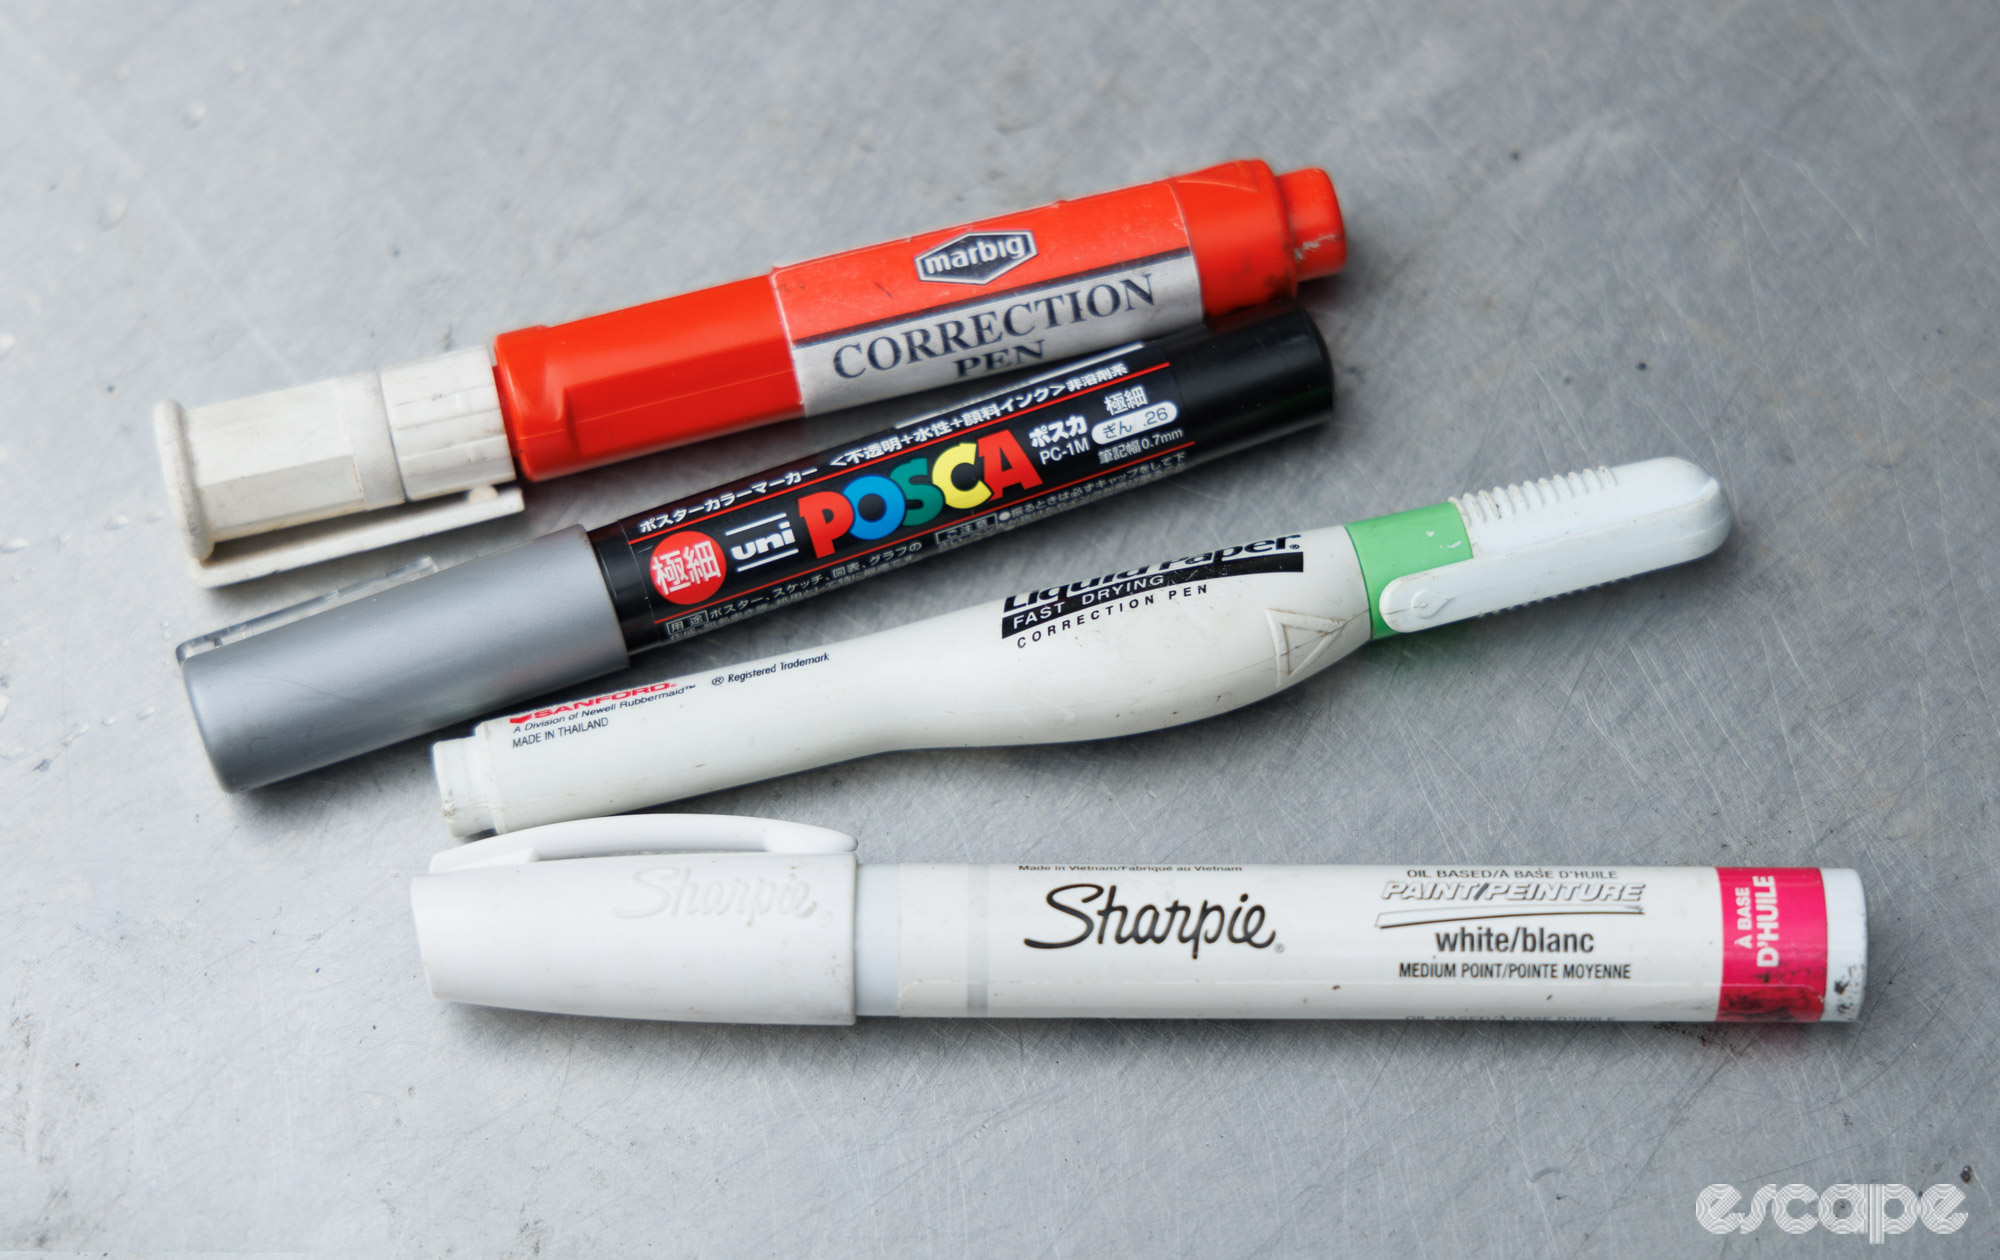
In bicycle repair, a permanent marker pen is handy for marking where a seatpost height or handlebar angle sits. It can also be used to mark lever hoods in case you need to remove them from the bar. Perhaps you just need to cover up a small scuff or unsightly logo. Or maybe you want to note where that small spare part came from that you’re about to hoard.
Black markers are handy for hiding things, while white or metallic markers (or correction pens) are great for position marks.
What I use: A mix of fine-tip Sharpie markers and Posca paint pens (US$2-3 each)
What I suggest on a budget: See above.
Vernier or digital calipers
Measuring things is incredibly underdone in bicycle mechanics. Whether it’s simply knowing your actual measured tyre size, sizing up a cartridge bearing, figuring out the size of seatpost you need, or just checking disc brake pad thickness, a set of vernier or digital calipers is a must-have in my view. And the more intricate and detailed you get into the world of bicycle mechanics, the more critical you’ll find such a tool.
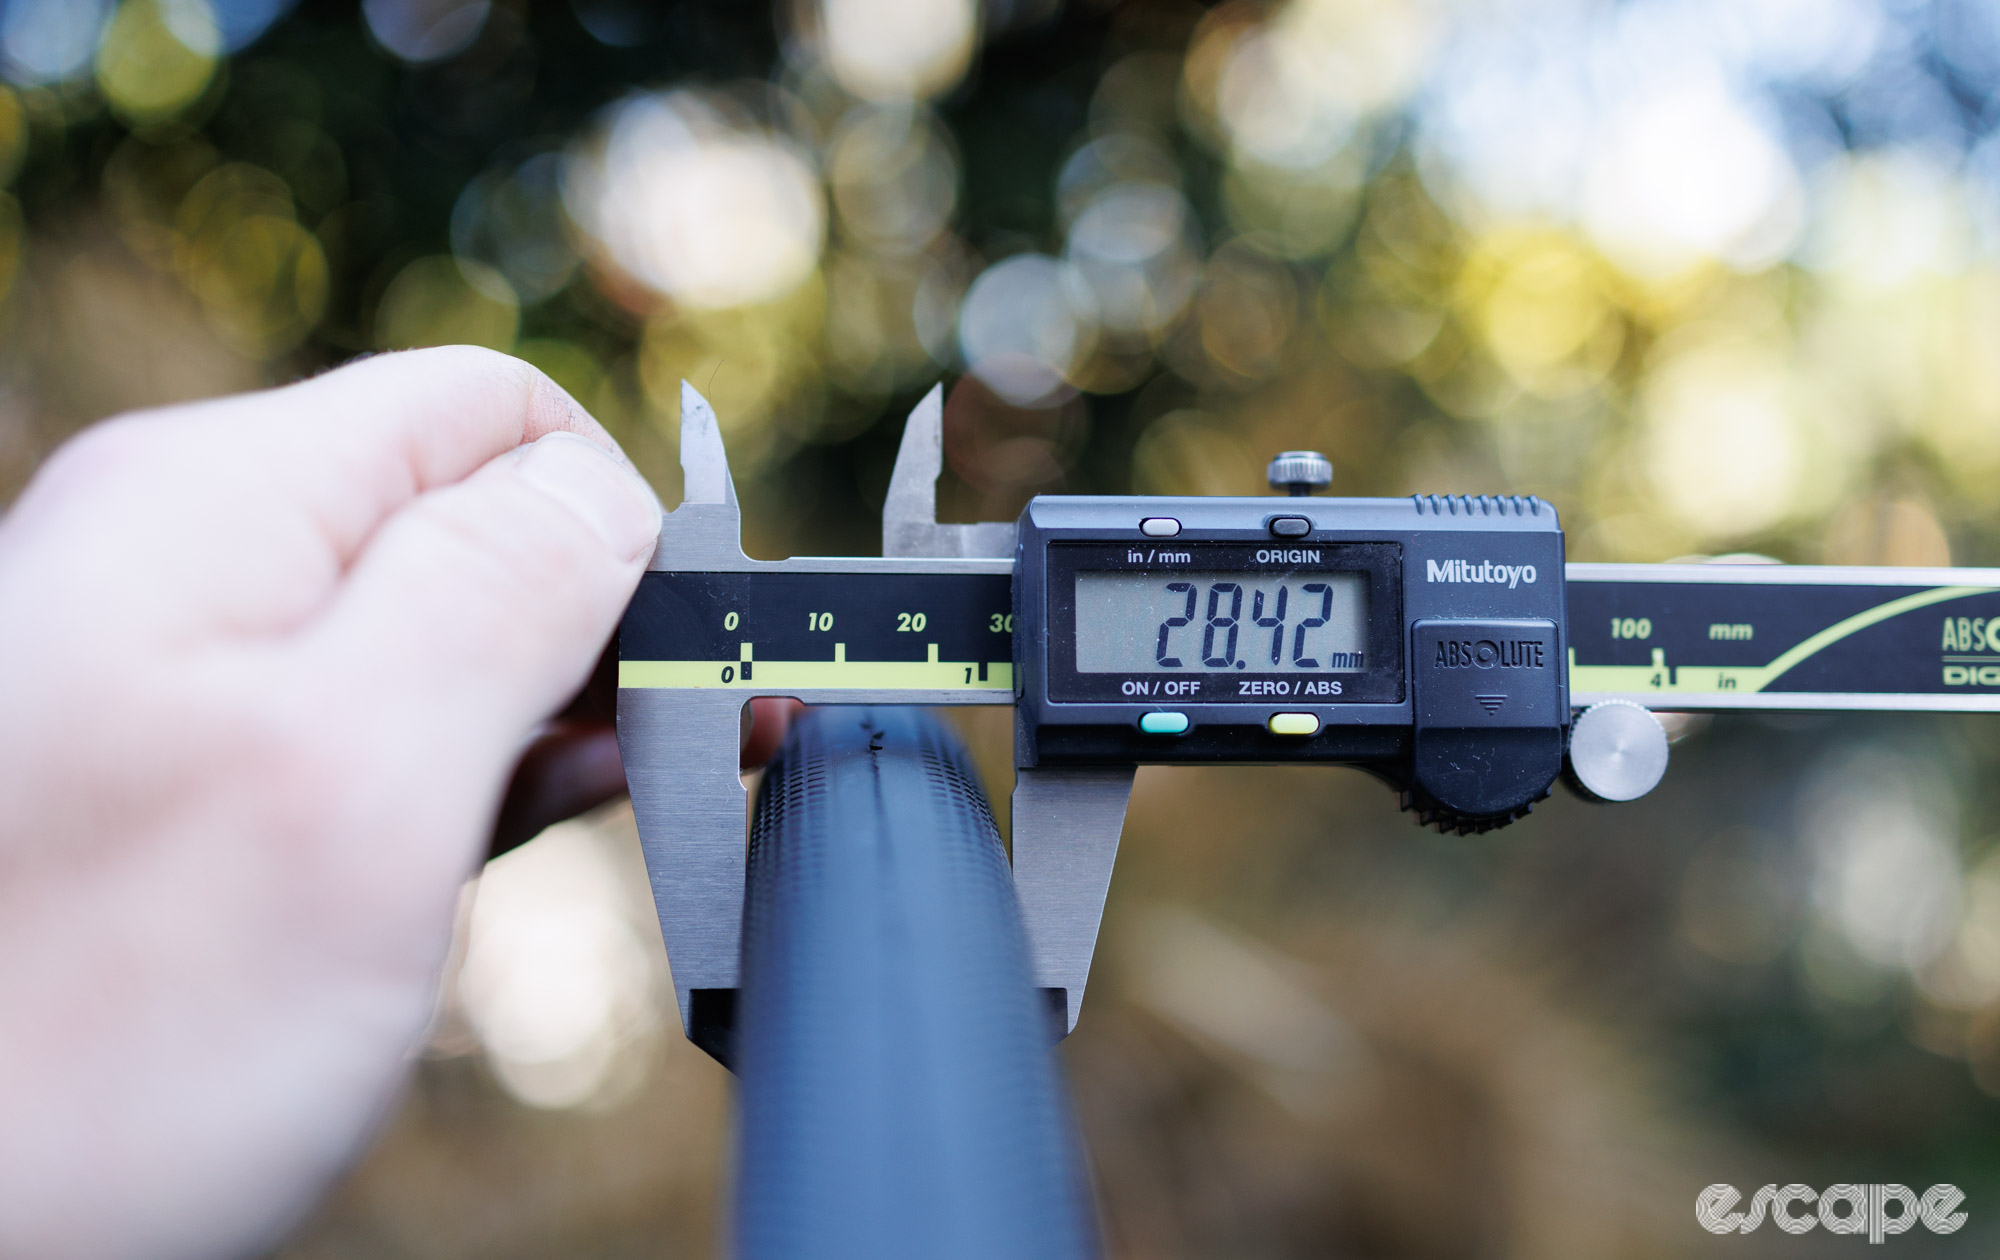
The parallel jaws of such a caliper make them vastly more precise than eyeing things with a ruler. Meanwhile, accuracy can really matter when you need to know whether that rusted headset bearing is 6.5 or 7 mm in height.
There are many cheap options for calipers these days – some are fine, but a lot are made ready for the next bin collection day. Unfortunately precision measurement tools are rarely cheap, and so this is one category where you’ll need to accept a compromise in longevity and functionality if on a budget. They’re harder to read in a hurry, but analog-style vernier calipers are a great option in this case.
What I use: Mitutoyo Absolute Digital #500-196-30 (approx US$165, beware of extremely common fakes!)
What I suggest on a budget: Huge variance in quality amongst an endless list of cheap options makes it a tough category to recommend specifics. Igaging OriginCal (approx US$50) is one with mostly positive (although not flawless) reviews.
Cassette tool
Whether it's Shimano, SRAM, Campagnolo, Microshift, Sunrace, or another, removing a modern cassette requires the use of two tools. First, you need something to hold the cassette to prevent it from freewheeling backward, and second, you need a tool to undo the splined lockring. A cassette tool is the latter of the two.
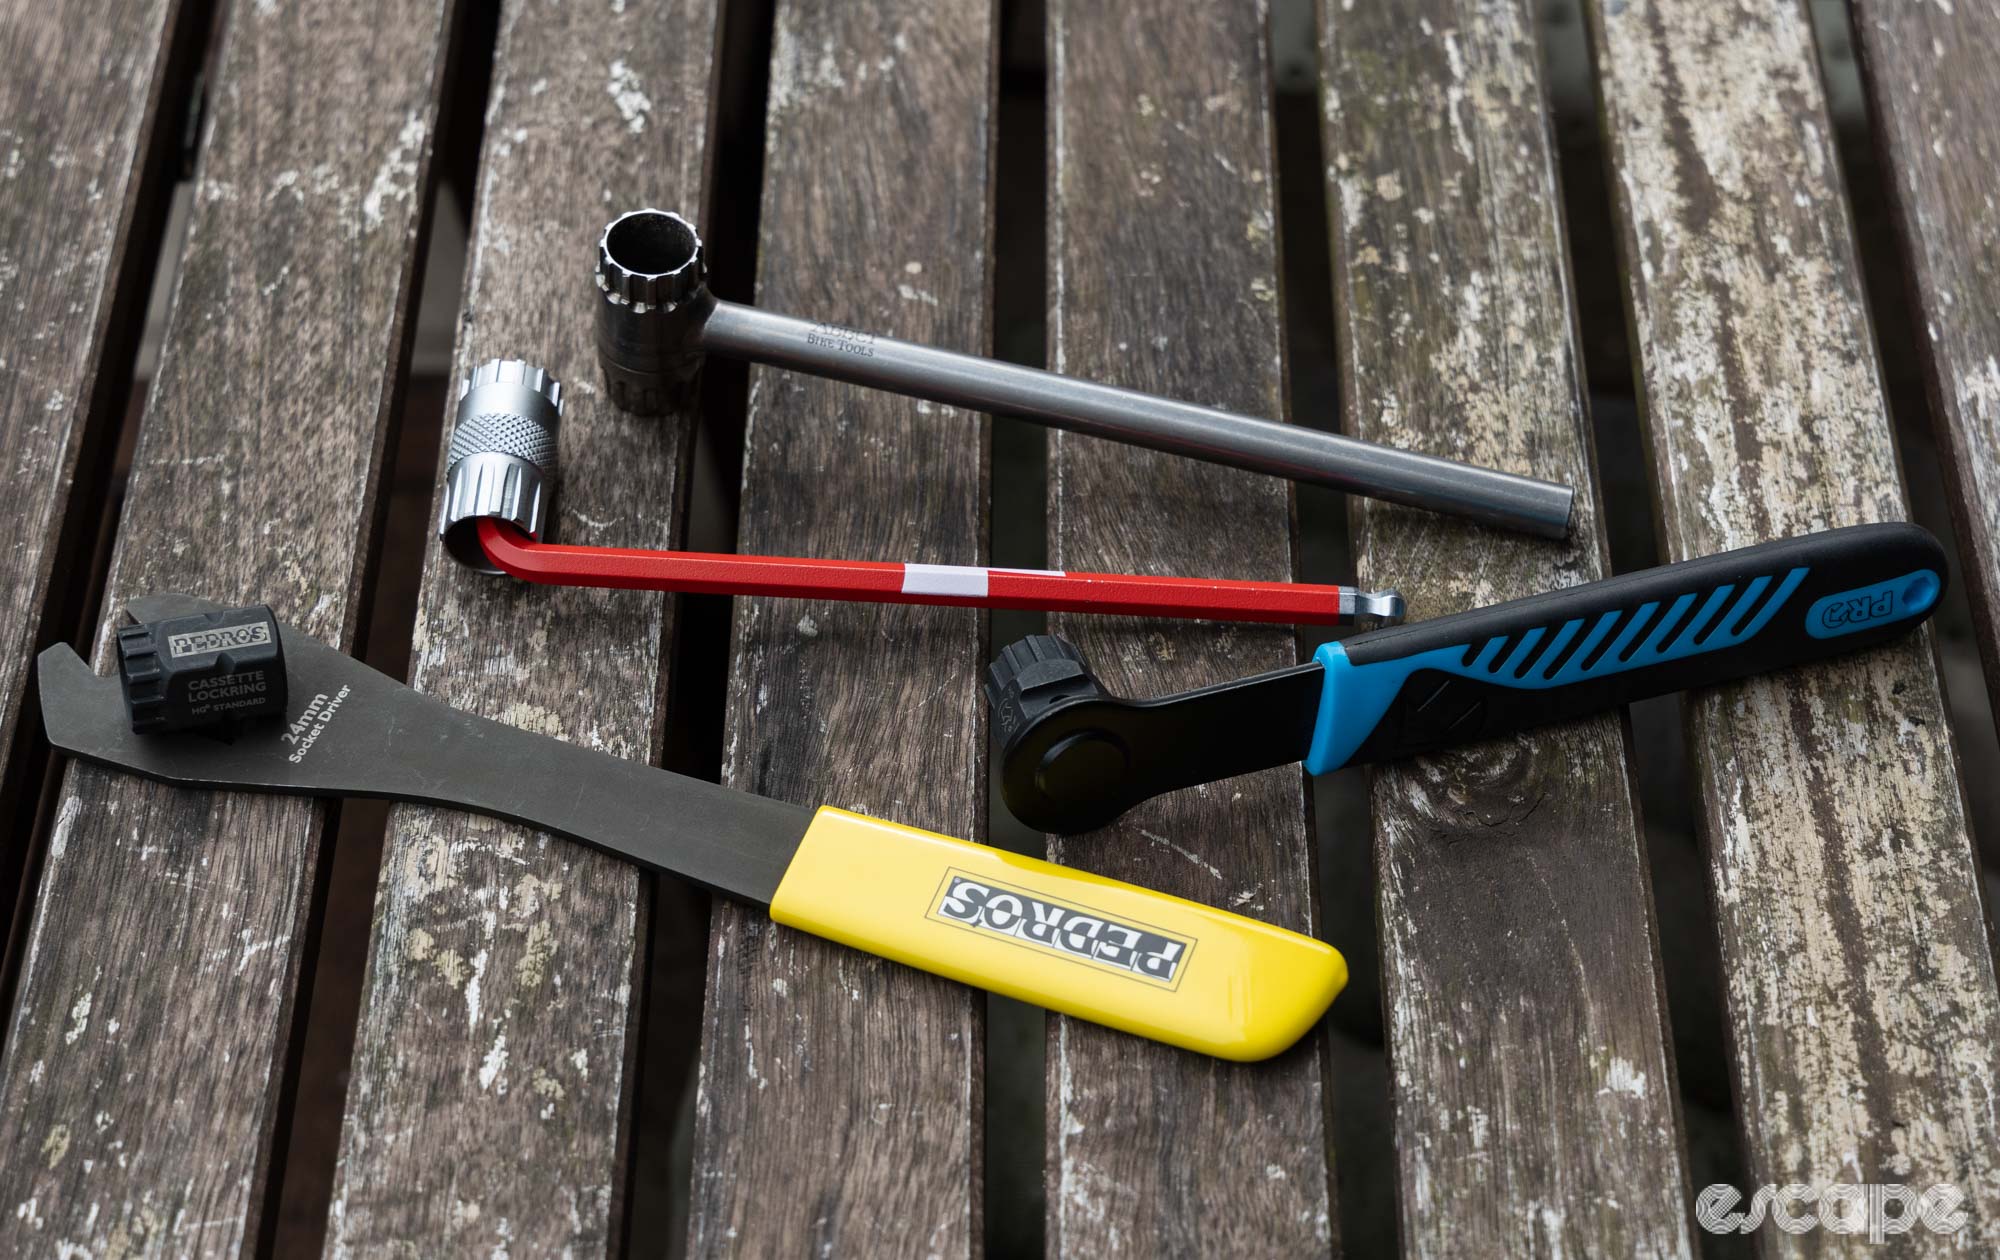
You'll most likely need an “HG”-type cassette tool that will work across all the modern stuff including Shimano, SRAM, and countless others. That same tool will also work on all internal-type centerlock rotor lockrings. Meanwhile, Campagnolo cassettes (with the exception of the very newest stuff) do require a unique tool fitment.
This is one tool category where cheaper and generic options seem to do the job just fine. You can pick up a socket-type tool for little money, add an adjustable wrench (or ratchet) to turn it, and you’re on your way. Meanwhile, I prefer a more integrated option, where the lockring tool and handle form a single piece.
What I use: Abbey Bike Tools Crombie, one of my most-loved tools (from US$42).
What I suggest on a budget: IceToolz 09C5 (works with an 8 mm hex key, approx US$10) or alternatively anything cheap from a recognisable brand that offers a square-drive interface for matching to a ratchet.
Chain whip
The other half of that cassette tool is known as a chain whip, cassette holder, or sprocket remover. Some of these look like medieval weapons with a loose length of chain, others merely offer prongs to hook onto the smallest cog of a cassette, and a growing number look like oversized pliers that clamp into place.
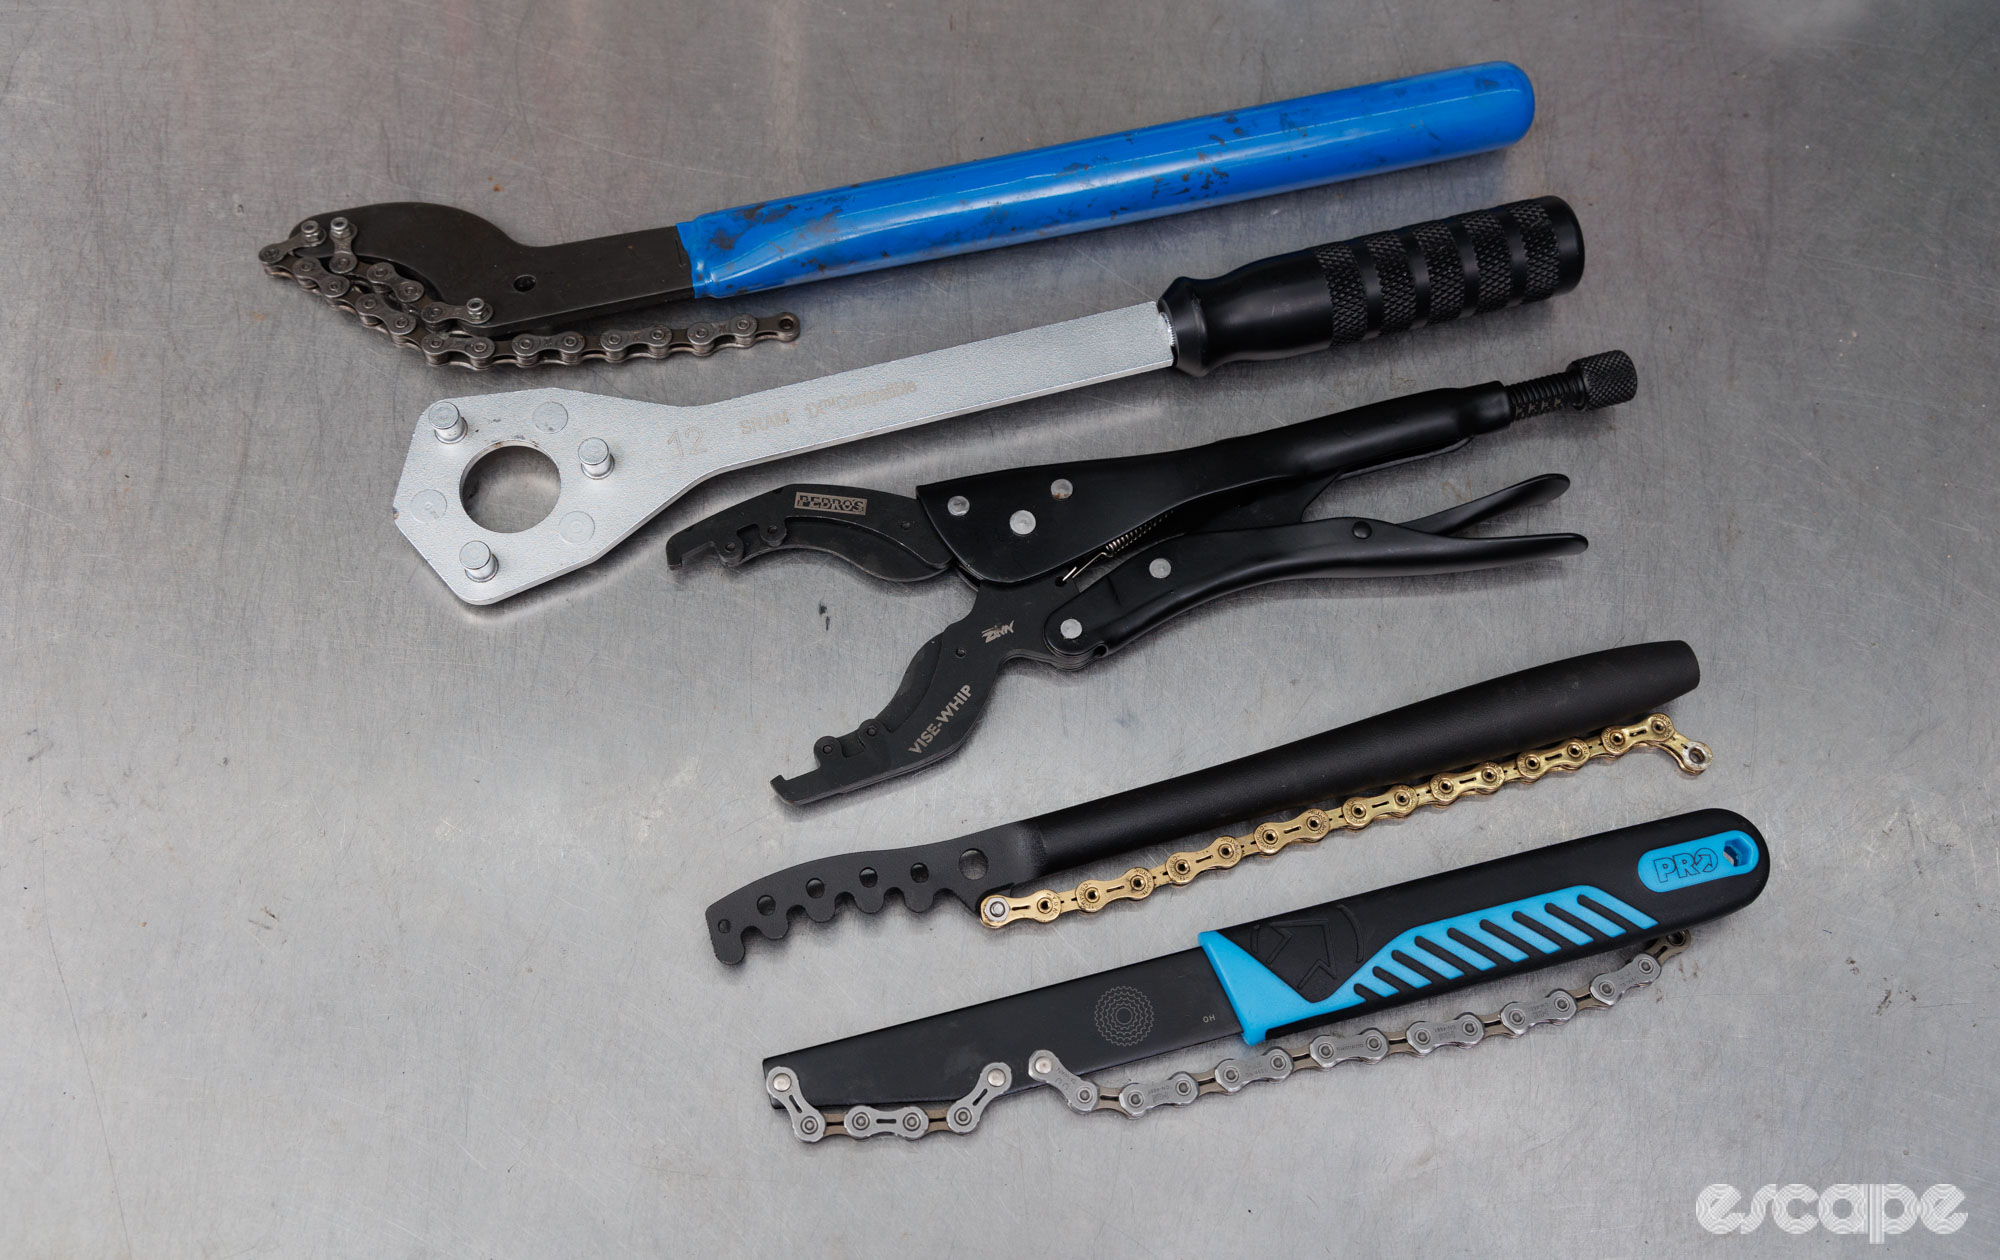
It’s hard to beat the classic chain whip when on a budget, and with a bit of practise, these are an effective choice. Chain whips can vary from a few dollars to $50, with the extra expense typically providing increased leverage and greater strength in how the chain is attached to the tool (having one of these tools break in use can cause injury).
Meanwhile, the alternatives to chain whips aim to offer ever-faster use or improved holding security in the case of something like the Pedro’s Vise Whip. I’ve used Park Tool’s cassette pliers for many years, but I’ll still reach for the humble chain whip if the cassette is excessively worn and/or extremely tight. I know I’m being vague on specific recommendations here, so expect me to return to this topic in future (sorry, I'm being a tease).
What I use: Park Tool Cassette Pliers (in the workshop and not for worn/stuck cassettes, US$50), Park Tool SR-2.3 (for stuck cassettes, US$46), Abbey Bike Tools Whip-It (in the portable box, US$47)
What I suggest on a budget: Even the cheapest generic thing will be OK. Look for one with an actual handle that isn’t doubling as a cone spanner/thin wrench.
Cable cutters
Bicycle cables and housing can be stubborn things to cut. With improper tools the inner cables will fray, while the outer housings will squish and deform. A pair of dedicated cable cutters (aka, wire rope or bowden cable cutters) is the answer.
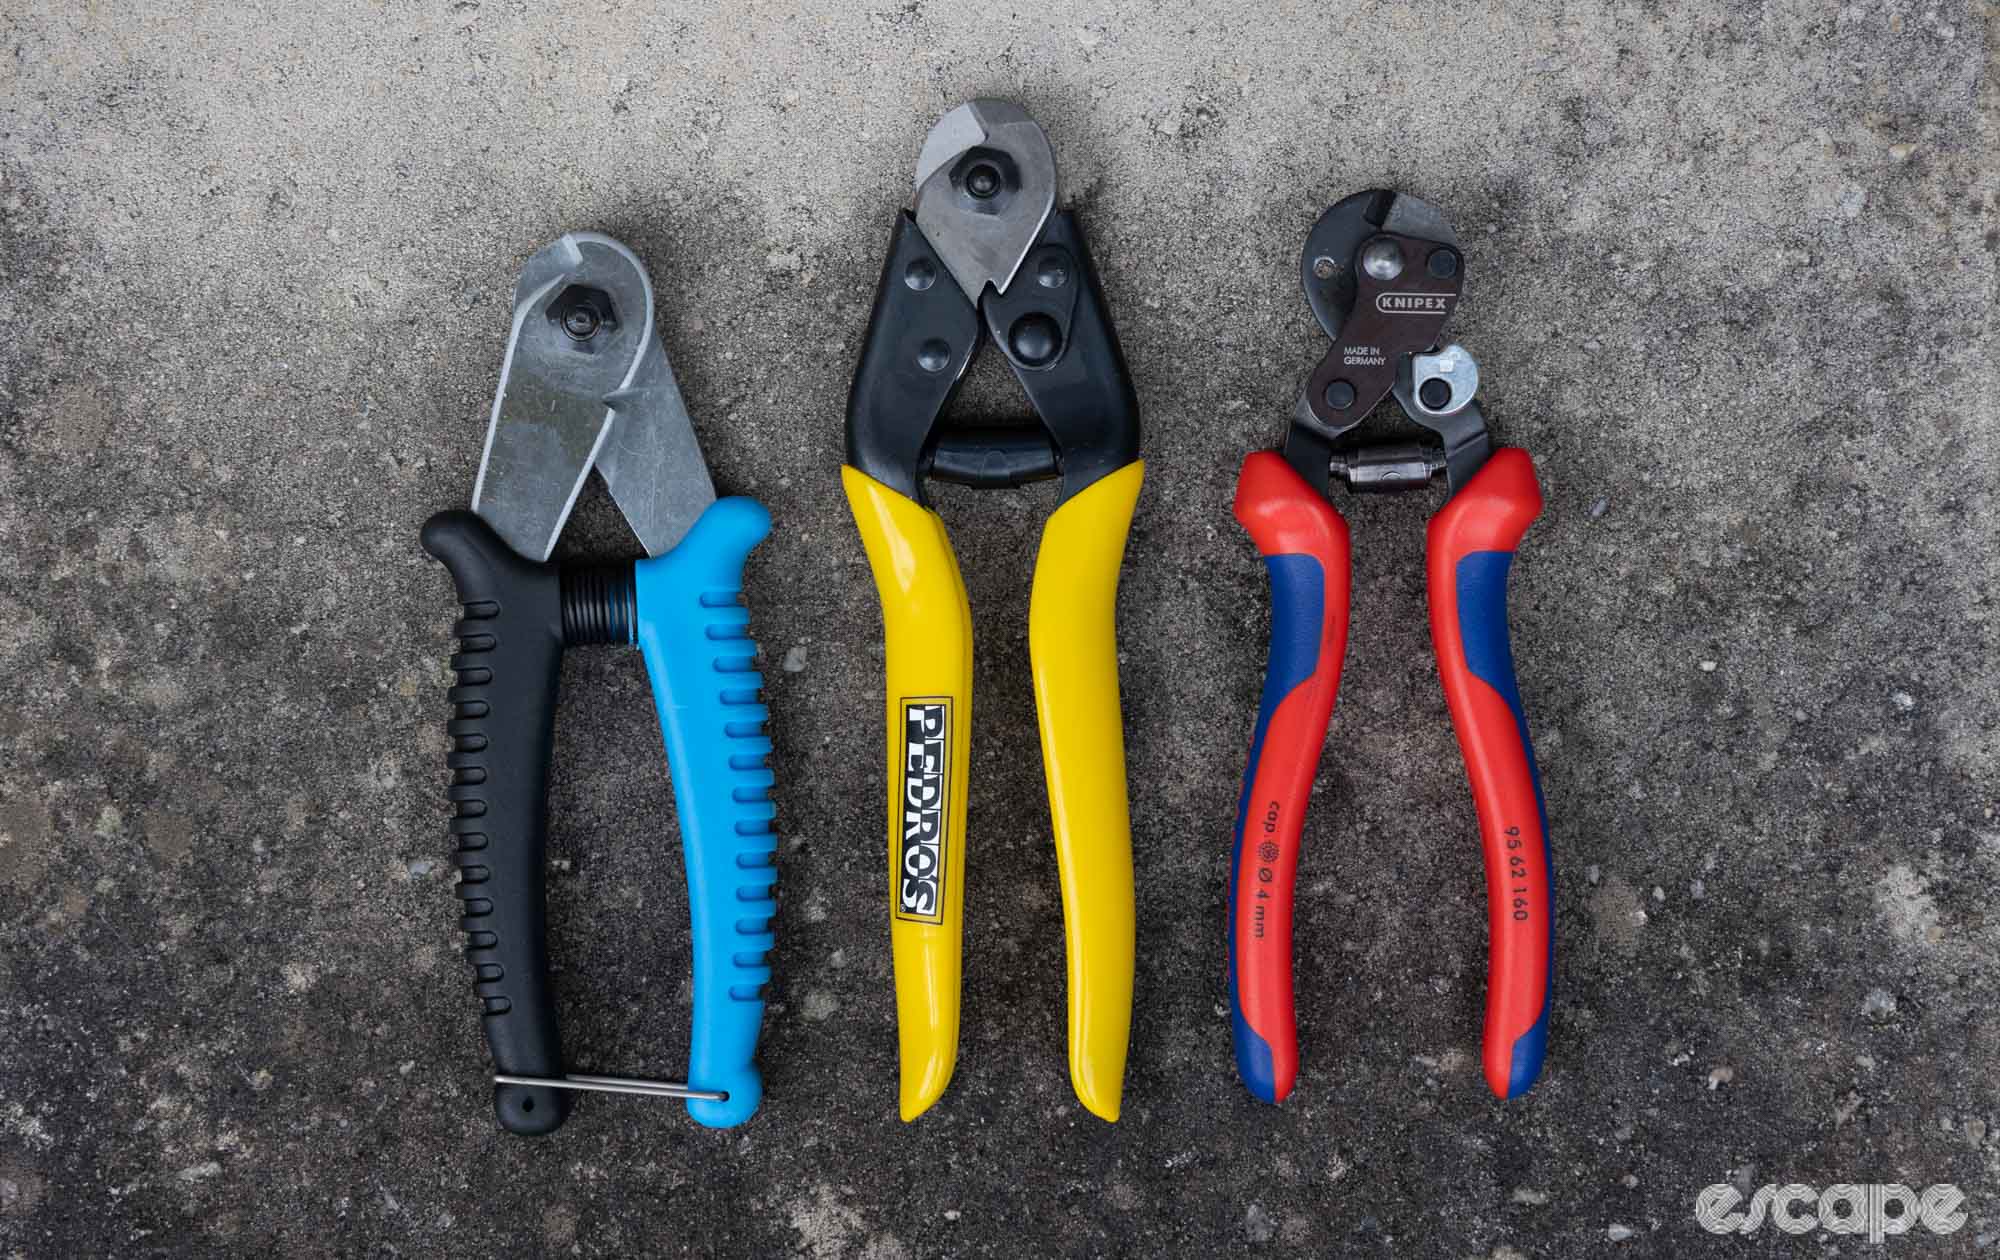
There are countless options for cycling-specific cable cutters and options from Jagwire, Shimano, and Park Tool are solid picks with proven durability. Heck, even the more budget brands such as IceToolz and SuperB tend to do well here. Meanwhile, specialist plier and cutter manufacturers such as Knipex and Felco have proven themselves to produce high-end options that somehow refuse to dull. Indeed I plan to return to the topic of cable cutters in future with dedicated comparative testing.
Perhaps it is overkill, but in the workshop, I use dedicated cutters for housing versus inner cables. The housing cutters offer a bit more squared cutting and a reinforced jaw, which assists with entry and makes a more rapid cut. Meanwhile, inner cables get a cutter with a more circular jaw that seems to better resist fraying/unravelling. I thought I was a bit crazy with this, but cabling specialist Jagwire now sells separate tools for each task, too.
Many of the tools mentioned will also crimp an end cap to a cable, but a pair of gripping pliers or a side cutter can be used in lieu of such a feature. Cable cutters get used throughout the day in a busy professional environment, but you may not need them if you’re just maintaining new bikes with hydraulic disc brakes and electronic shifting.
What I use: Knipex 95 61 150 (for inner cables, approx US$50), Knipex 95 62 190 (for gear housing, approx US$85), and a side cutter (for mechanical brake housing). The newer Knipex is 95 62 160 is a good all-rounder (approx US$50).
What I suggest on a budget: Park Tool CN-10 (US$44).
Mallet / hammer
In the right hands, a hammer can fix the stuck, but care is needed as the reverse is also true. When it comes to bicycles, it’s common to need to free a stubborn crank, punch out a bearing, or gently persuade something else to move.
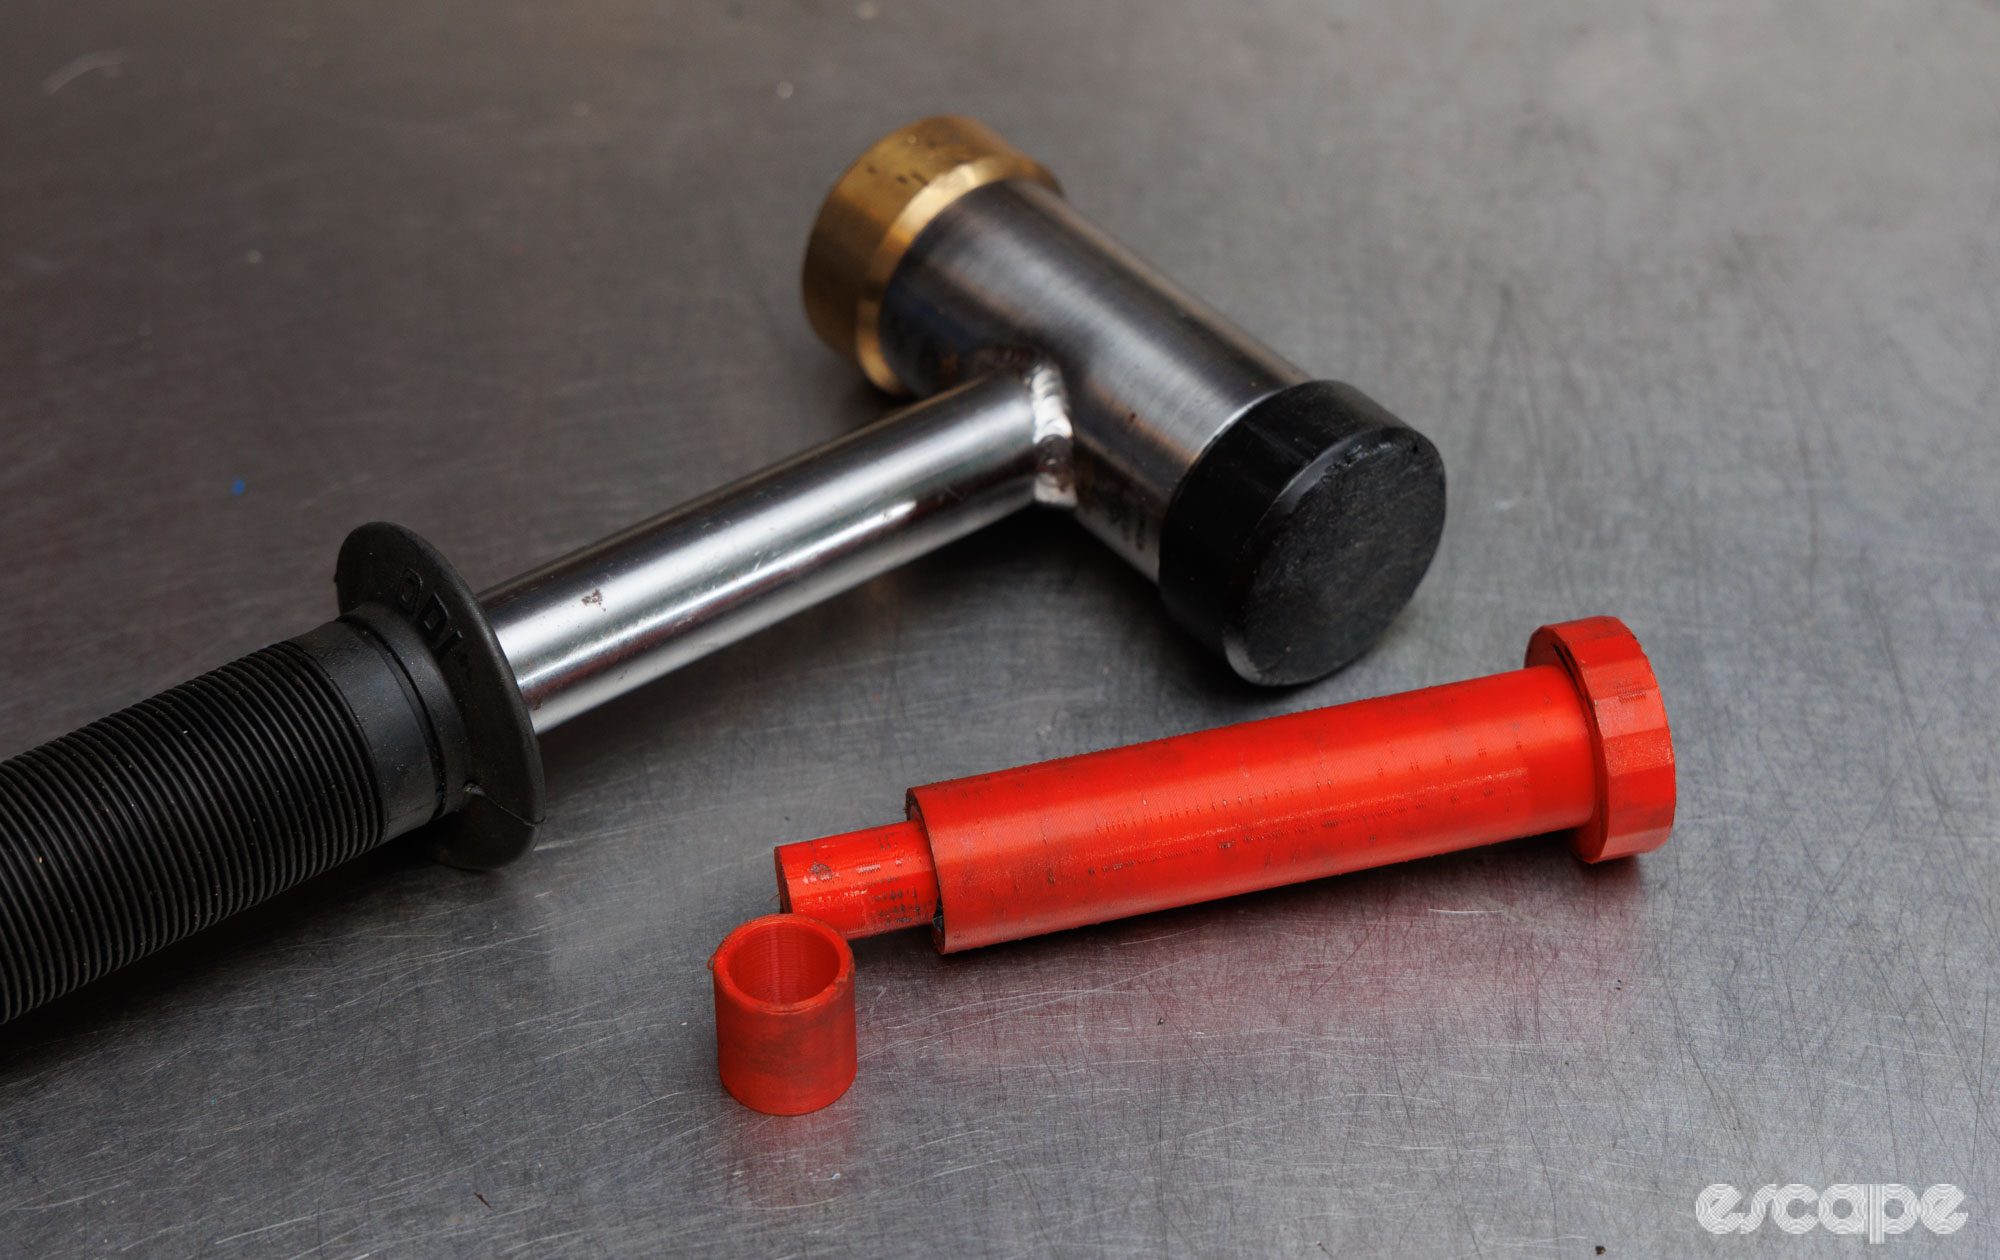
A household claw hammer hits things well, but a flat-faced and non-marring mallet is superior for bicycle purposes. My preference is a dual-faced mallet, one that offers a soft face on one side and a hard metal face on the other side. I also prefer one with a dead-blow design, meaning a loose internal weight (often sand or pellets) helps to direct force and deaden the rebound when struck.
There is a lot of nuance to this topic, and depending on the service tasks you plan to do, you may or may not need something heavy-duty.
What I use: Noble Wheels Dead Blow (discontinued) and RollingDale titanium (a “glammer” used for delicate tasks - company going through a change of hands). If I could just have one, it would be the PB Swiss 304.4 (approx US$60).
What I suggest on a budget: Any generic plastic-type deadblow from the local hardware or autoparts store (approx US$5-$10).
Gripping pliers
Whether it’s loosening a valve core, undoing a stuck valve nut, removing a frayed cable head, pulling a bit of extra cable tension on an old brake, or something you can’t quite grasp with your fingers, a pair (or five) of gripping pliers is a handy tool. OK, gripping pliers aren't a specific tool, but rather a vague name for a variety of pliers designed to grip onto things.
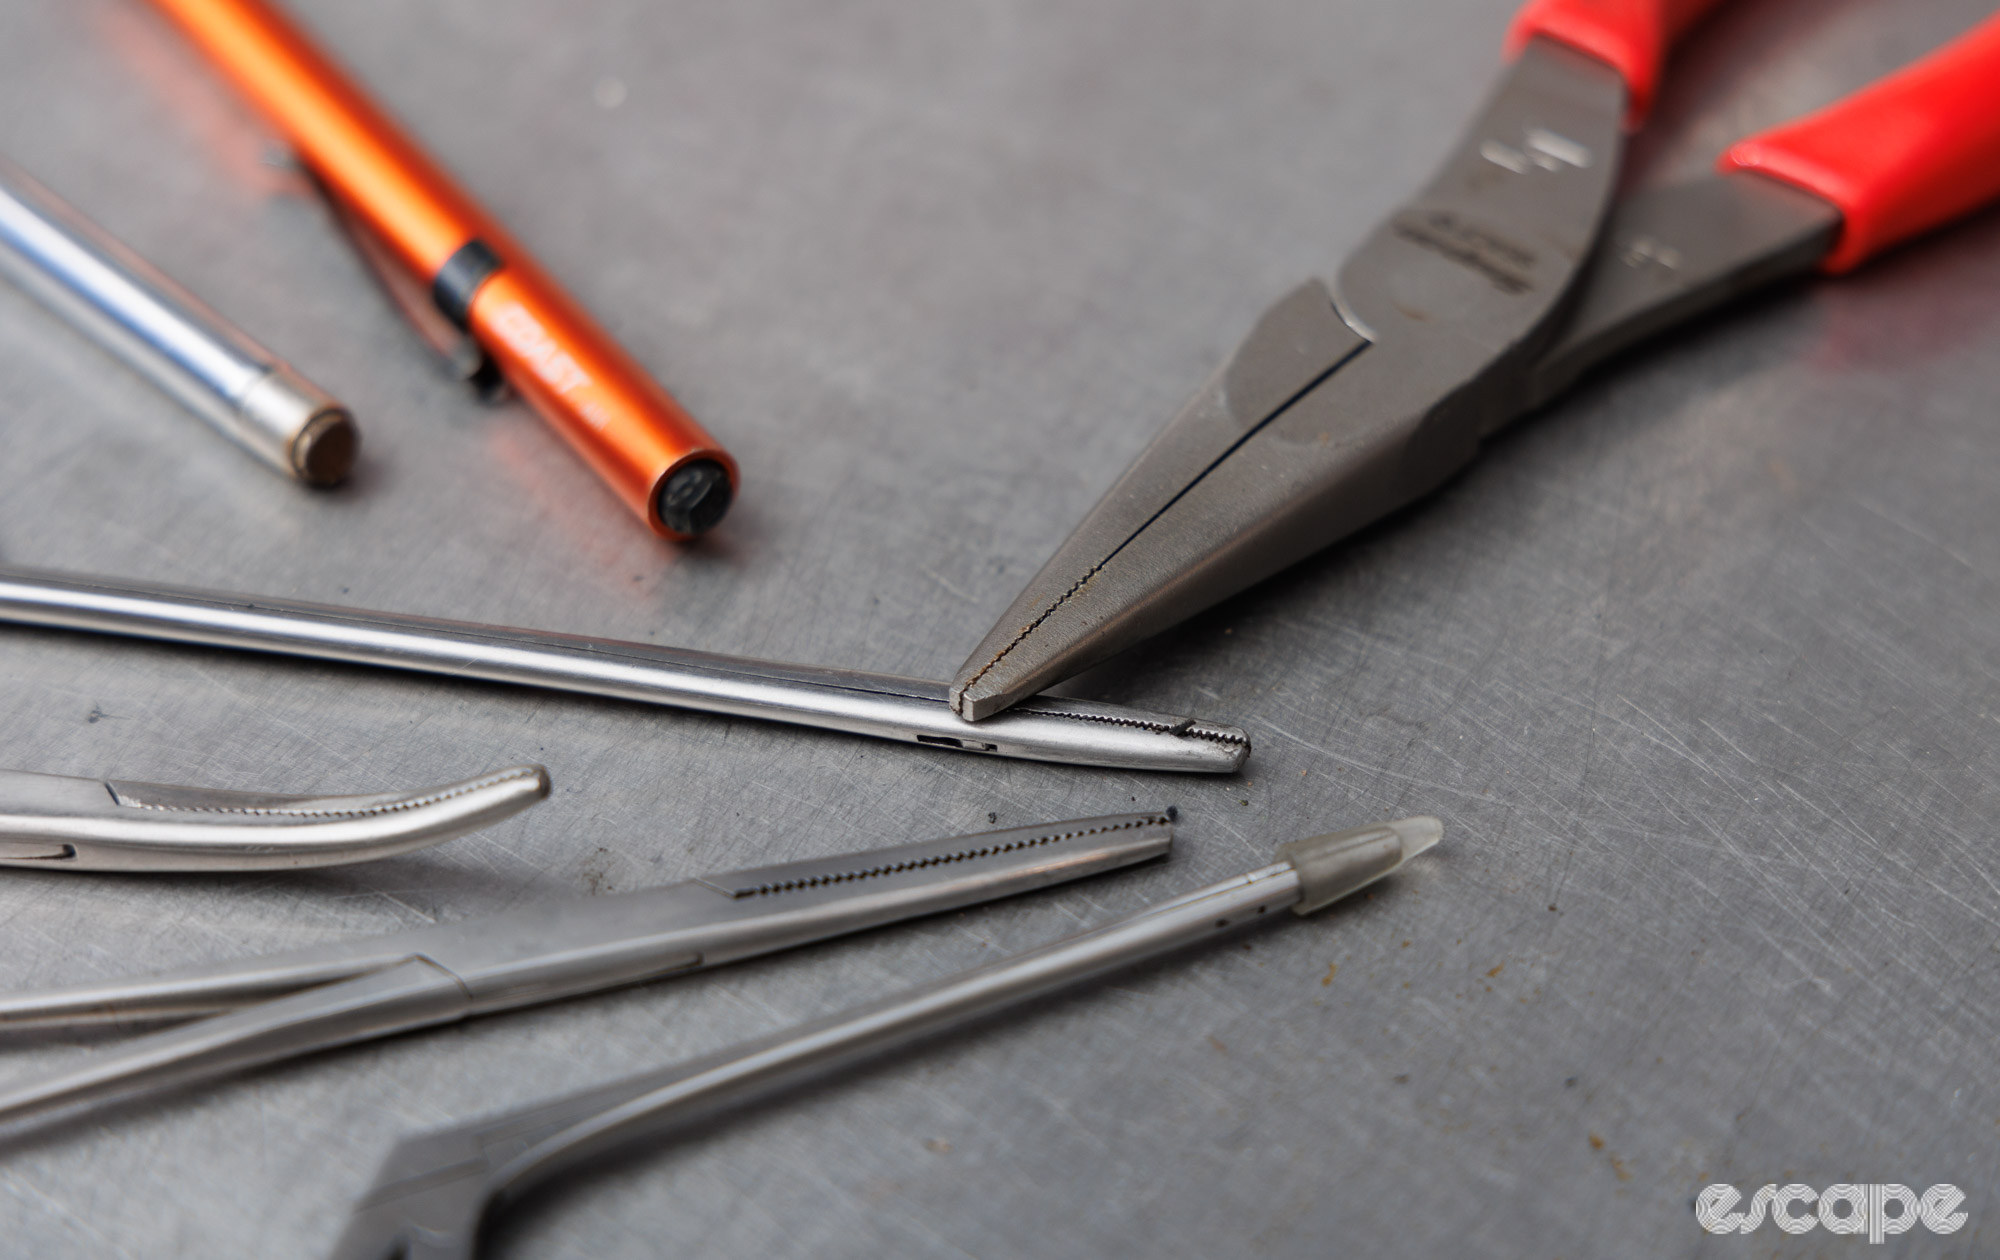
When it comes to bicycle repair, the most common and widely useful example is the long-nose mechanics pliers (sometimes called needle-nose pliers, but those are arguably something different).
This is another category where you can save money without much issue, while premium options will typically improve long-term durability and gripping power. Plier specialists such as Knipex, NSW, Klein, Snap-On, and Keiba are all excellent in this category, while your local hardware store is sure to have cheaper alternatives.
It’s common for professional mechanics to have a range of gripping-type pliers. As covered previously, some of my favourites include the Knipex Pliers Wrench, Alligator Forceps (not a plier), and bolt-removal pliers.
What I use: Snap On 8” Talon Needle Nose (approx US$70) or Knipex 26 11 200 (include a side-cutter function, approx US$55).
What I suggest on a budget: Visit your local hardware store and buy the second- or third-cheapest option.
Flush cutters
Plastic zip-ties are surprisingly common on many bicycles, and if poorly cut, they can leave a knife-like edge. Given that I’m somewhat squeamish around blood, I wish that everyone would cut zip-ties flush. And that’s where flush cutters come in.
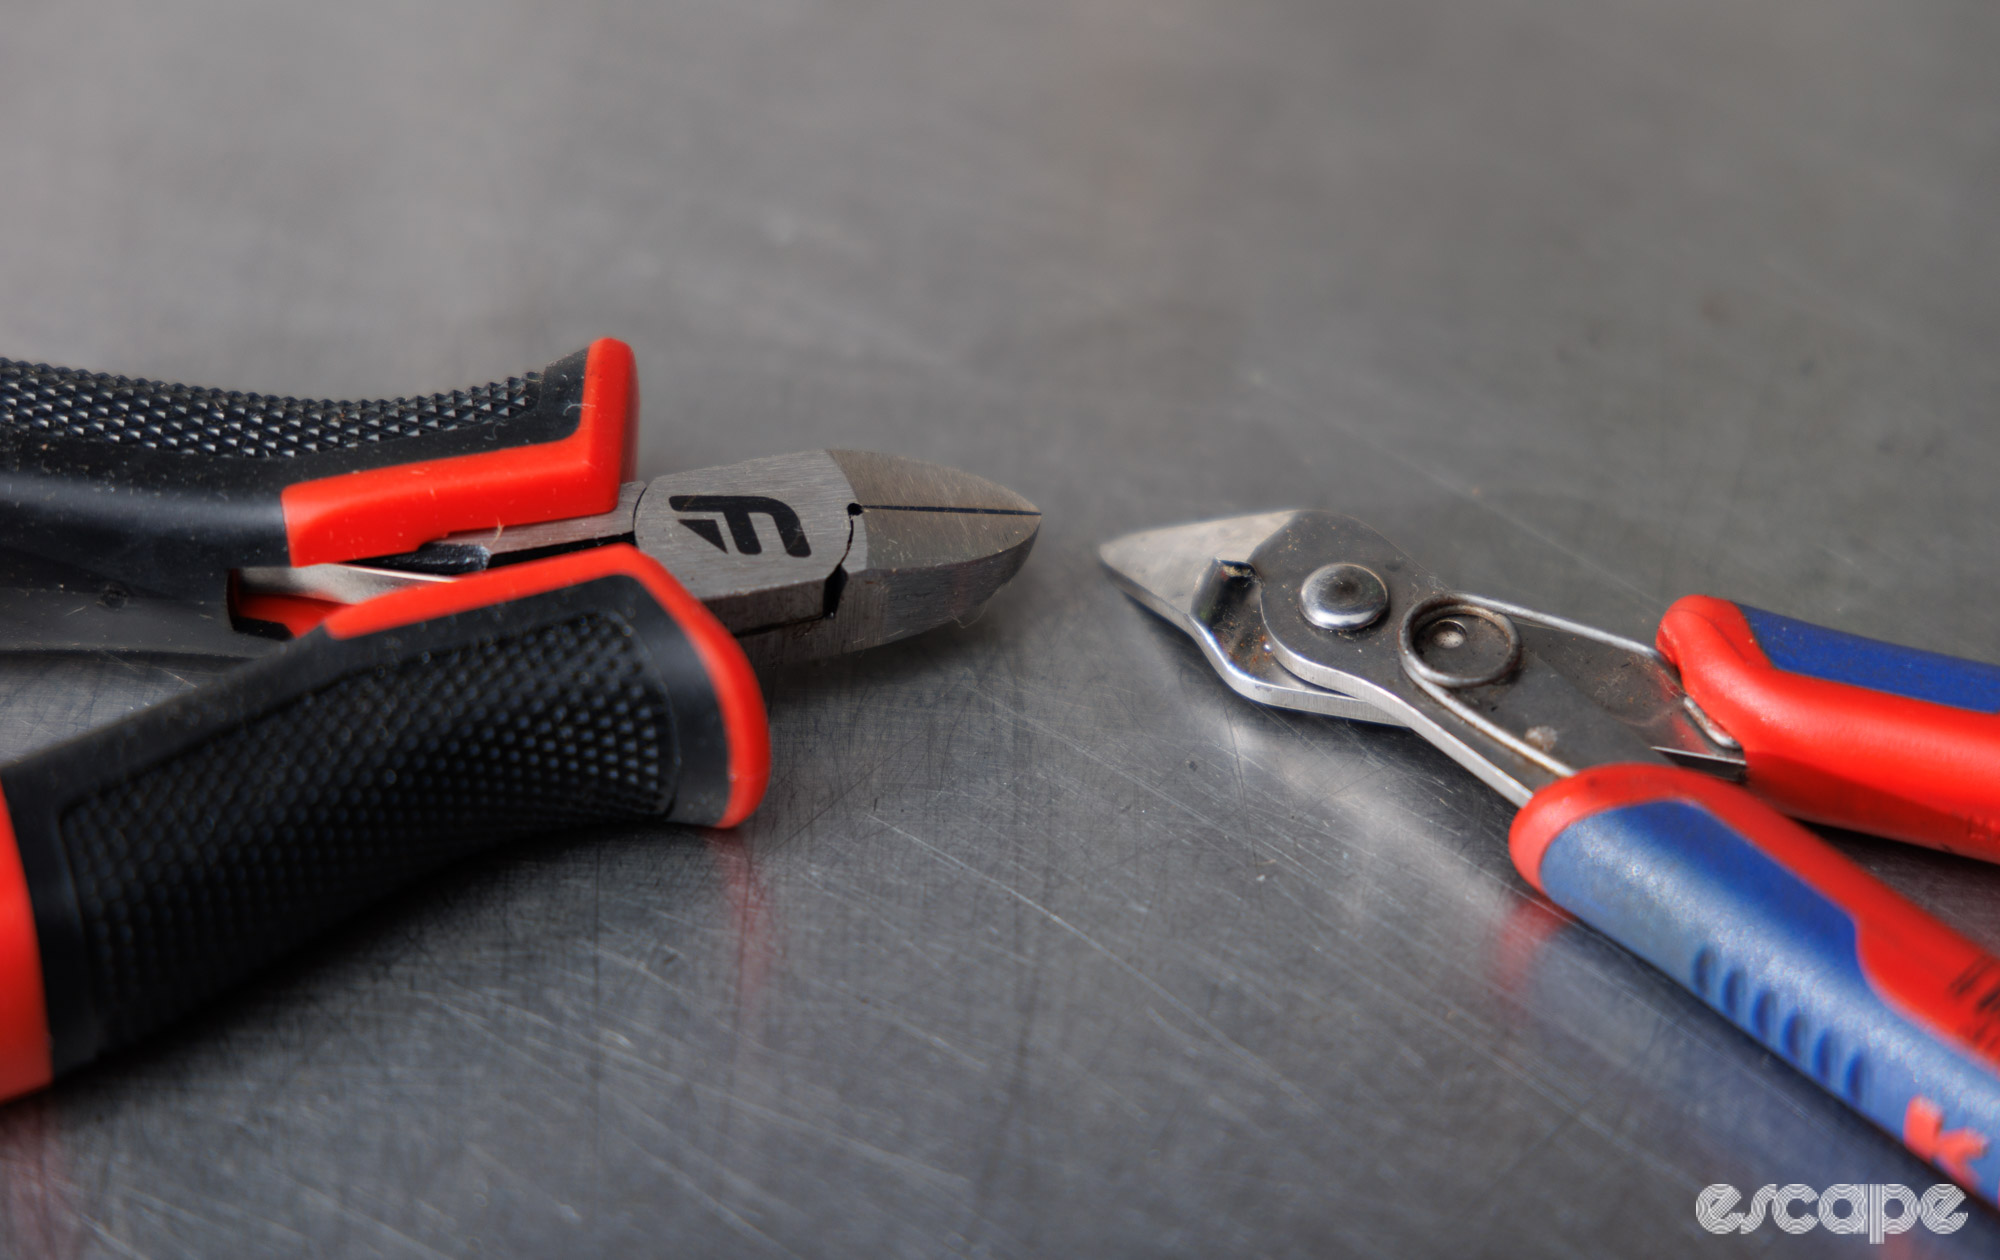
Typically made specifically for cutting plastic, a flushcutter is a small side cutter without a bevel on the cutting edge. Instead, it’s machined flat to get right up to the edge of what you’re cutting. Hobby craft (used for model making) and some hardware stores will often have flush cutters for cheap, while some nail clippers can do the job nicely, too. At the opposite end of the scale are dedicated tools that tension and cut the zip-tie with the pull of a trigger (these can be hard to get into tight spots).
You should keep these for the sole purpose of cutting plastic and so you really don’t need to spend much here.
What I use: Knipex Super Knips 78 03 125 (approx US$33)
What I suggest on a budget: Amazon, Ebay, or equivalent is good here, for example, the Xuron 170-II Flush Cutter (approx US$5 on Amazon).
Derailleur hanger gauge
Arguably the biggest and most specialised tool on the list, a derailleur hanger gauge was once considered a shop-only tool, but it’s become an increasingly necessary item for dialling in the shifting of modern drivetrains that are now fussier to align than ever before.
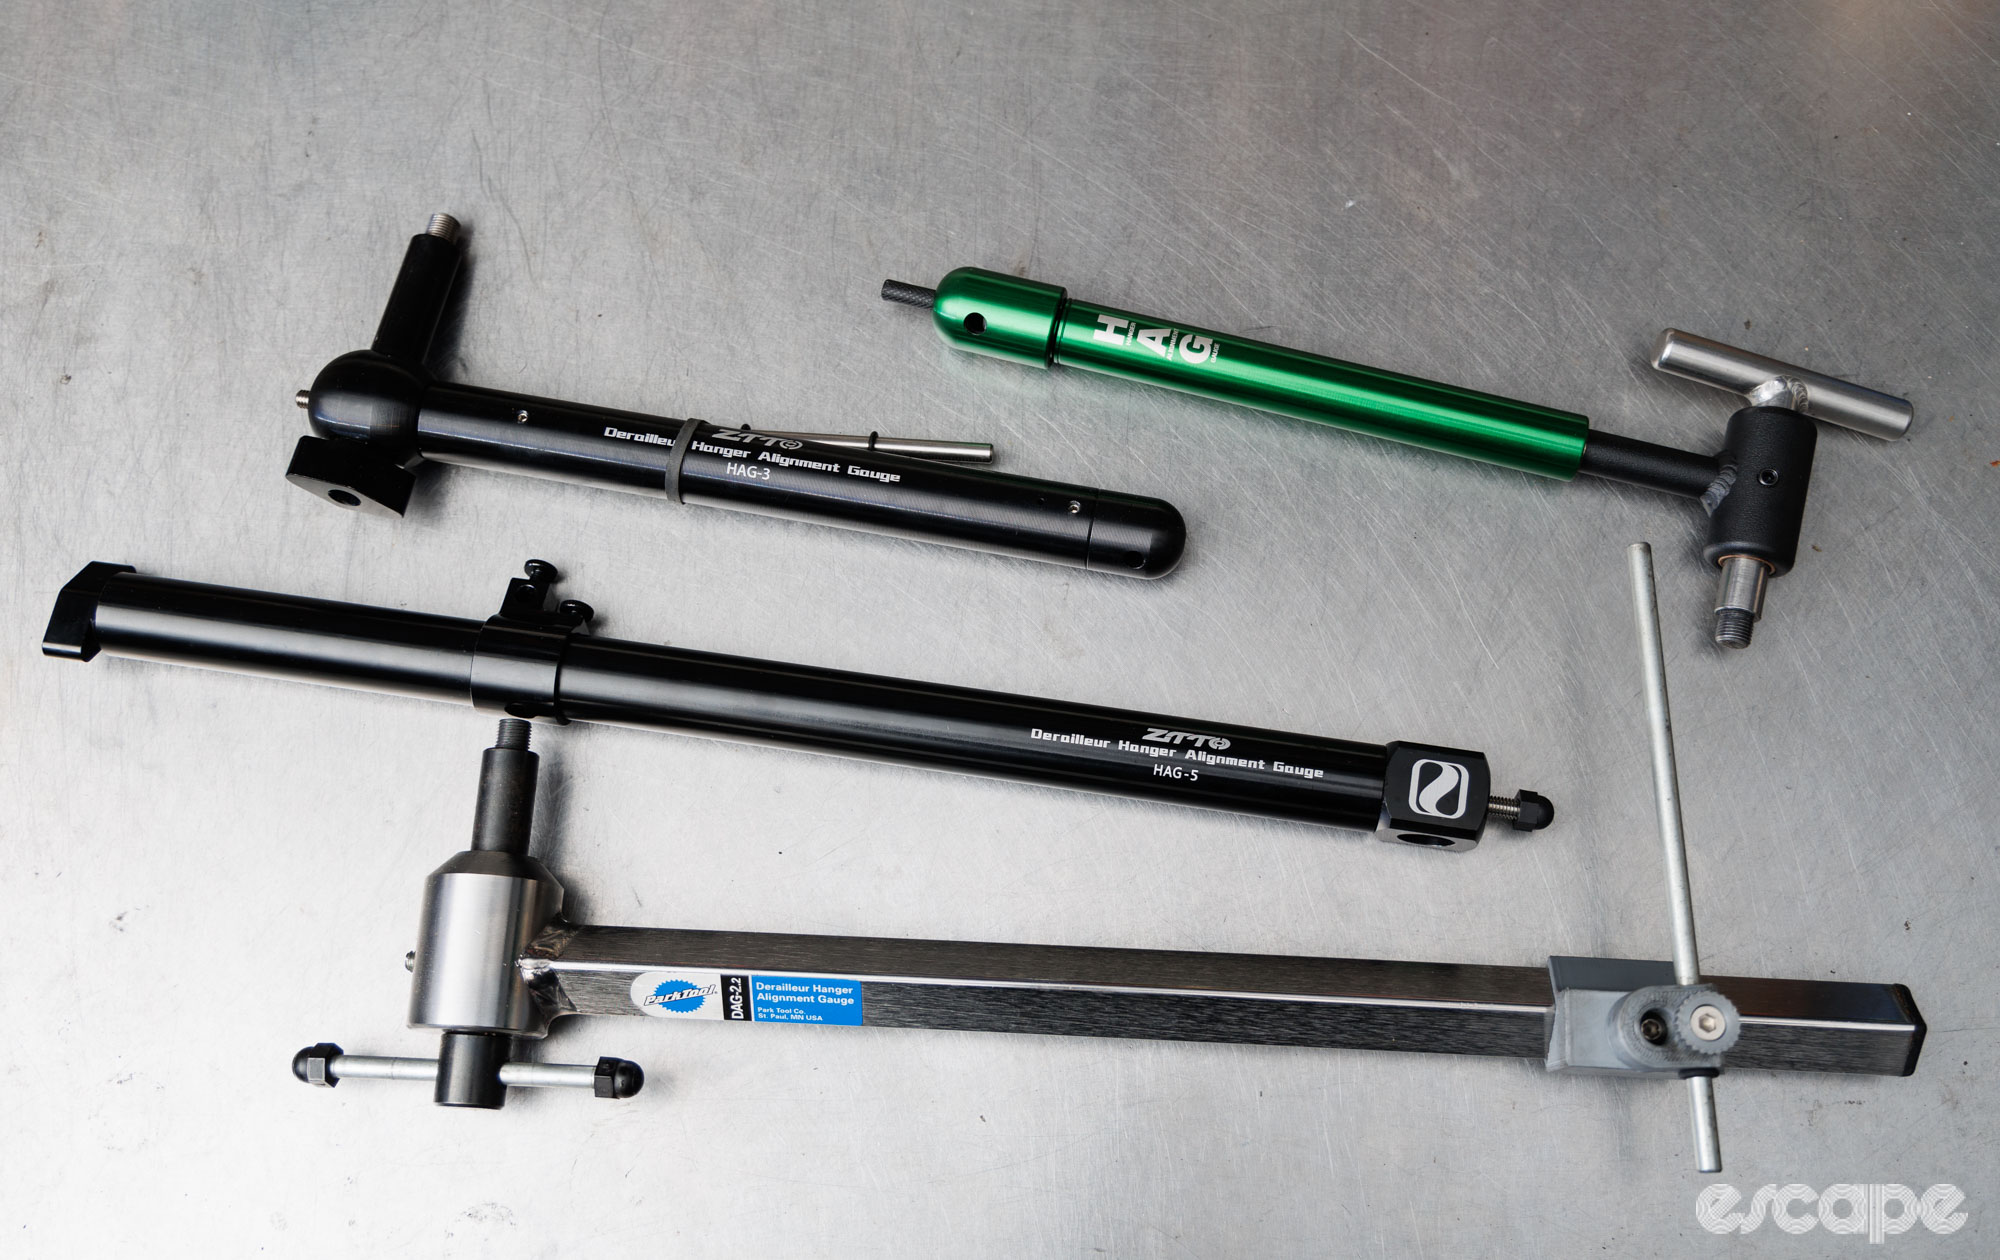
As the name suggests, a derailleur hanger gauge is used to check (and adjust with care) the alignment of the rear derailleur hanger. A good level of mechanical understanding is required to use this tool properly, and misuse can permanently damage the frame.
There are many cheap hanger tools coming out of China, and something like the ZTTO HAG-5 is actually pretty good for occasional use. Meanwhile, more premium options are built with sturdy materials and offer tight tolerances that make it easier to achieve the precise alignment that newer 11-, 12-, and 13-speed drivetrains benefit from.
What I use: Abbey Bike Tools HAG (US$205)
What I suggest on a budget: ZTTO HAG-5 (approx US$30) or Park Tool DAG-2.2 (built to last in a shop environment, US$85).
Shimano preload crank tool
This is a simple and small tool that’s needed for the bearing preload cap if ever removing or installing a Shimano Hollowtech II-type crankset.
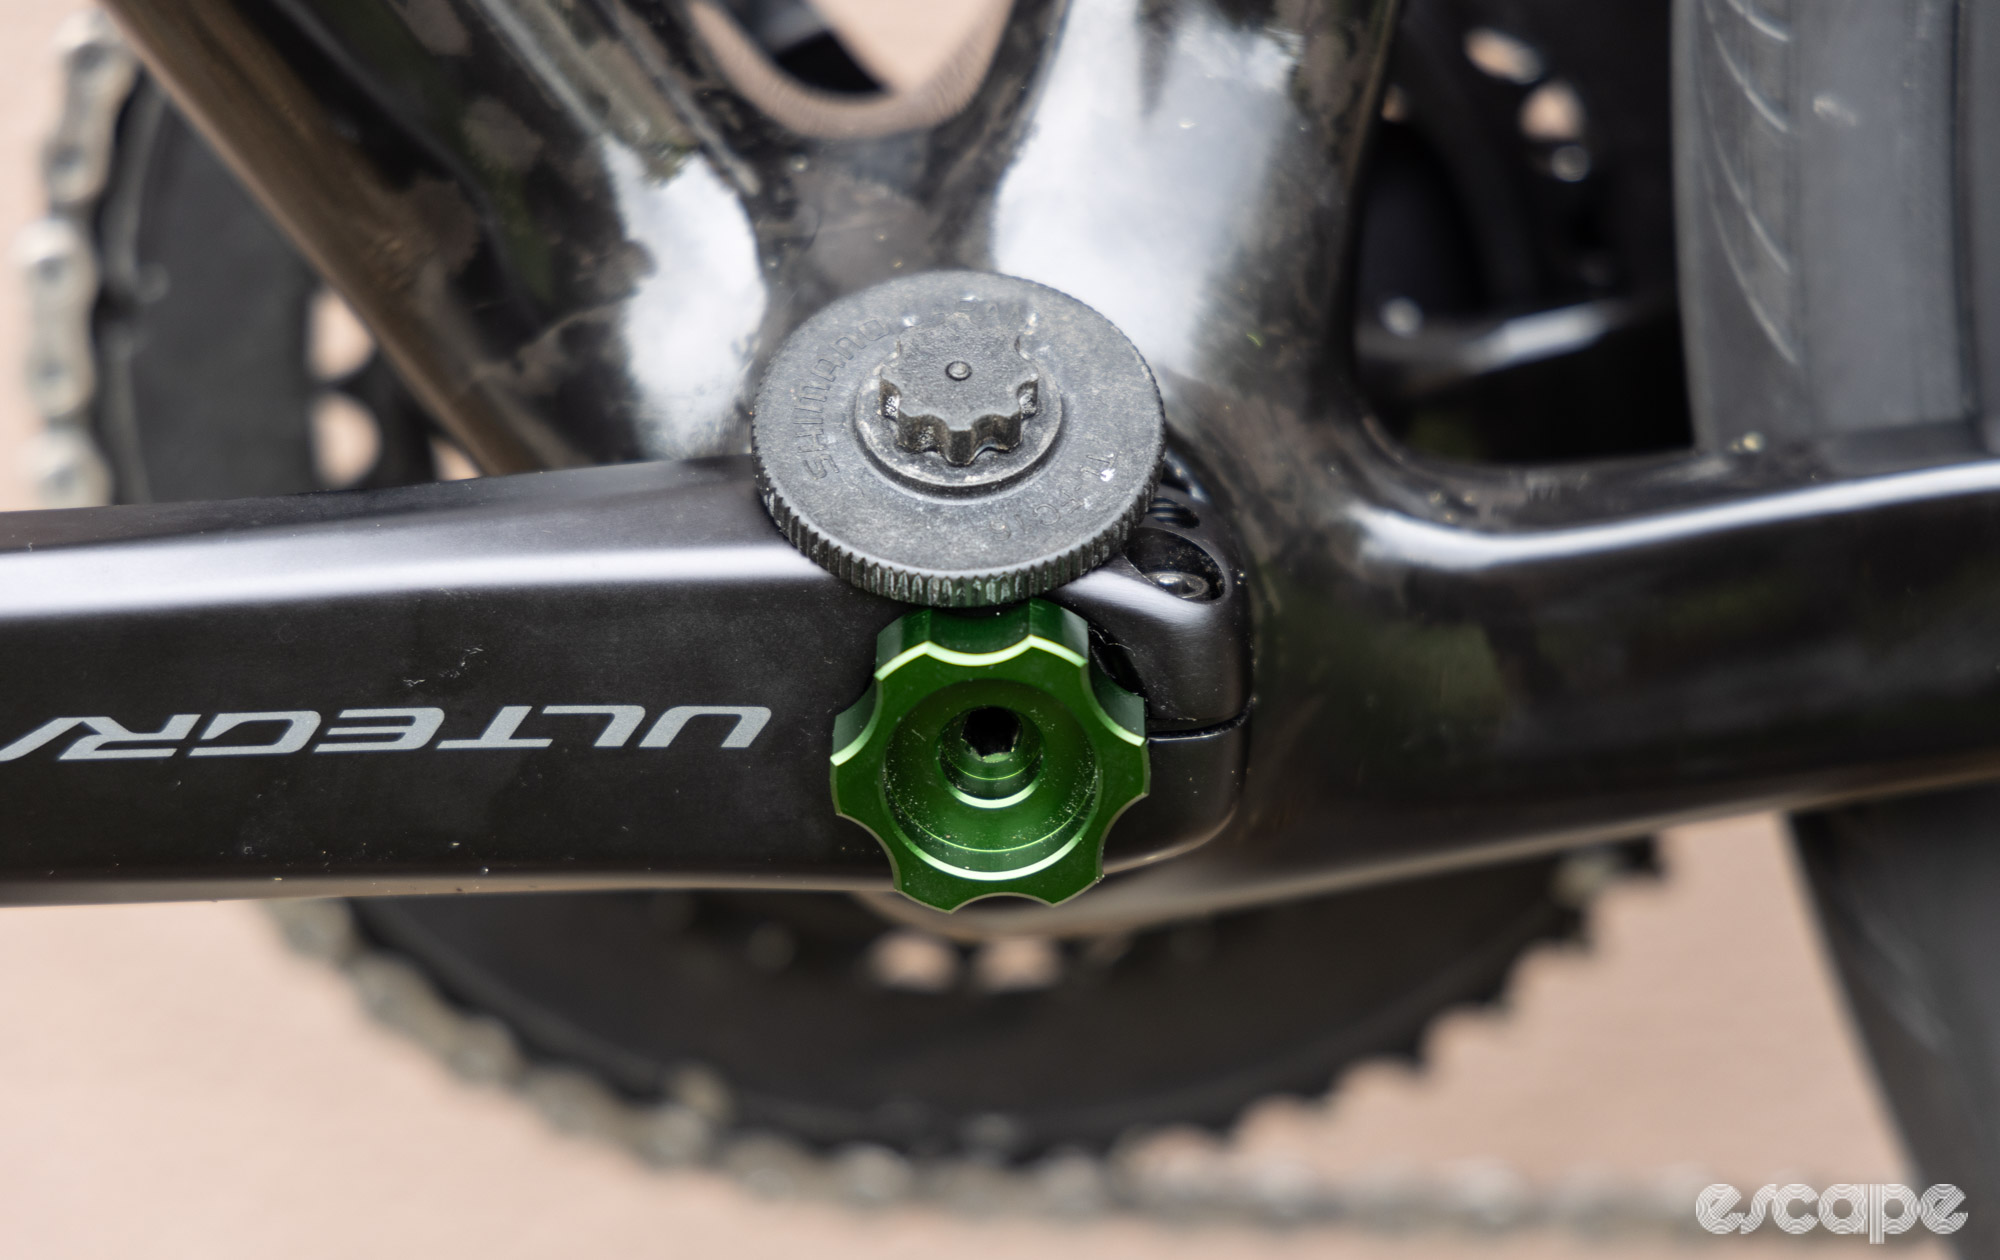
Shimano’s own version is plastic and costs just a few dollars, while more premium versions add the mass of metal. My preference for the Park Tool BBT-10.2 is largely based on its lifting prong for the crank arm safety tab, a simple feature that saves me from having to grab a pick, small screwdriver, or tiny hex key for the task.
What I use: Park Tool BBT-10.2 (US$16)
What I suggest on a budget: Shimano TL-FC16 (approx US$2) or download one if you own a 3D-printer.
You forgot …
Building out a cycling toolkit is a journey that grows with your knowledge of and exposure to different products. Of course, there are many general-purpose and cycling-specific tools not mentioned in this article or the article before it. The specific bikes and components you work on, plus your comfort with specific repairs, will always dictate the tools you require.
Perhaps a hydraulic disc brake bleed kit is more important to you than a gripping plier, or maybe you’re comfortable with truing wheels but don’t see the need to remove a cassette. Similarly, removing/installing a bottom bracket can be a common task, but the myriad of different tools that may be required is something best covered another time (I’ve previously written all about T47 fitments and tooling). Or maybe you've got a bunch of old bikes or newer children's bikes that could use a set of spanners, cone wrenches, and a more traditional pedal wrench. As I write this, I've quickly realised I may need to add a third article to this tool list series.
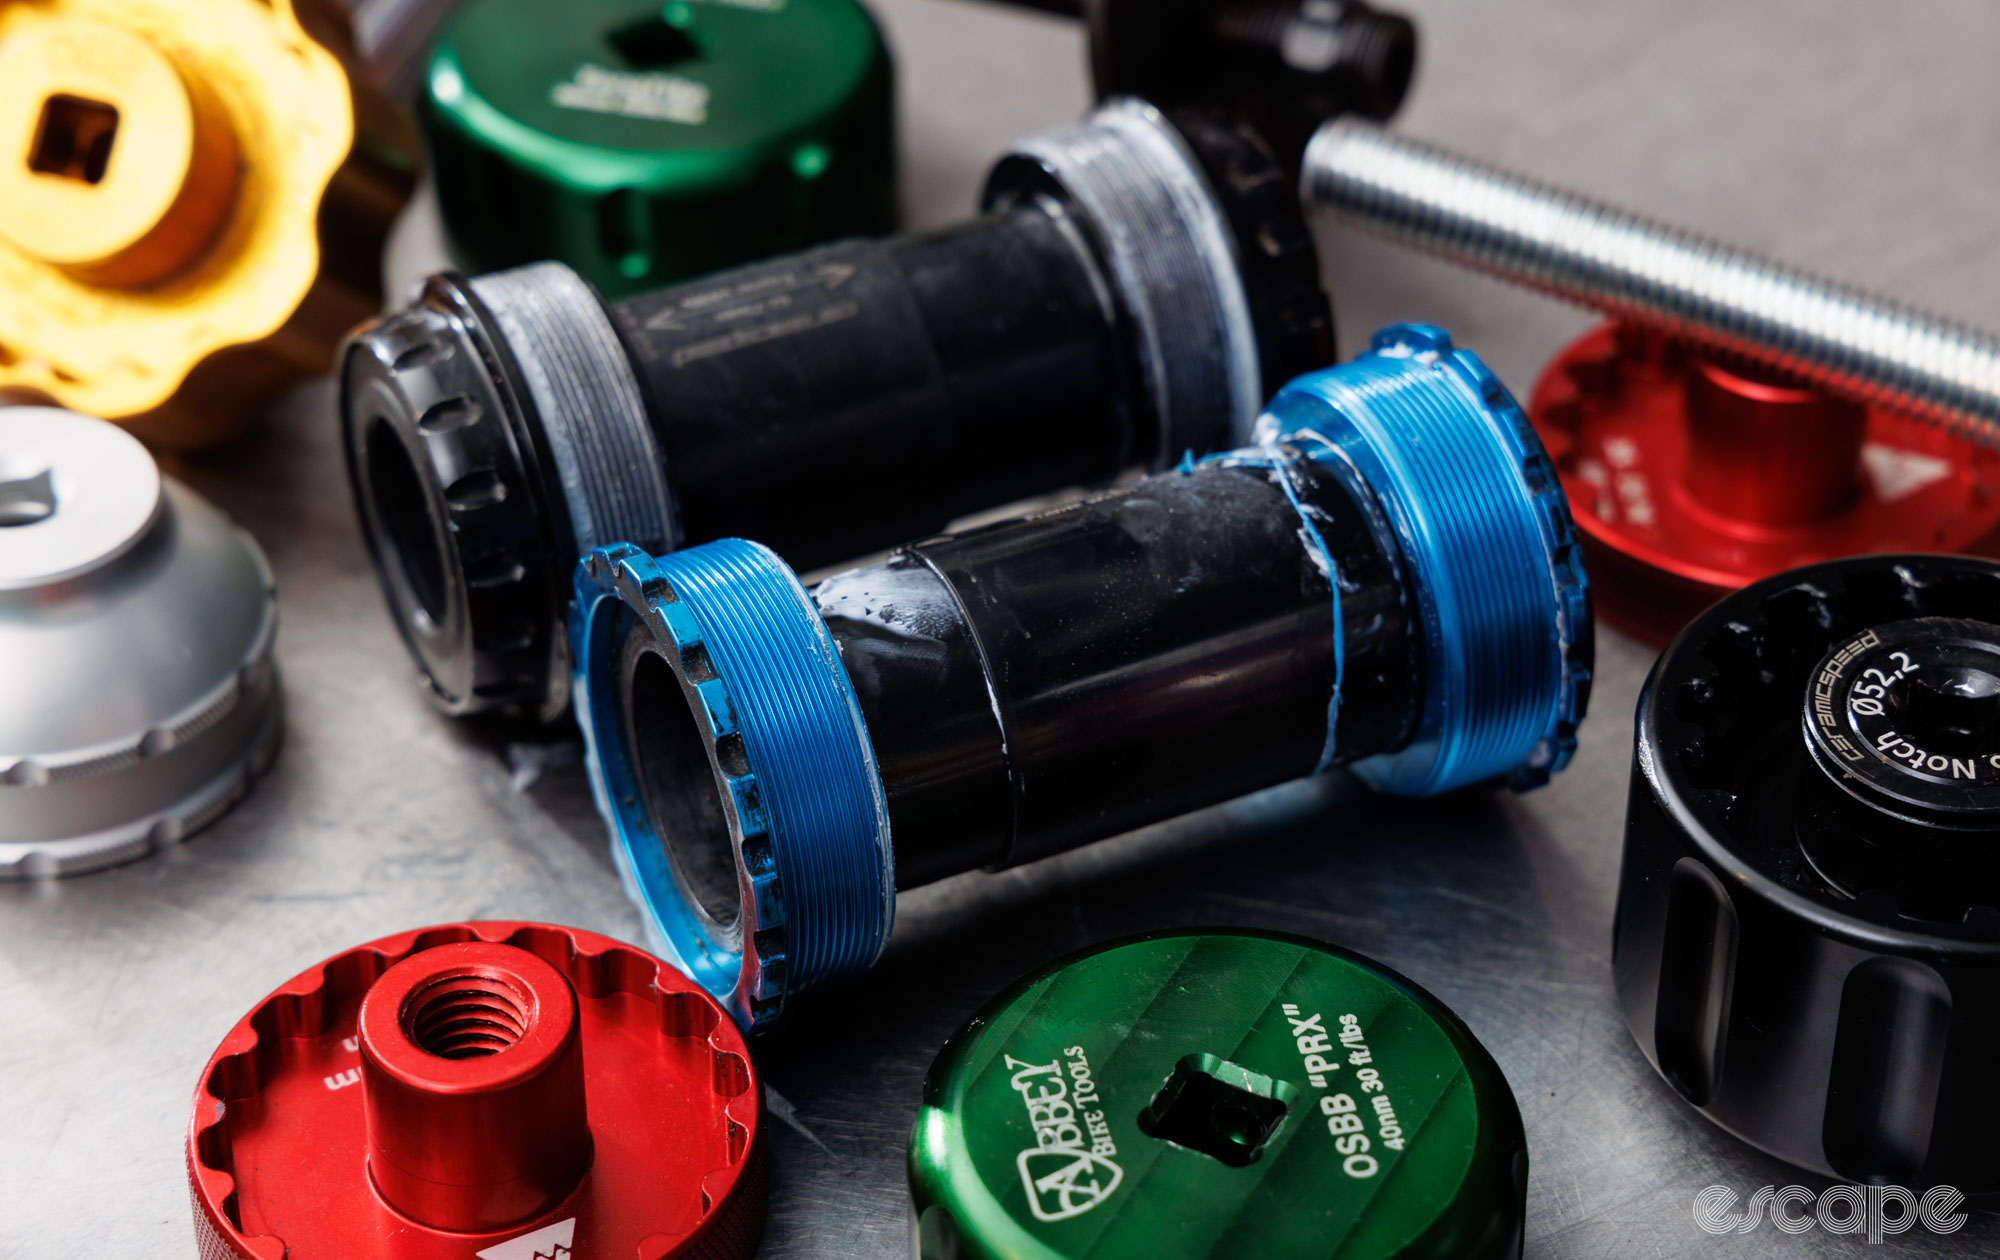
Similarly, there are plenty of reasons to own more than one type of hex key, and you’ll likely get more use from that second (or even third) overlapping hex tool than you will from any of the tools listed above.
Use the 24 listed tools as a guide to building a great kit, but do consider whether they’re the tools for the tasks you’ll actually be doing.
No end in sight
As noted, a lot of the tool categories here are on the to-do list for future deep dives. In fact, I’ve got boxes of cable cutters, chain breakers, and cassette-holding tools just waiting for back-to-back testing ... And who knows, maybe I’ll find some new favourites to recommend.
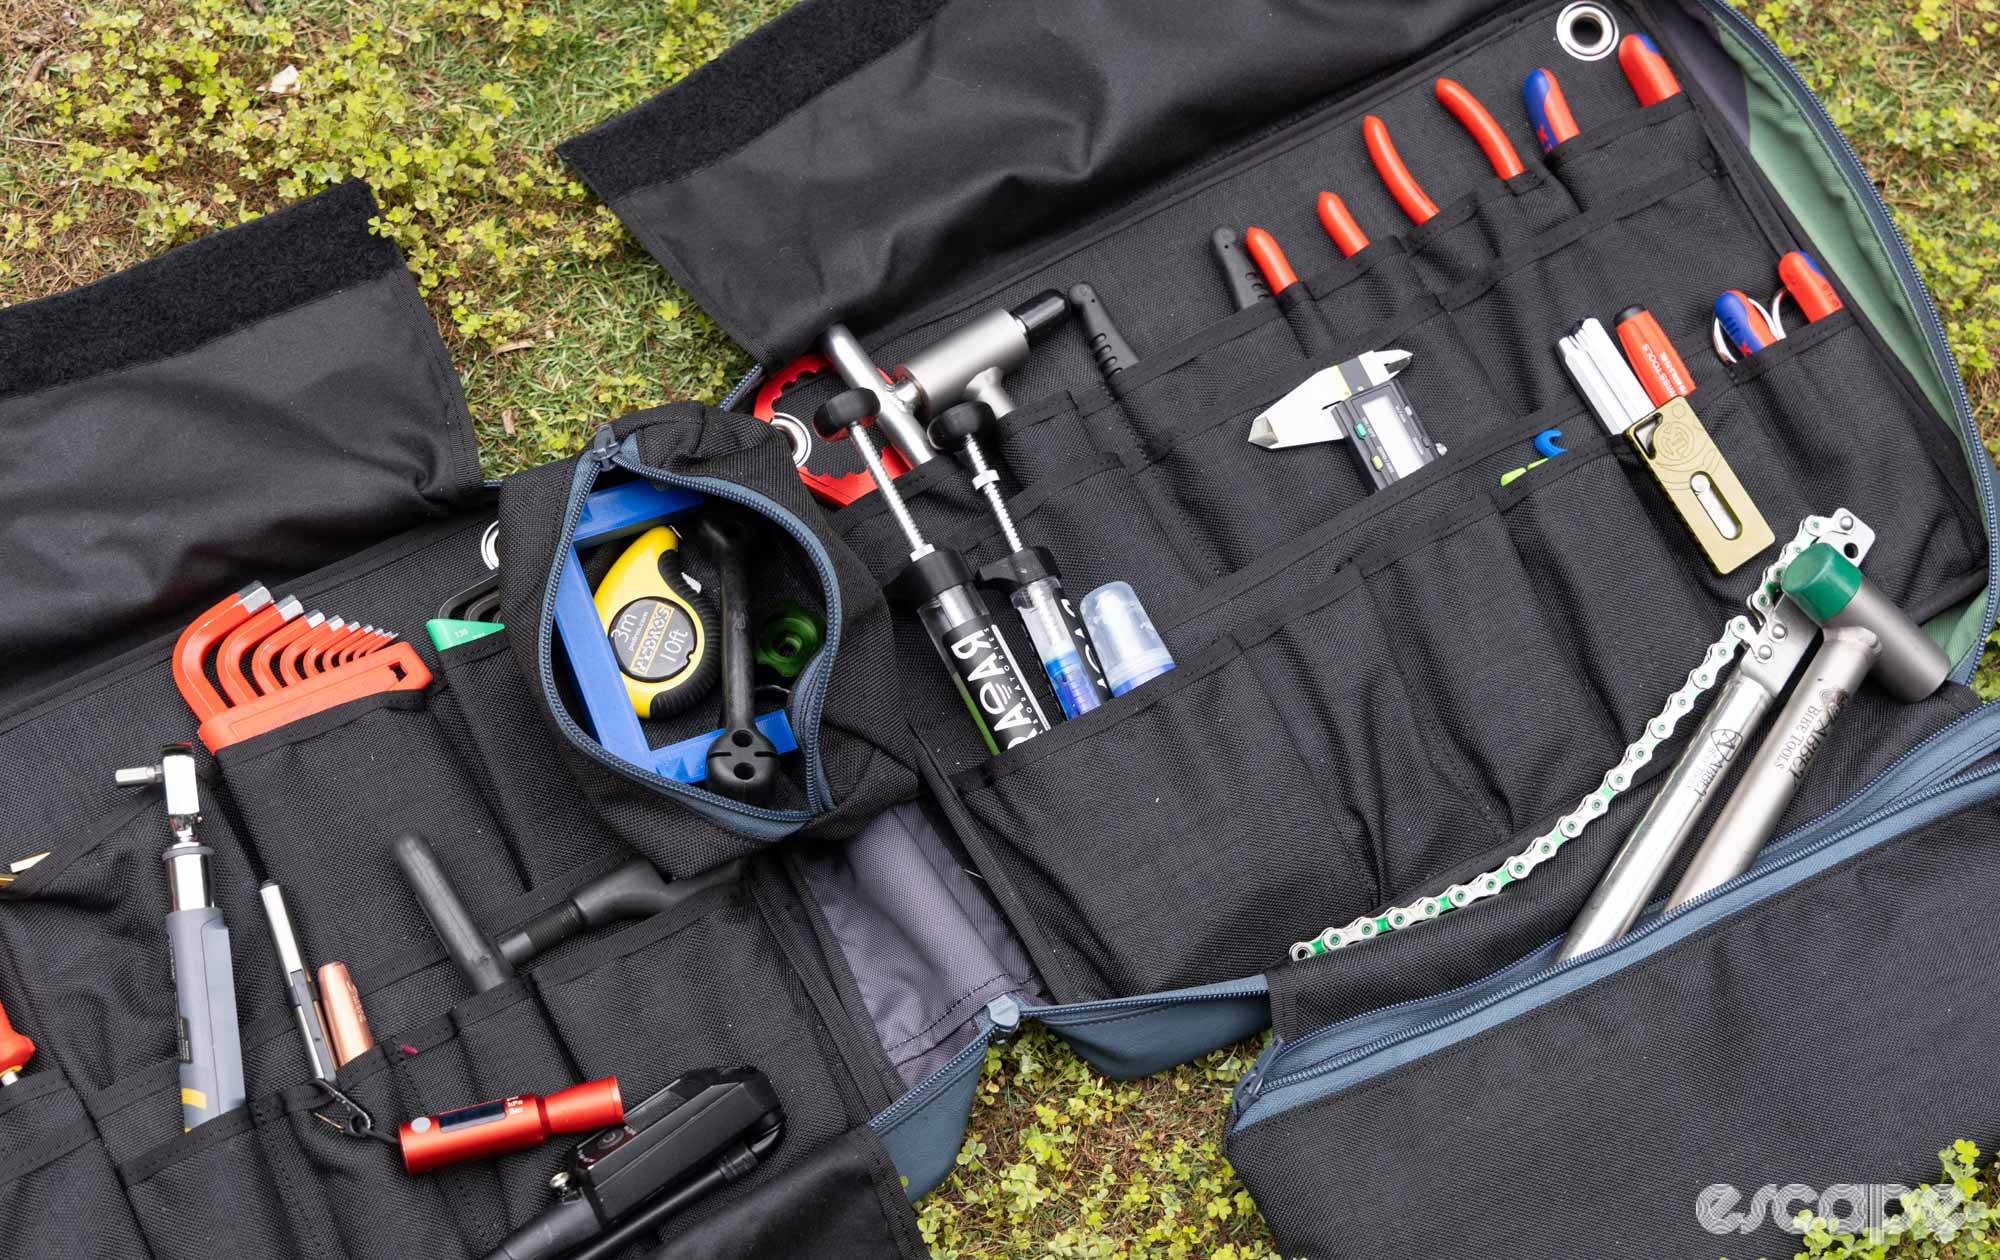
In two weeks you can expect another edition of New Tools Day, which will include VeloColour's new tool case as seen in the main photo. And if the stars align, I’ll finally put a bow on a big shootout of portable and pocket-sized torque tools ...
Until then, happy wrenching!
Did we do a good job with this story?

